Getting Started Kit Assembly
Intro
The purpose of this work instruction is to explain the assembly process for the LumenPnP v3.2.0 Getting Started Kit
Preparing Universal PCB Fixture System
-
Obtain materials shown here

-
Remove supports from 4x
board-mount-dynamic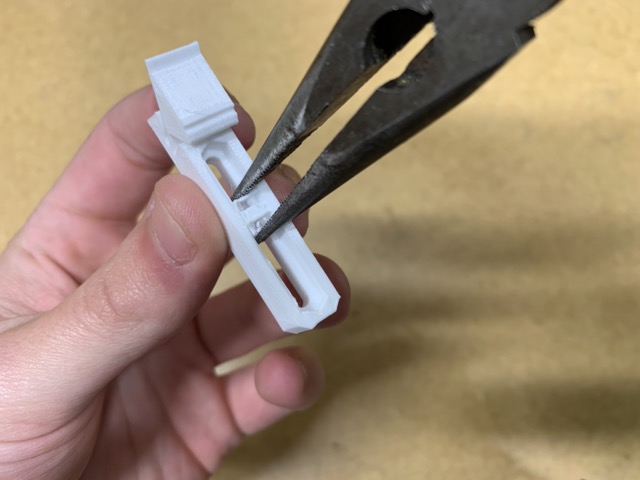
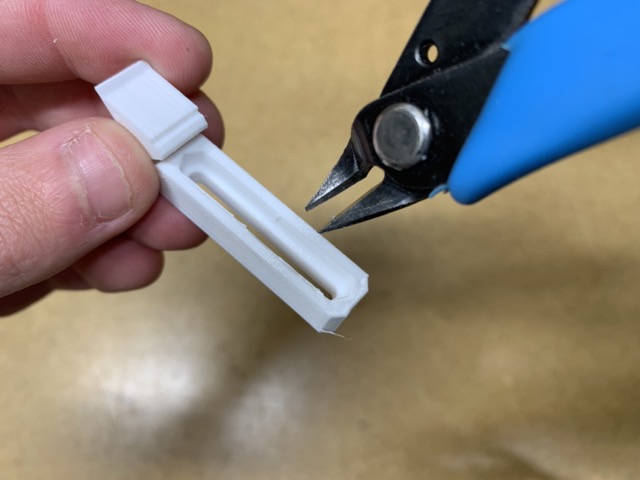
-
Clean up remaining support materials with flush cutters if necessary
-
Insert
M3x10-hex-headthrough the channel inboard-mount-dynamic, then affixM3-wing-nutonto the screw. The screw should be able to move through the entire channel without resistance

-
Repeat for 4x
board-mount-dynamic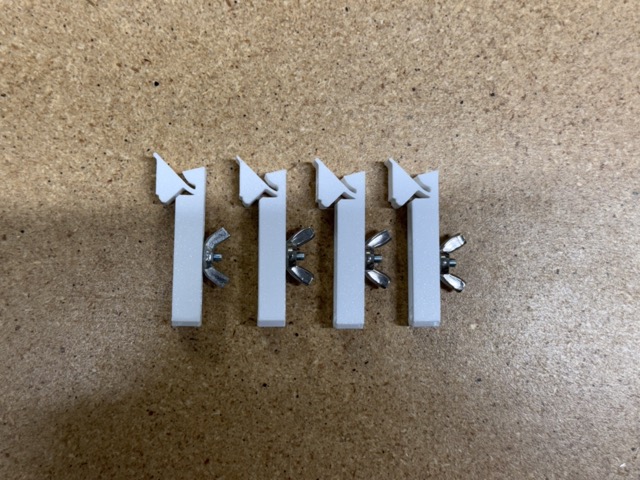
-
Insert
M3x10-hex-headthrough the channel inboard-mount-static, then affixM3-wing-nutonto the screw. The screw should be able to move through the entire channel without resistance
-
Repeat for 4x
board-mount-static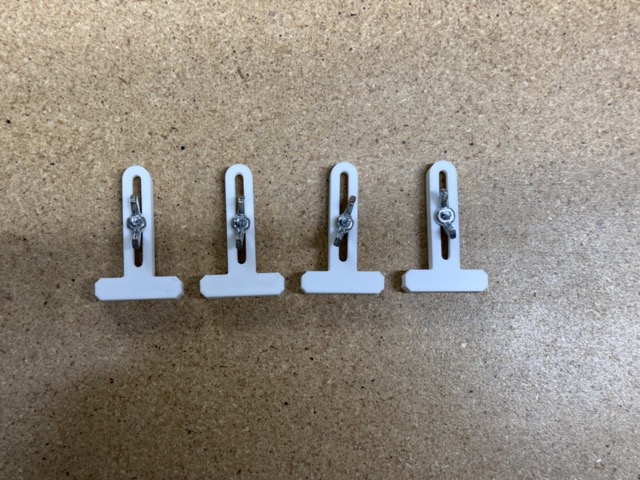
-
Insert 4x assembled
board-mount-staticinto4x6-anti-static-bag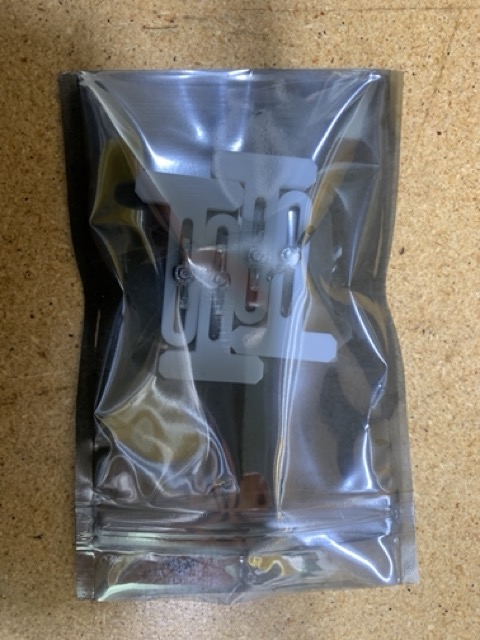
-
Insert 4x assembled
board-mount-dynamocinto4x6-anti-static-bag
-
Insert 8x
board-supportinto4x6-anti-static-bag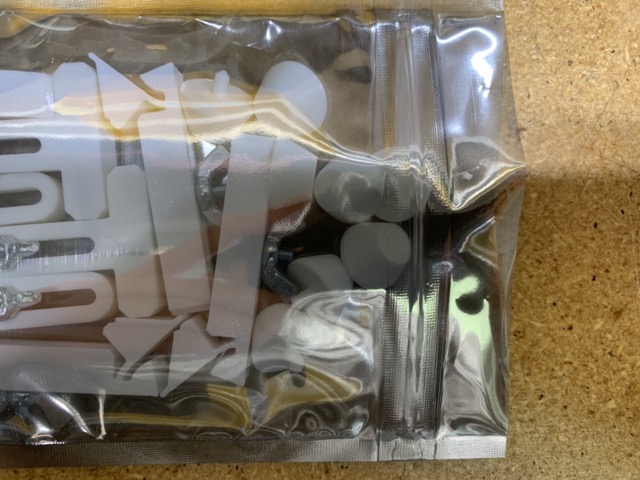
-
Seal
4x6-anti-static-bag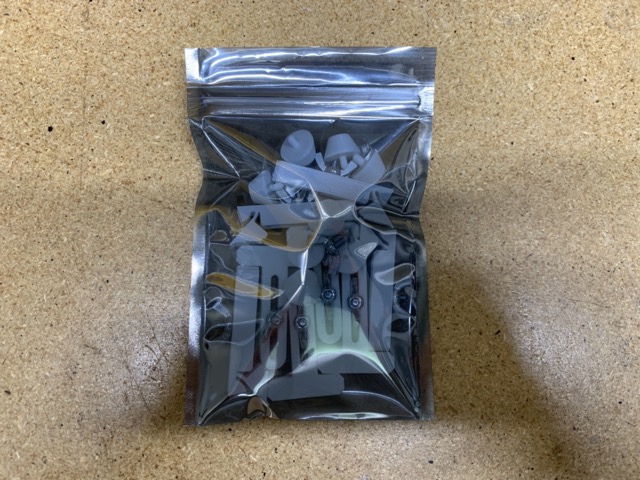
Preparing Component Bag
-
Obtain LED's, Resistors, and
3x4 bag
-
Obtain 100 of each component by cutting the tapes to 400mm lengths

-
Coil the component tapes and pack them into the
3x4 bag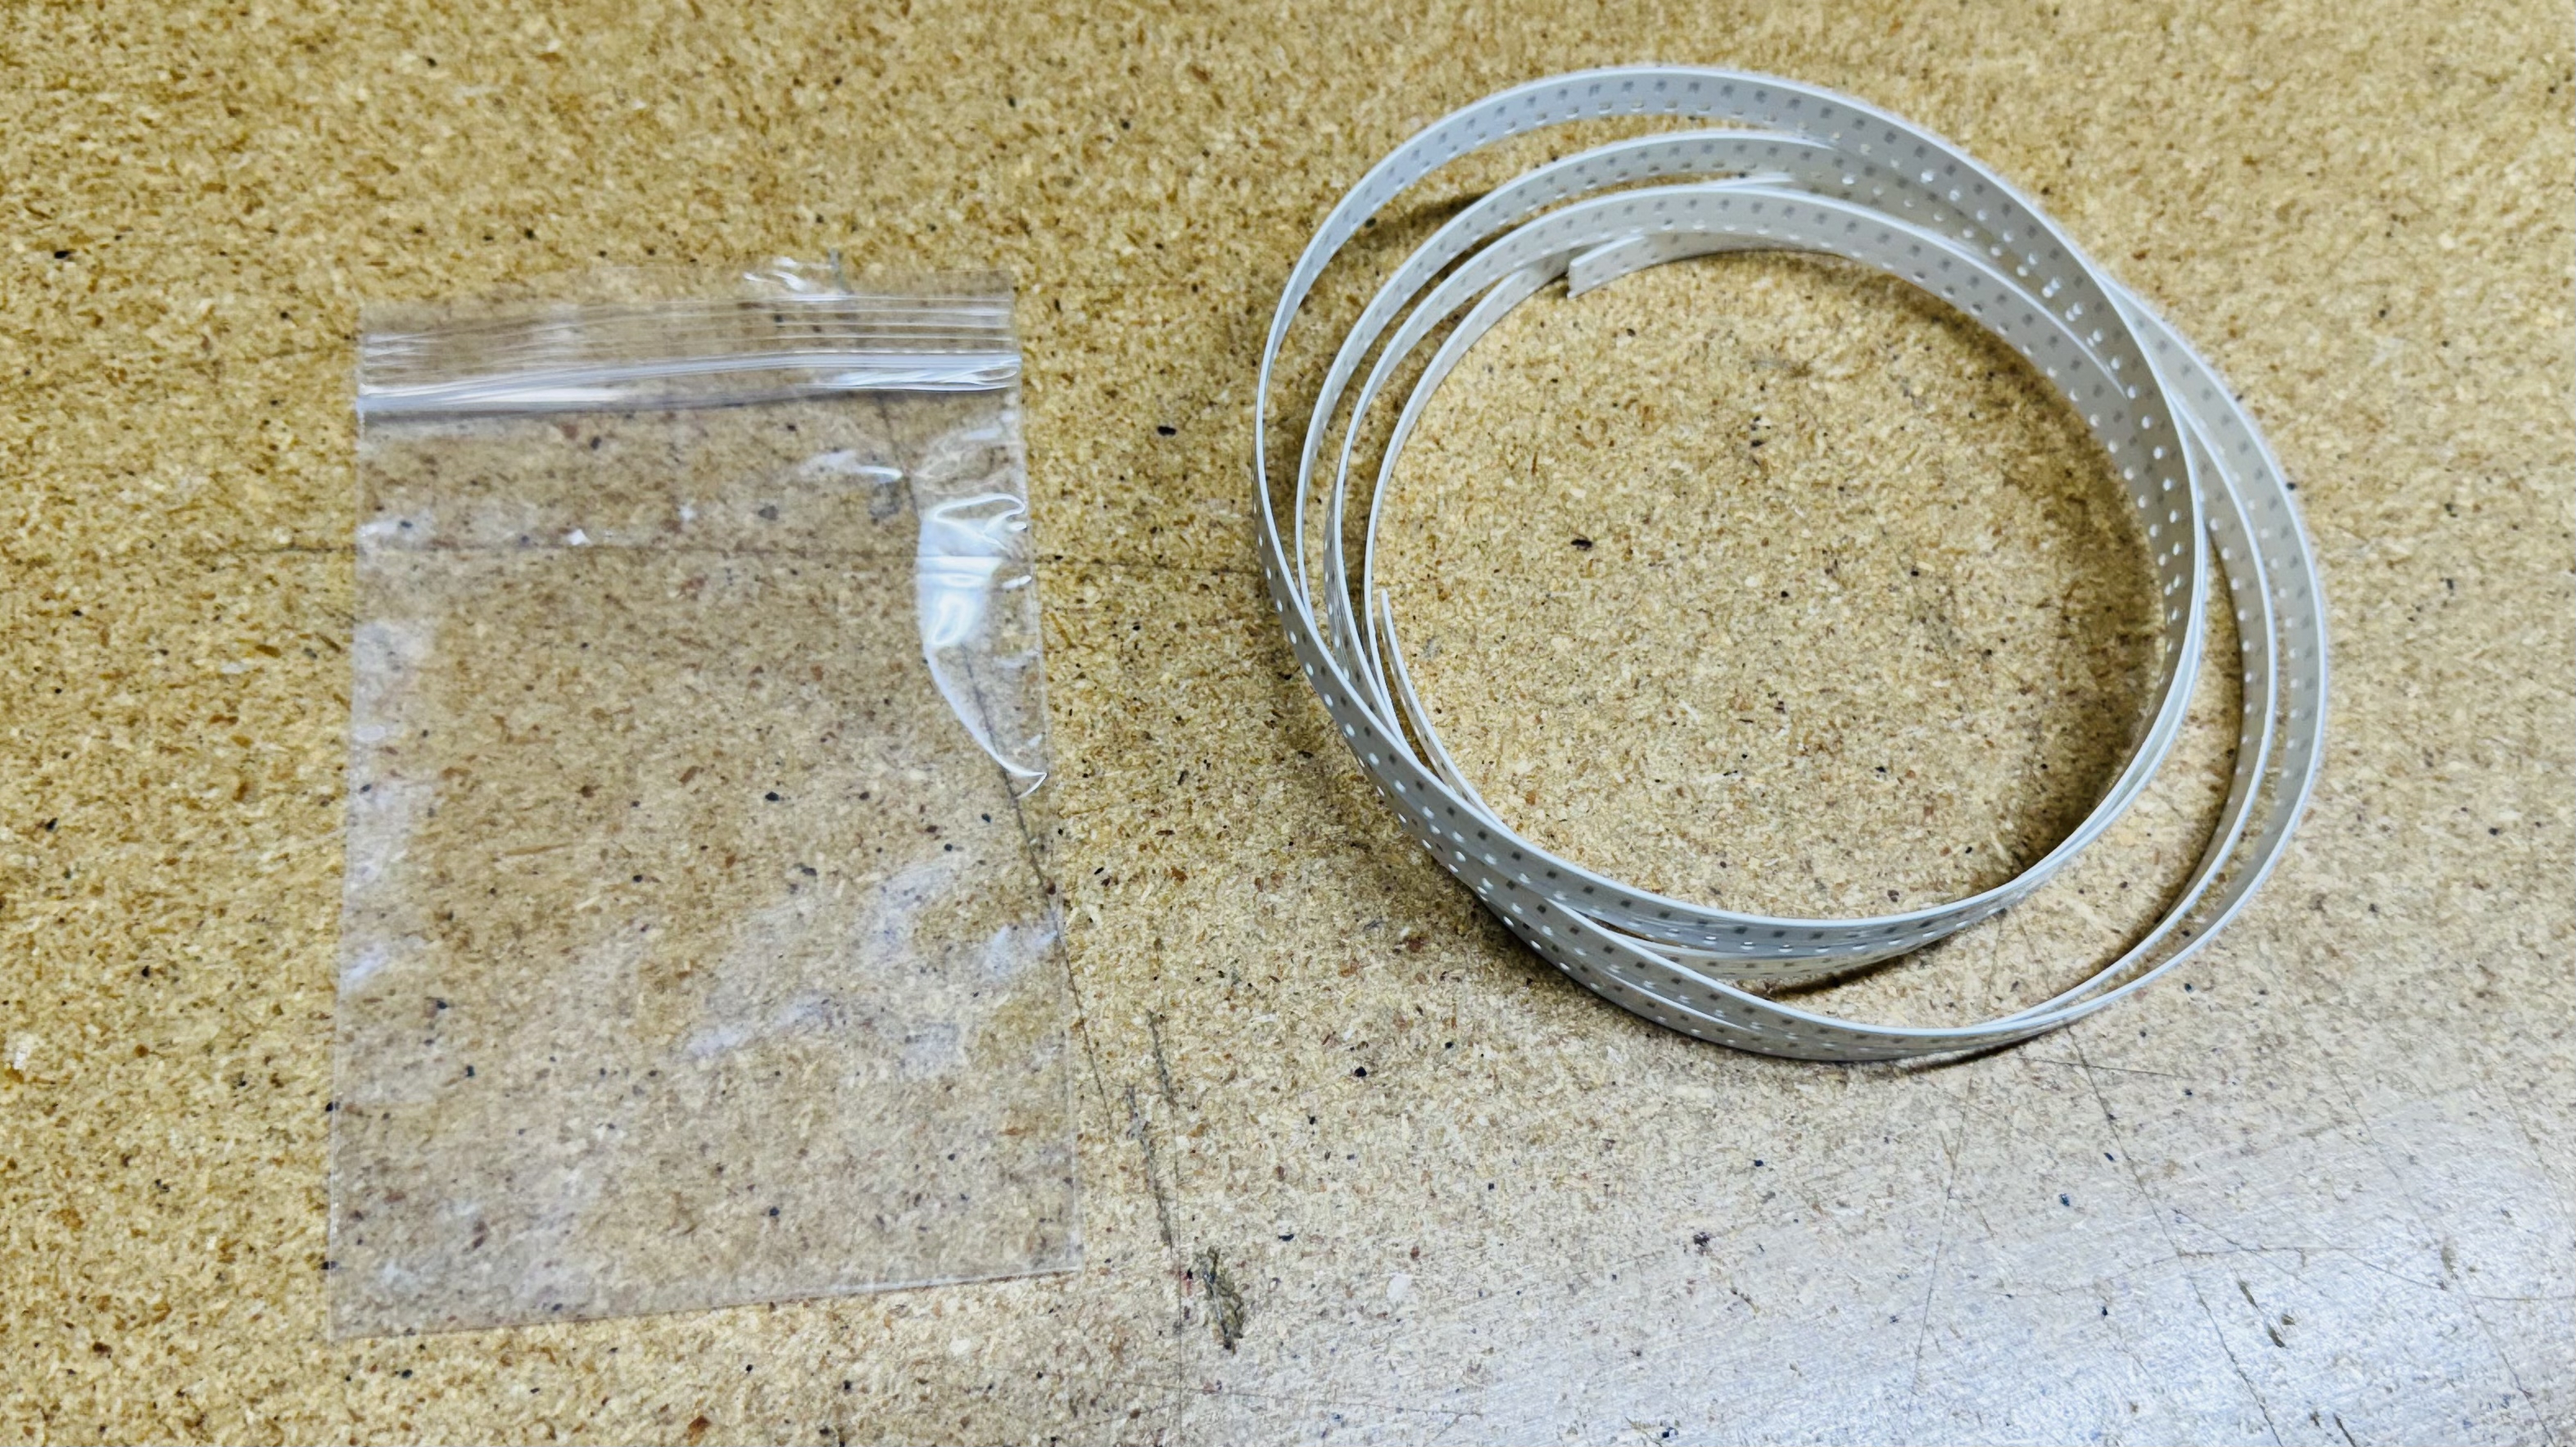
-
Seal
3x4 bag
Assembling Bagged-FTP-PCB
-
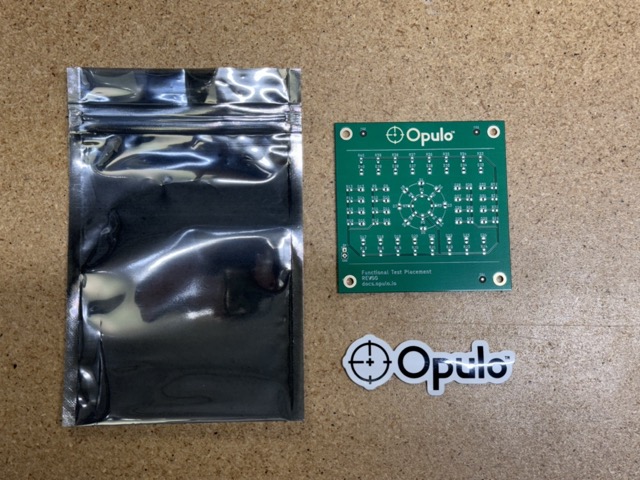
Gather materials shown
-
Insert
ftp-pcbandOpulo Logo Stickerinto4x6-anti-static-bag, then seal the bag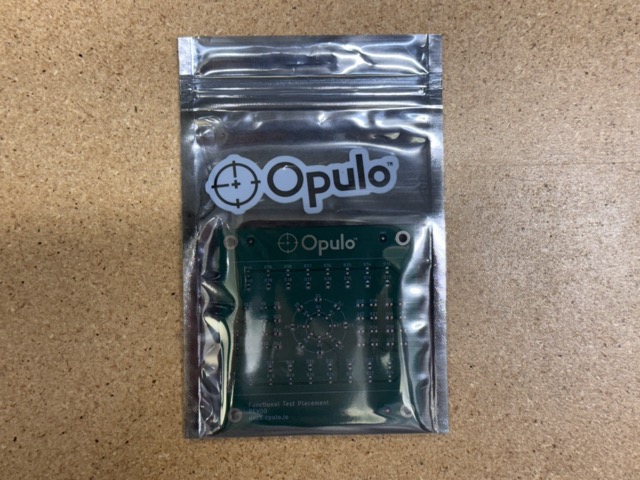
Obtain 8mm-strip-feeder-kit
- If any are available, obtain
8mm-strip-feeder-kit
Note
If none are available, instructions can be found here

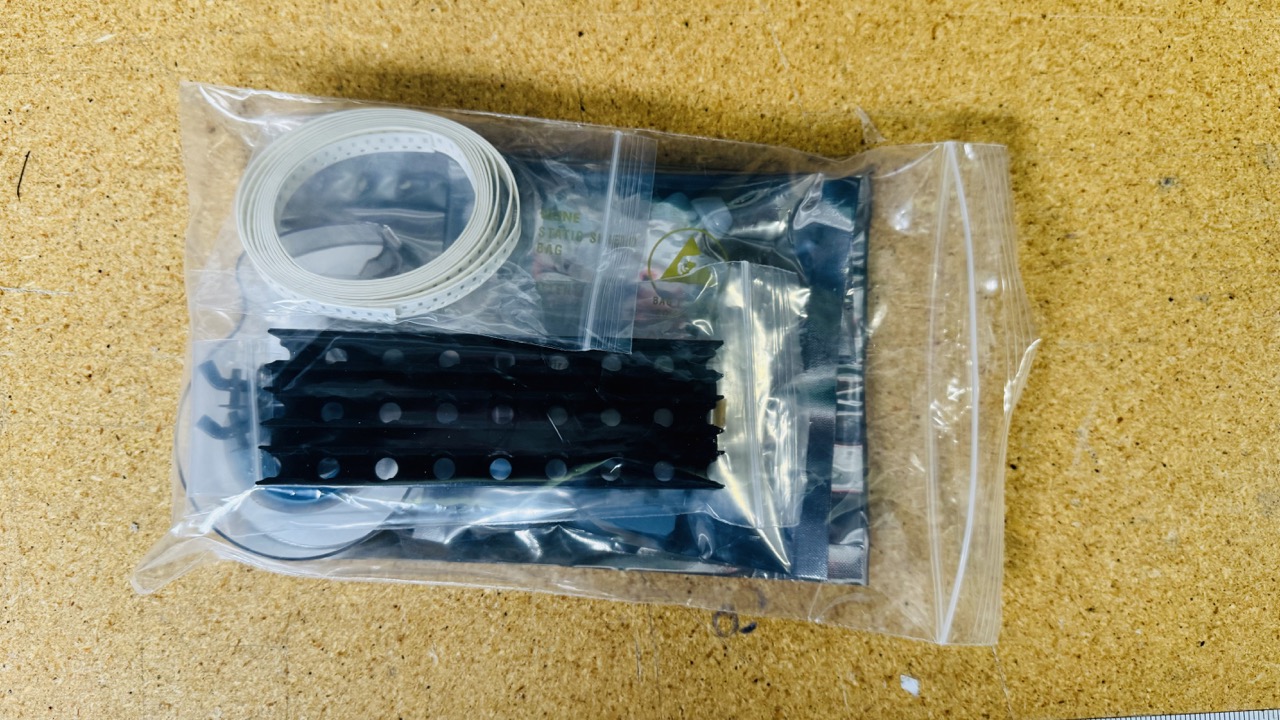
Assembling Getting Started Kit
- Gather the components shown
Note
If any getting-started-kit-paper-insert are needed, they can be found here

-
Insert
Bagged FTP PCBinto6" x 9" Polybagas shown
-
Insert
Scotch Double Sided Tapeinto6" x 9" Polybagas shown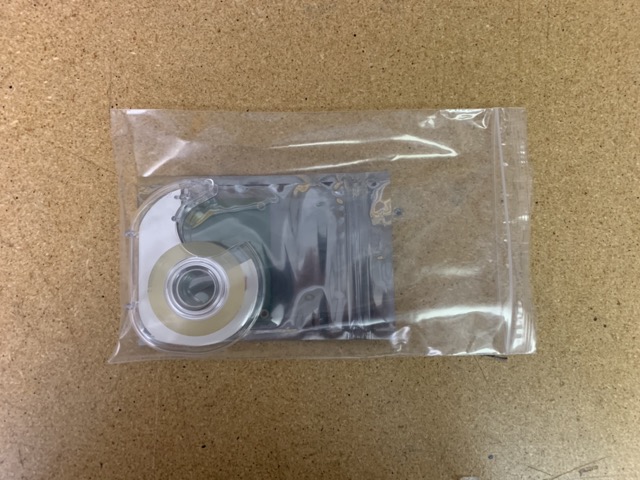
-
Insert
Universal PCB Fixture Systeminto6" x 9" Polybagas shown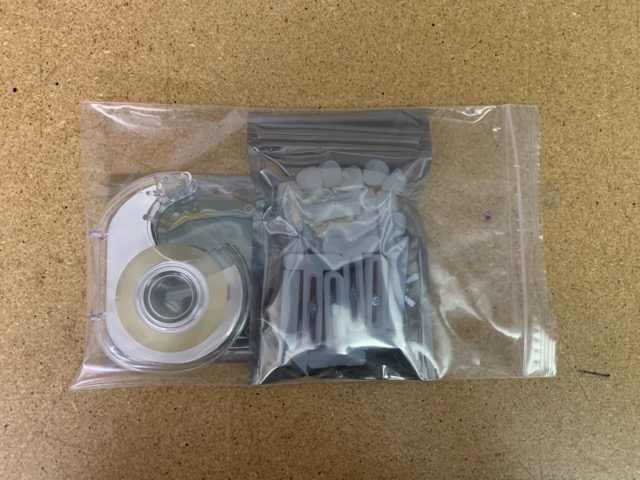
-
Insert
8mm-strip-feeder-kitinto6" x 9" Polybagas shown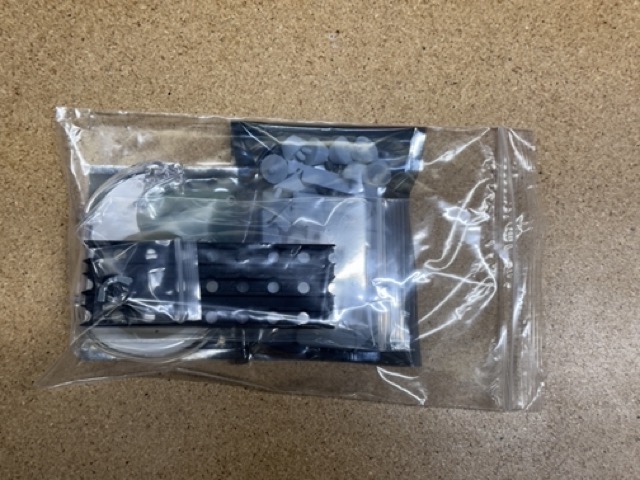
-
Insert the bagged components into
6" x 9" Polybagas shown
-
Insert
getting-started-kit-paper-insertinto the front of the6" x 9" Polybagas shown
-
Seal the
Getting Started Kit