Peel Gear Box
This section will guide the reader through the process of installing 2x peel-gear prints into peel-gear-frame to create peel-gear-box in preparation for its use in final assembly.
Materials
peel-gear-frame- 2x
peel-gear - 2mm hex driver
- 2x
M3x14mm-flat-headper frame
Visual QC
- Ensure both the peel gears and peel gear frame are free of print discrepancies.
- Pay special attention to the teeth of the peel gears, as any extra filament will interfere with proper function of the peel gear box.
Assembly
-
Install 2x
peel-gearintopeel-gear-frame- Pop 2x
peel-gearinto thepeel-gear-frame, aligning the bumps in the frame to the divots in the gears
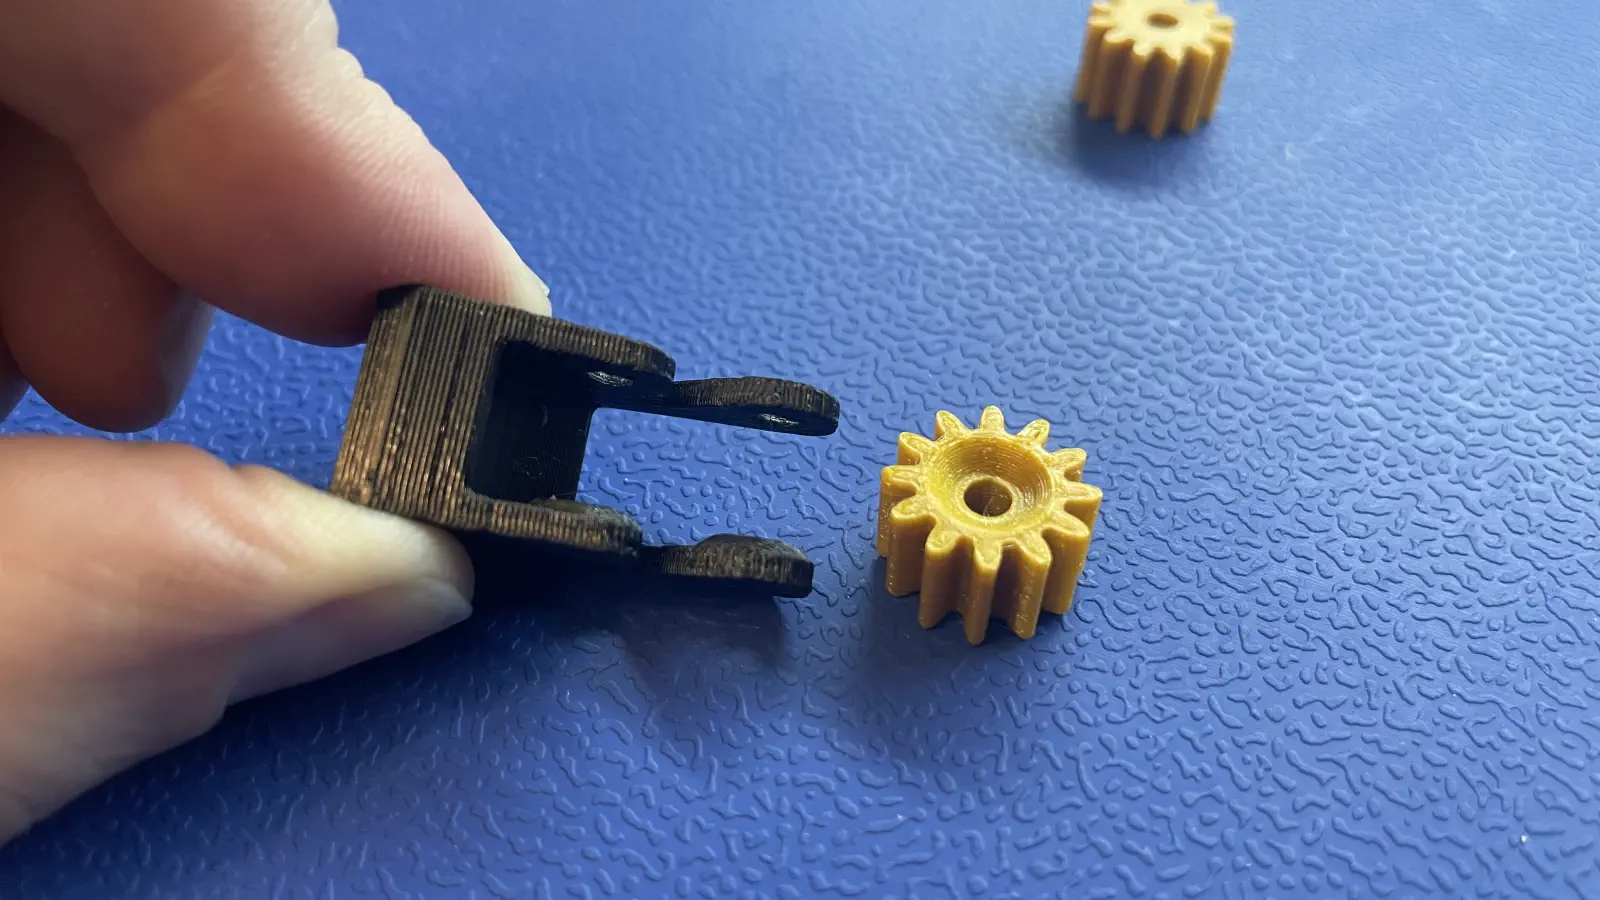
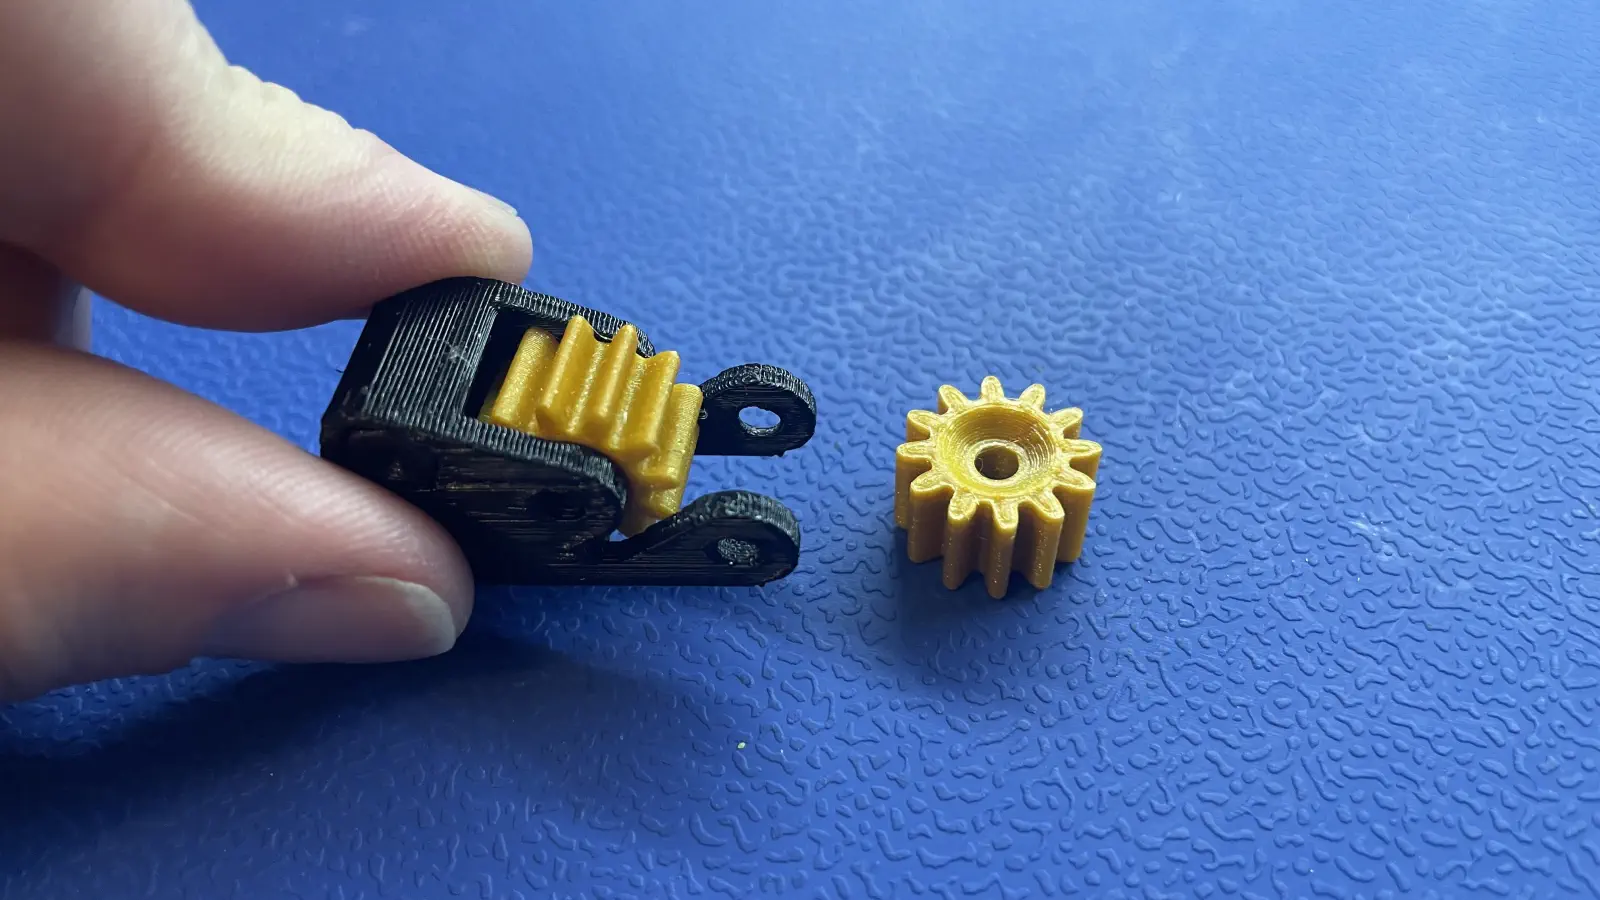
- Pop 2x
-
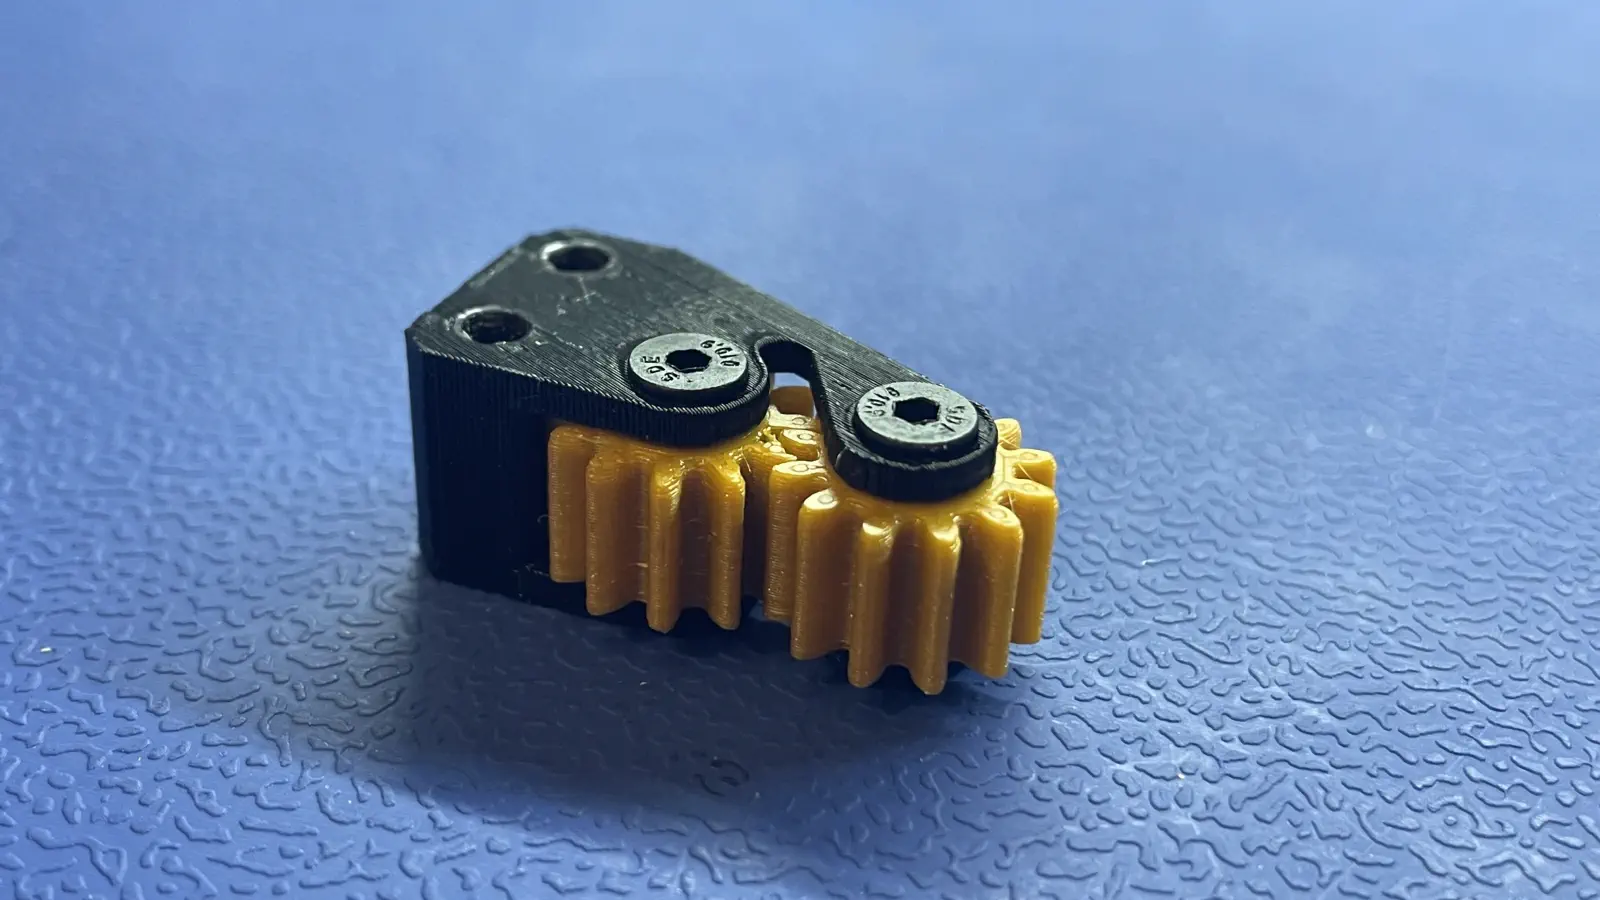
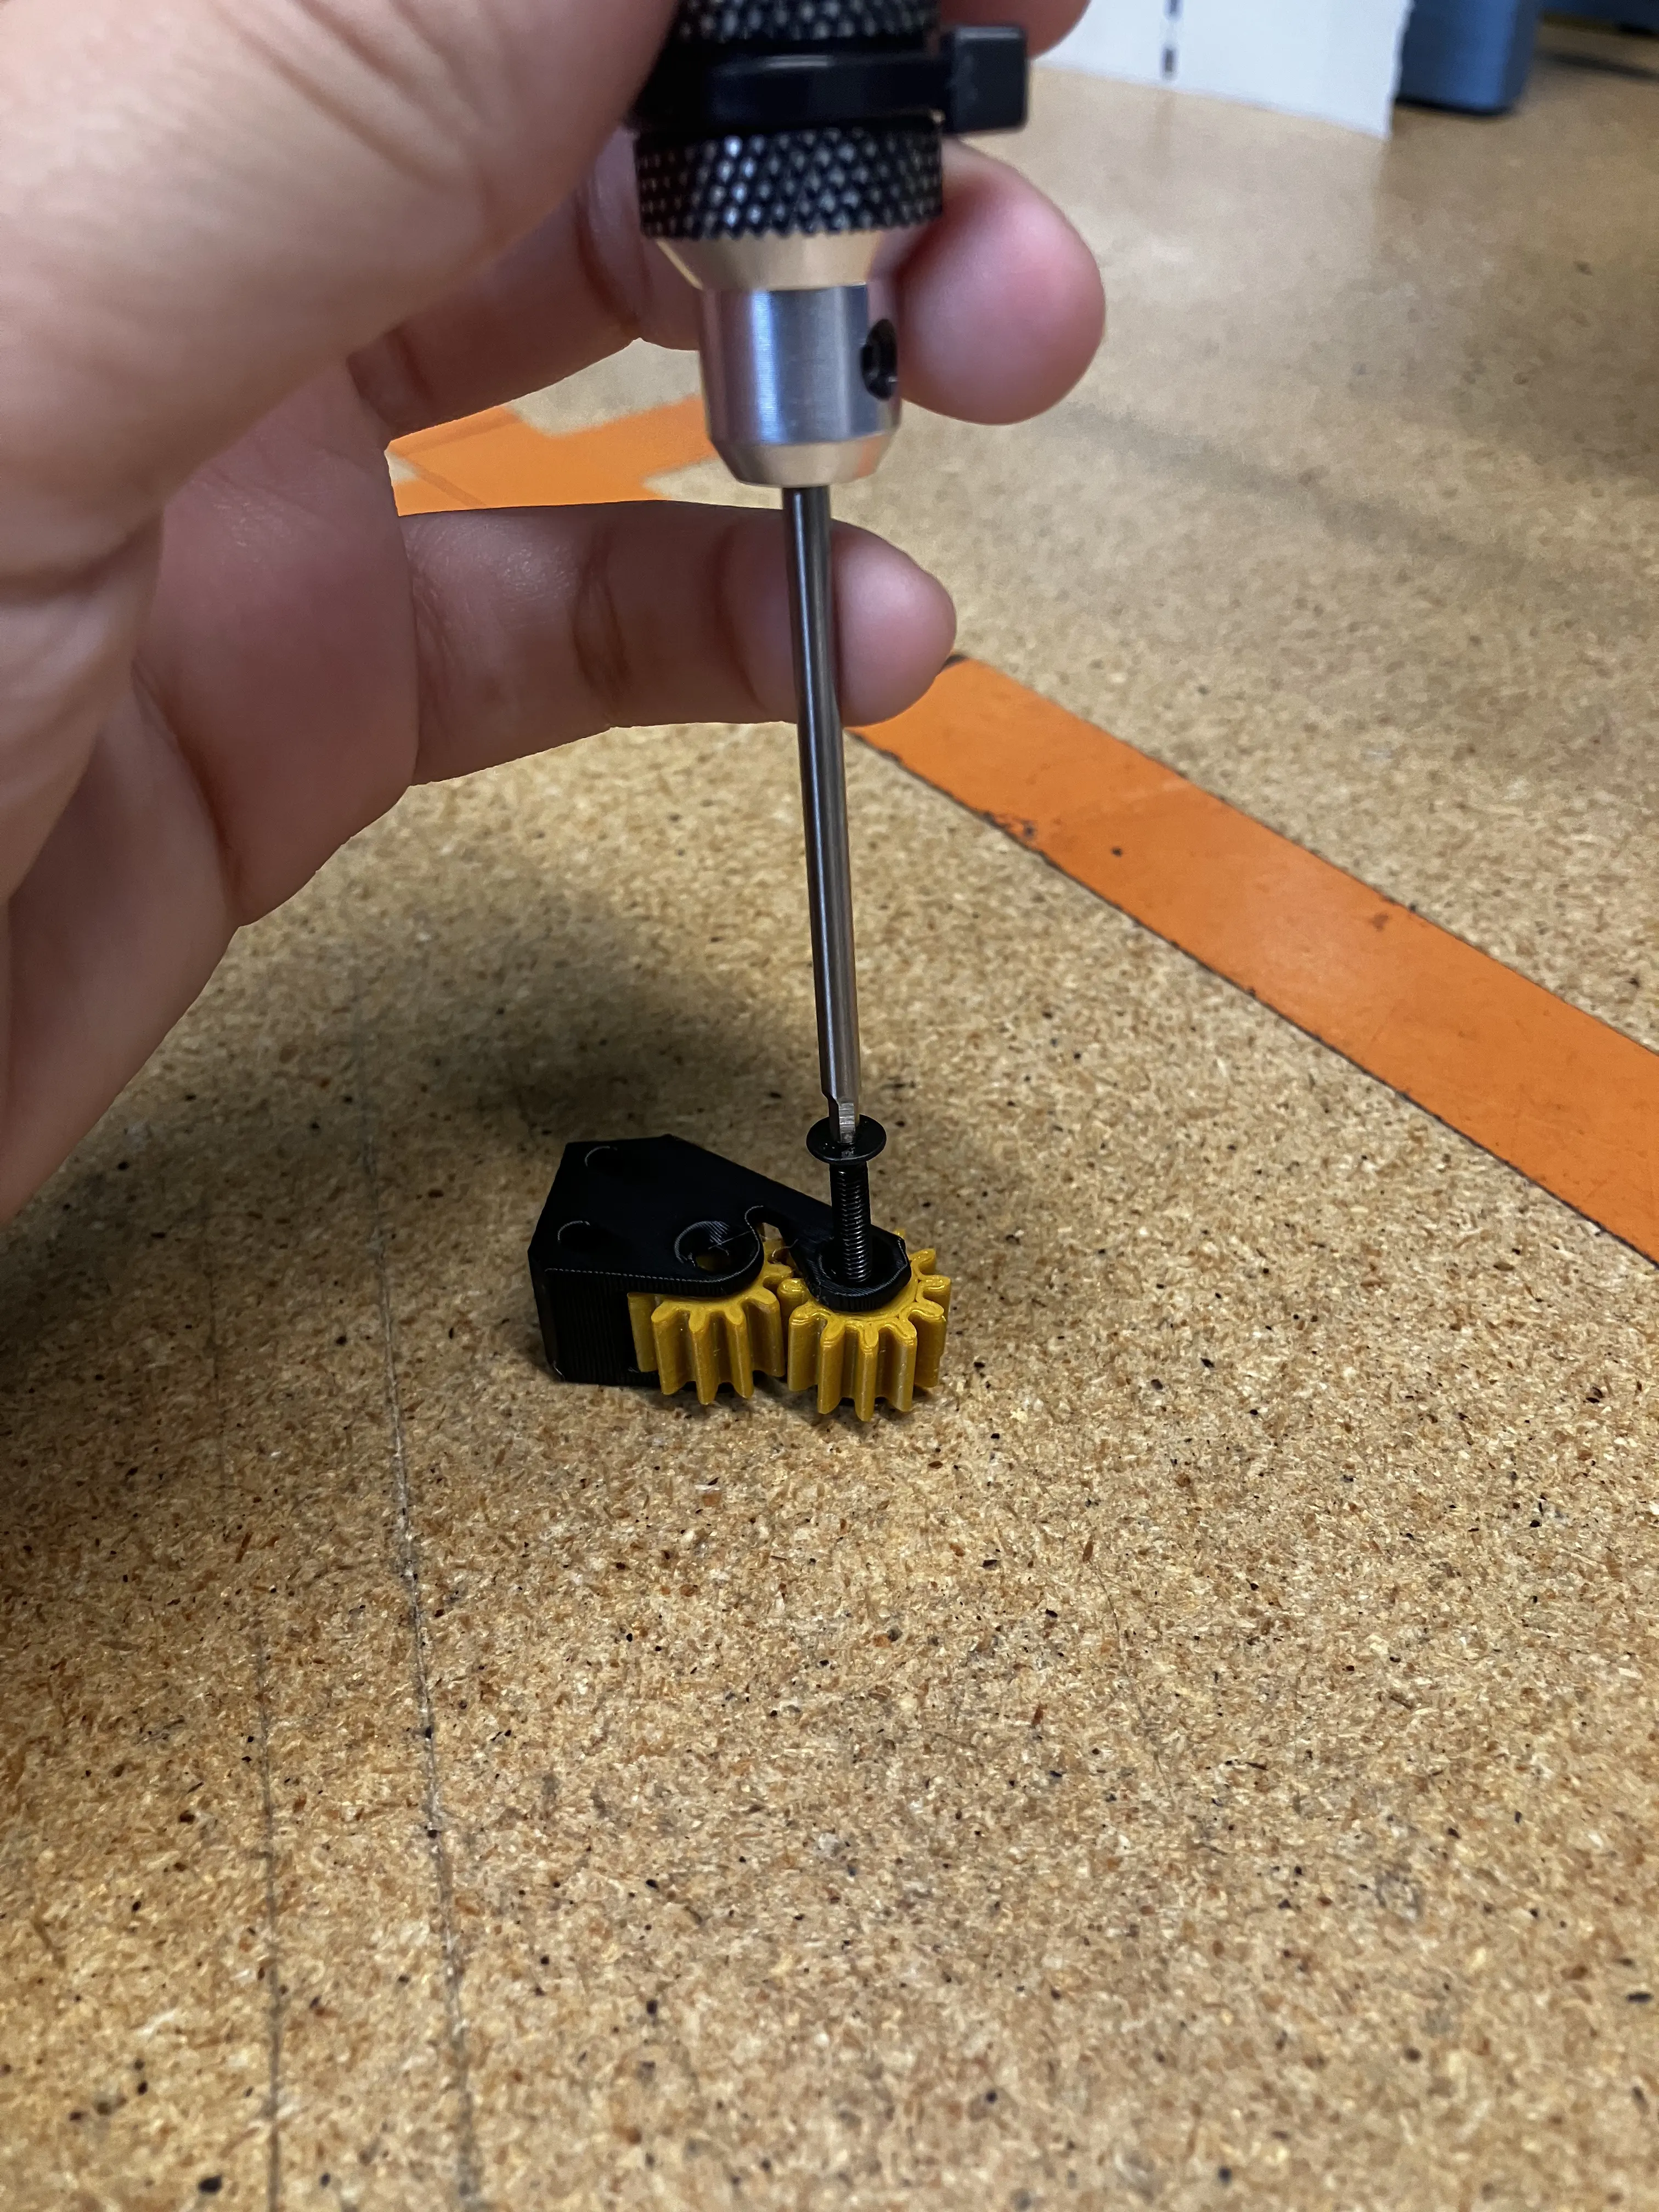
Screwing in
M3x14mm-flat-headscrews -
Use a 2mm hex driver to install 2x
M3x14mm-flat-headinpeel-gear-frame.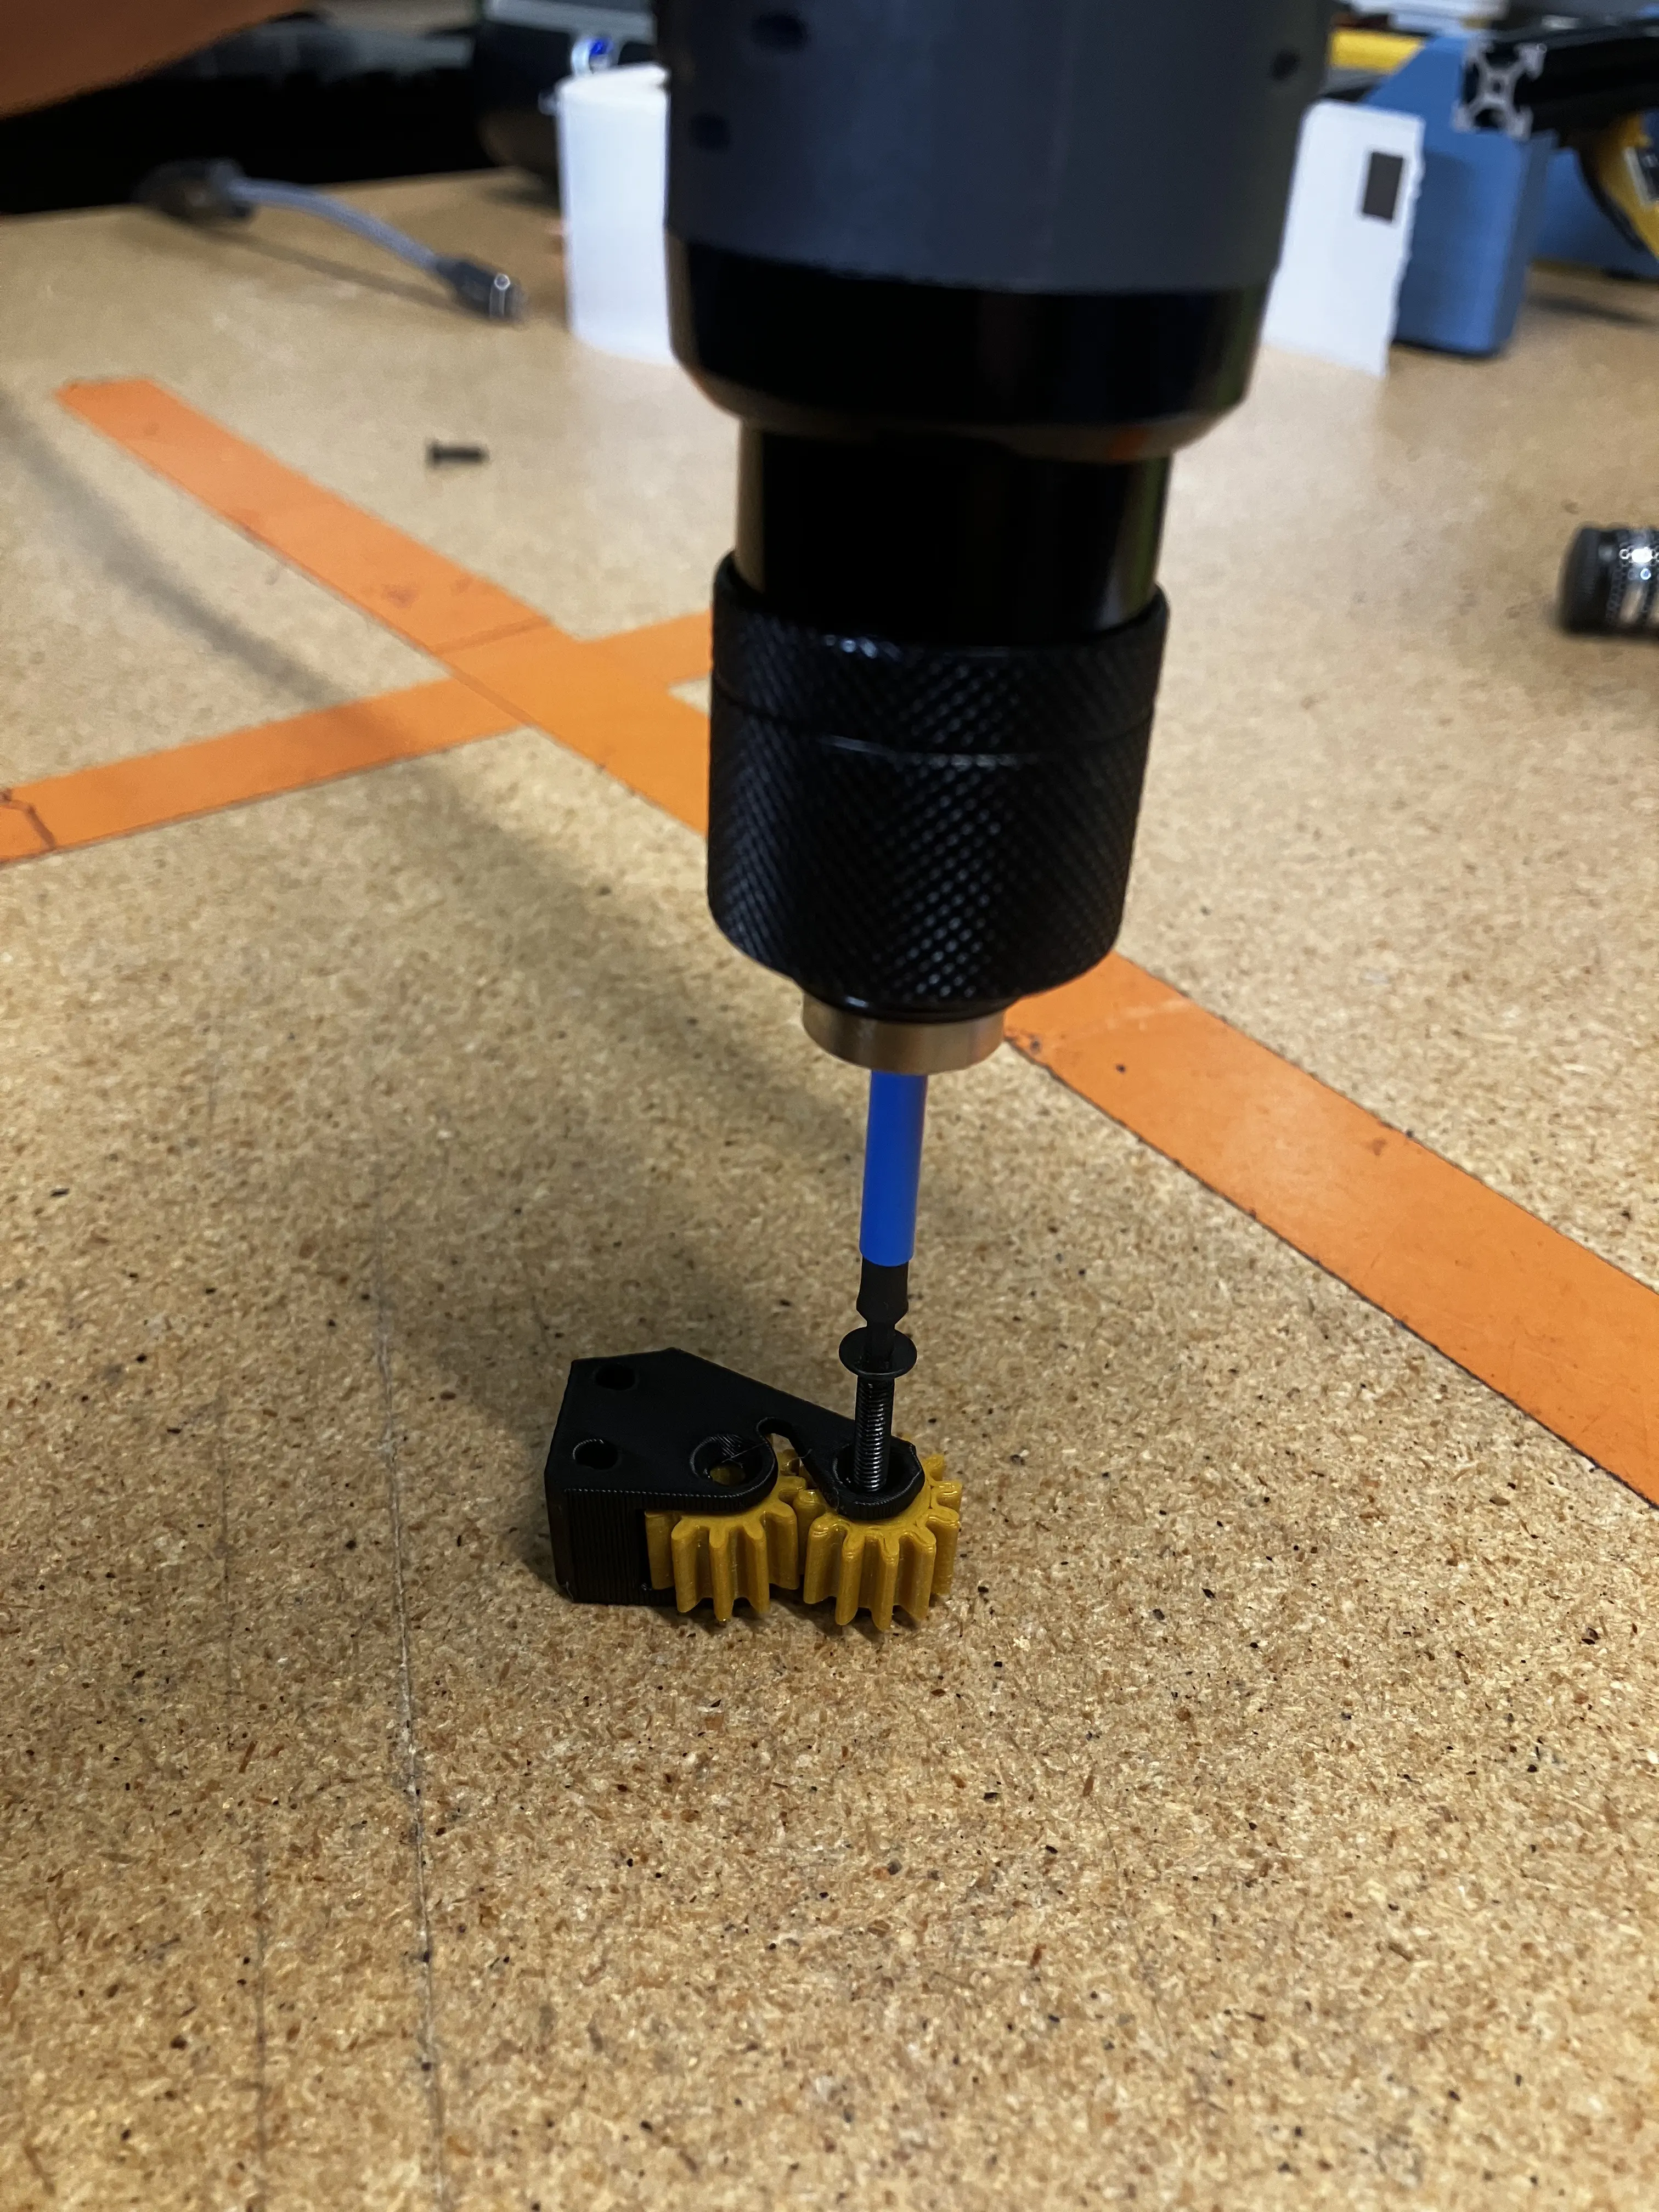
- Once tightened, the peel gears should be able to spin with little to no resistance.
- If too much friction exists, loosen the screws.
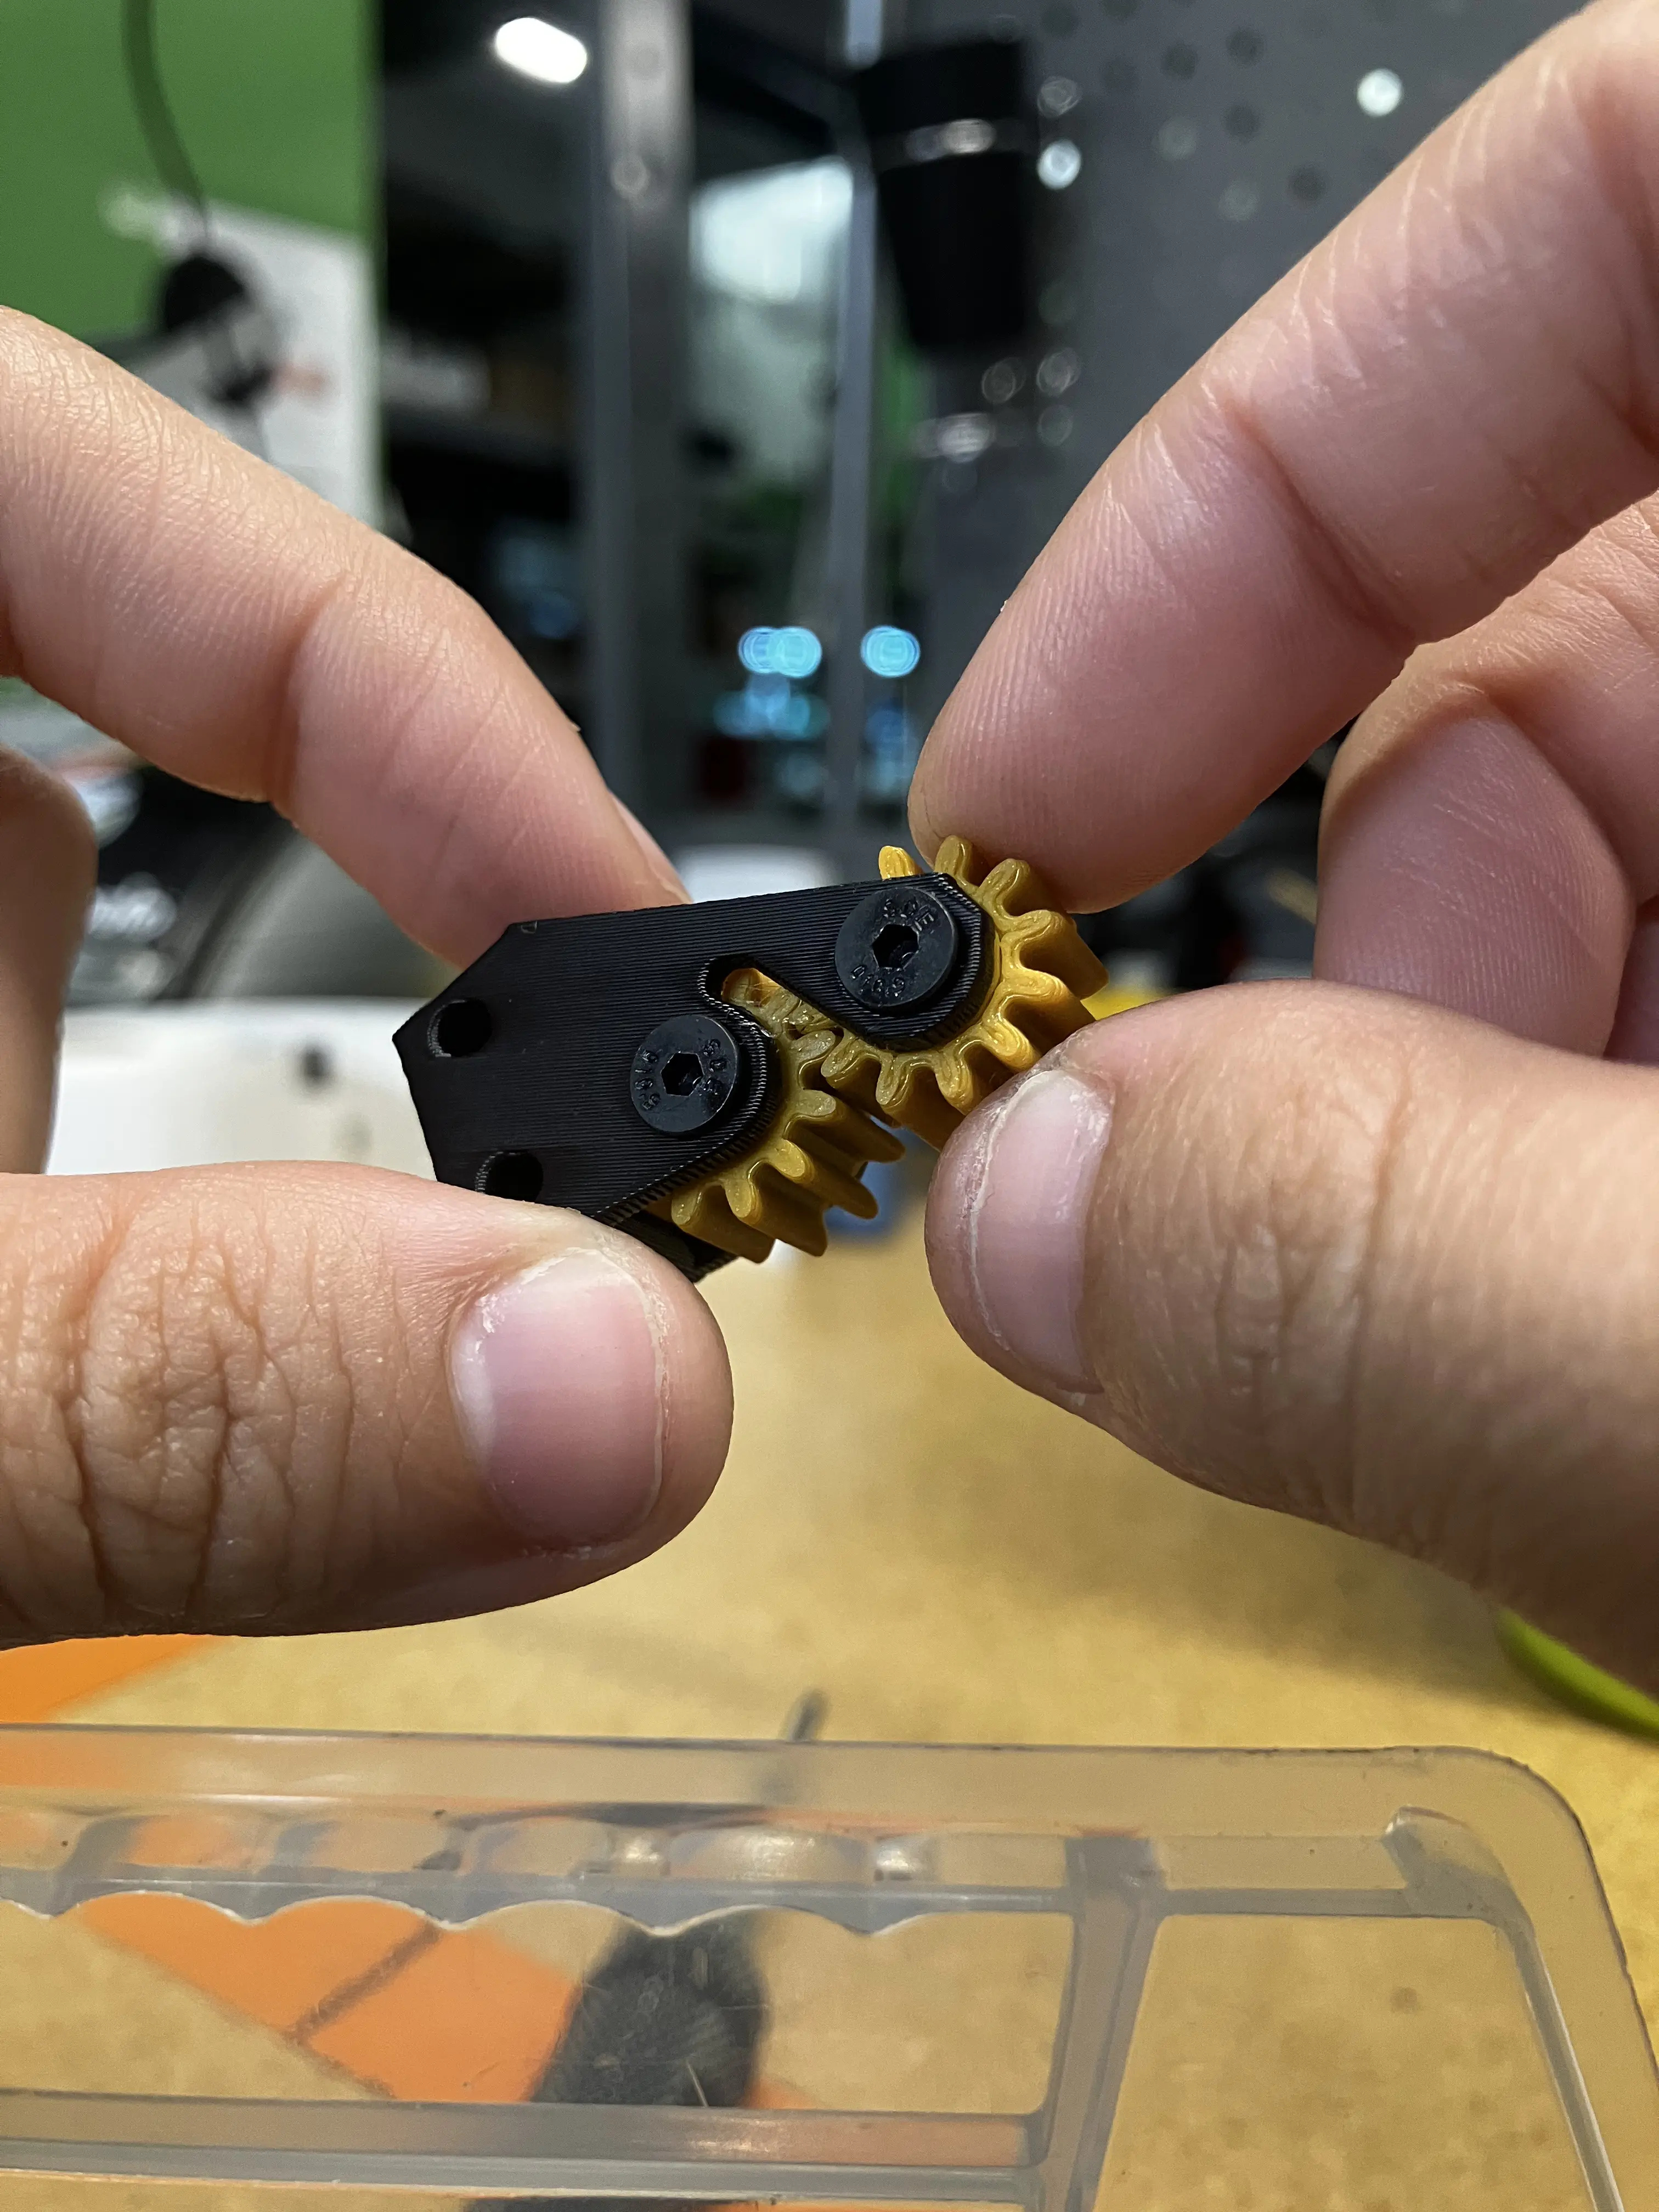
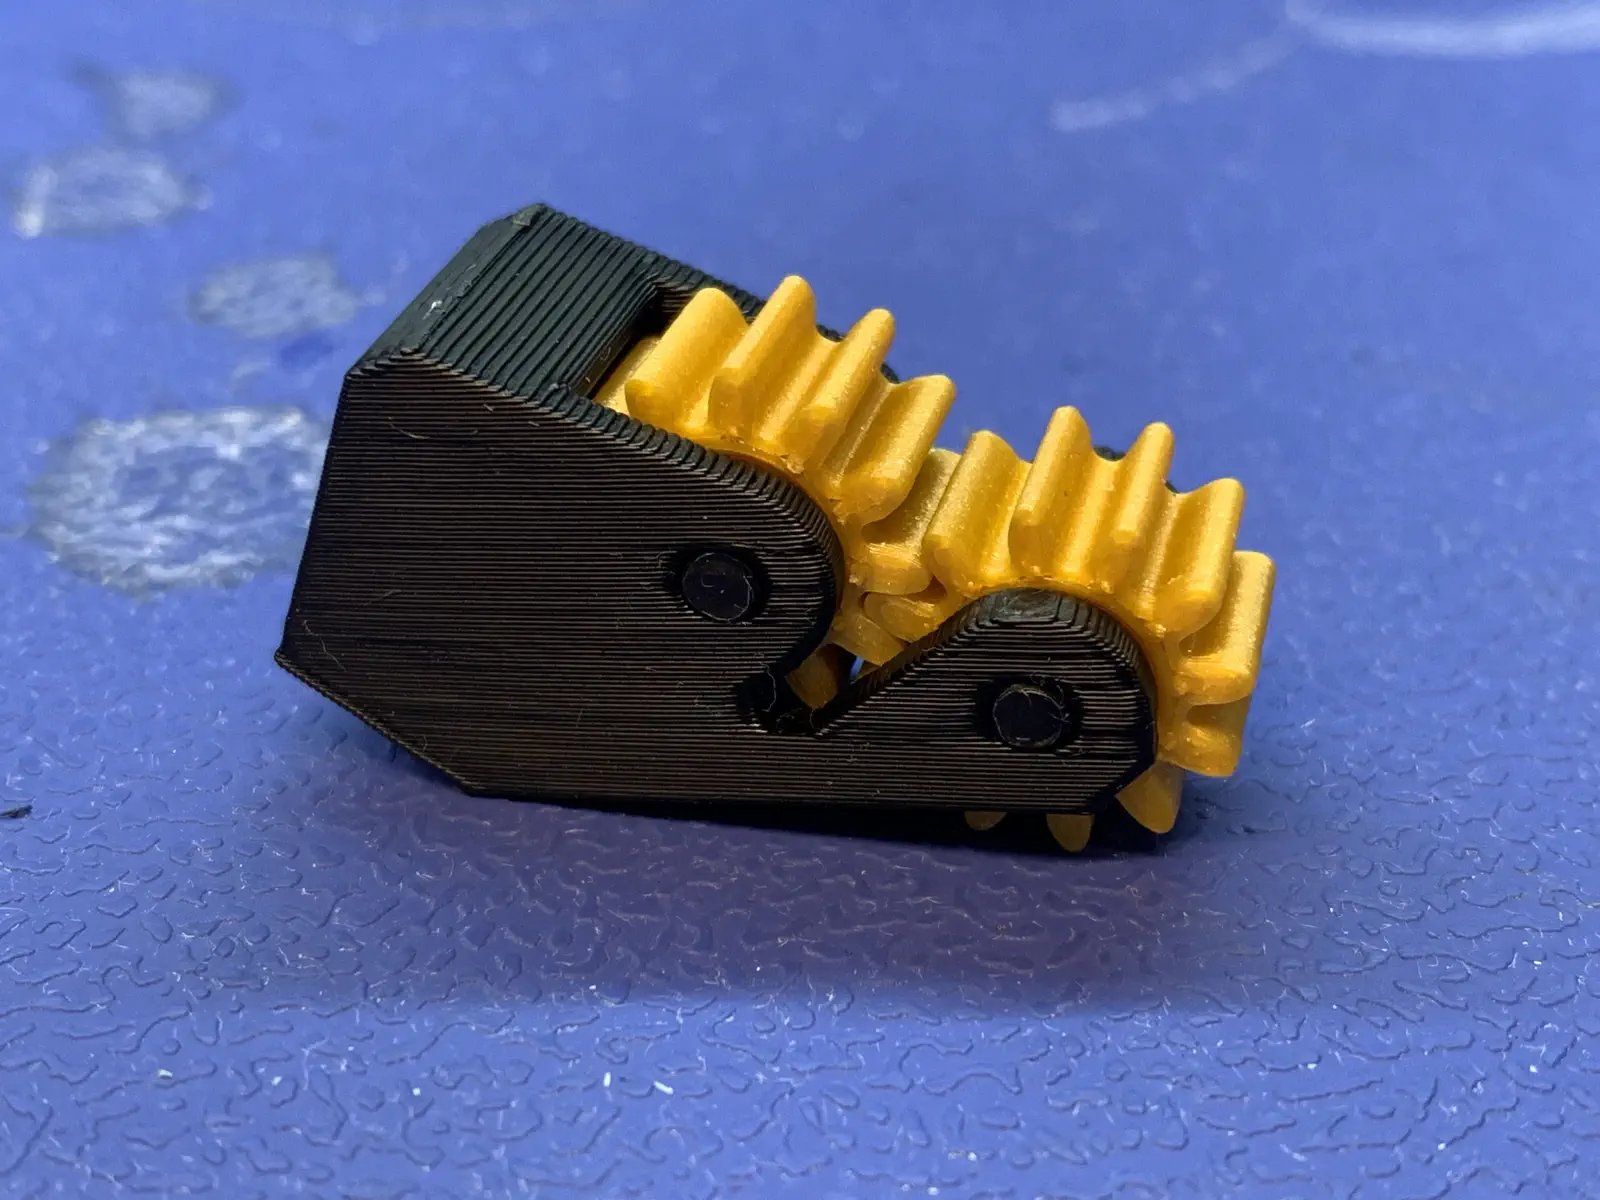
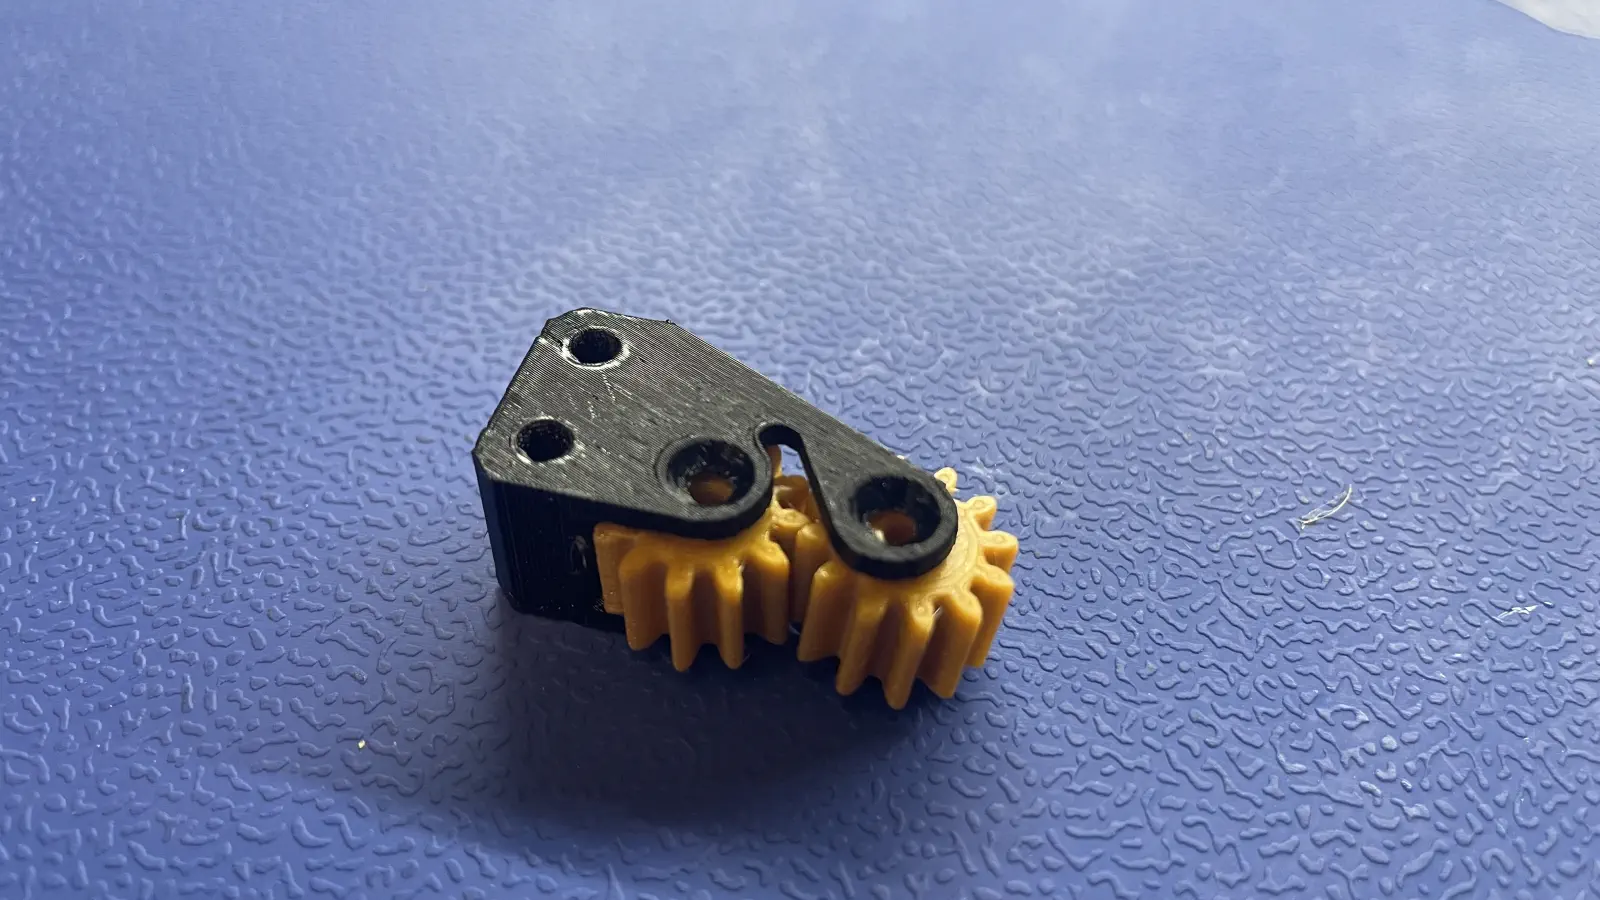
Your completed peel-gear-box should match the image shown below