LumenPnP Tool Kit
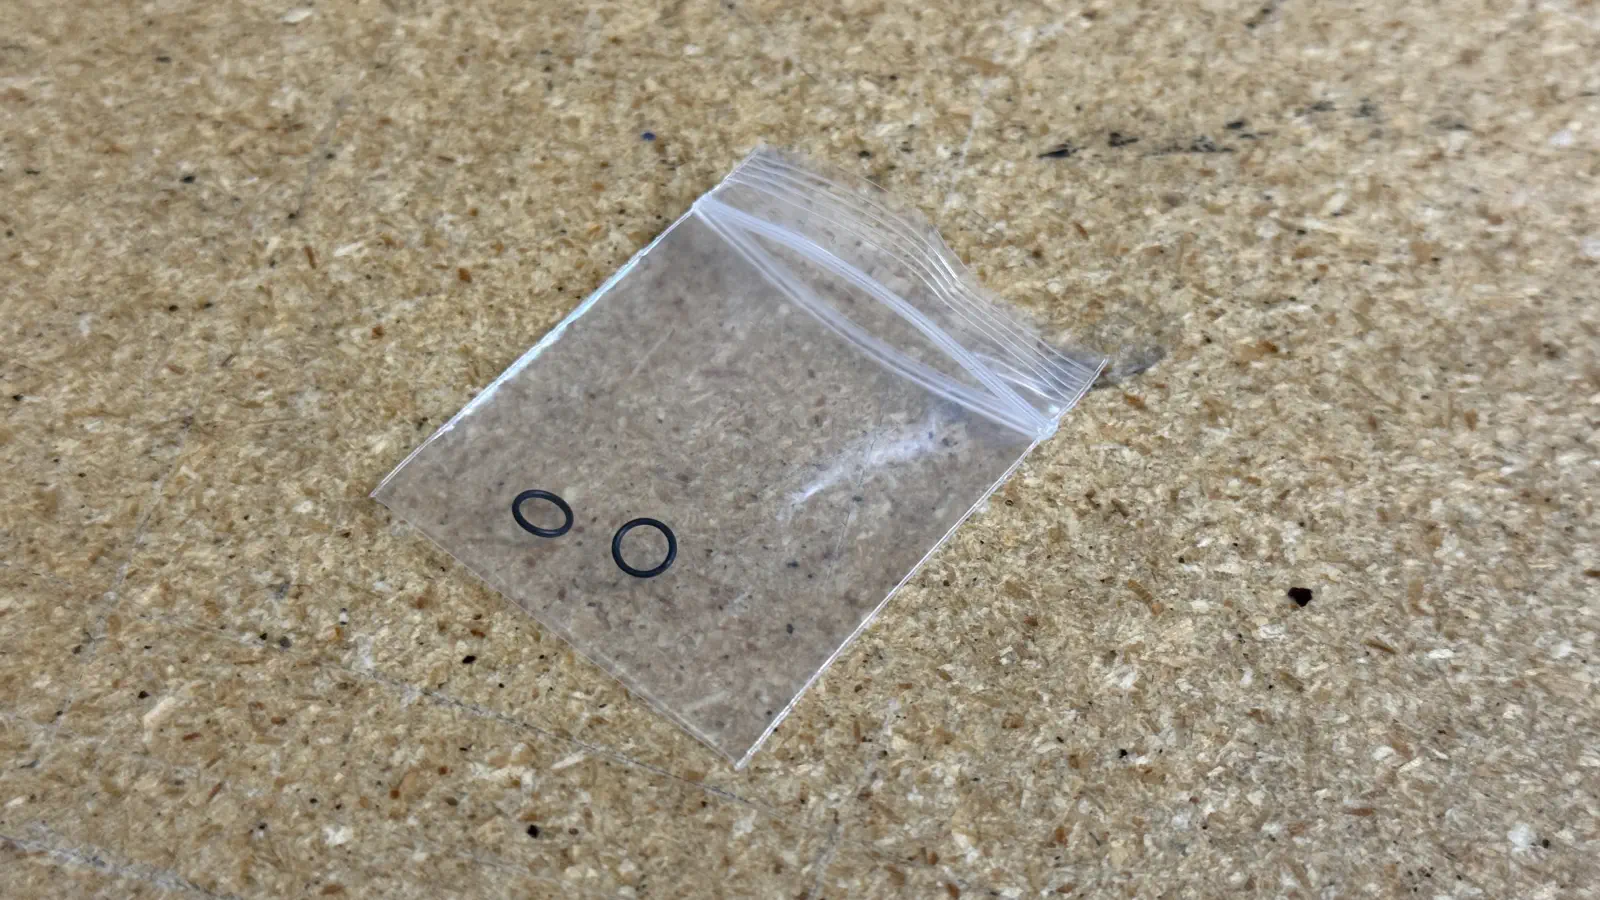
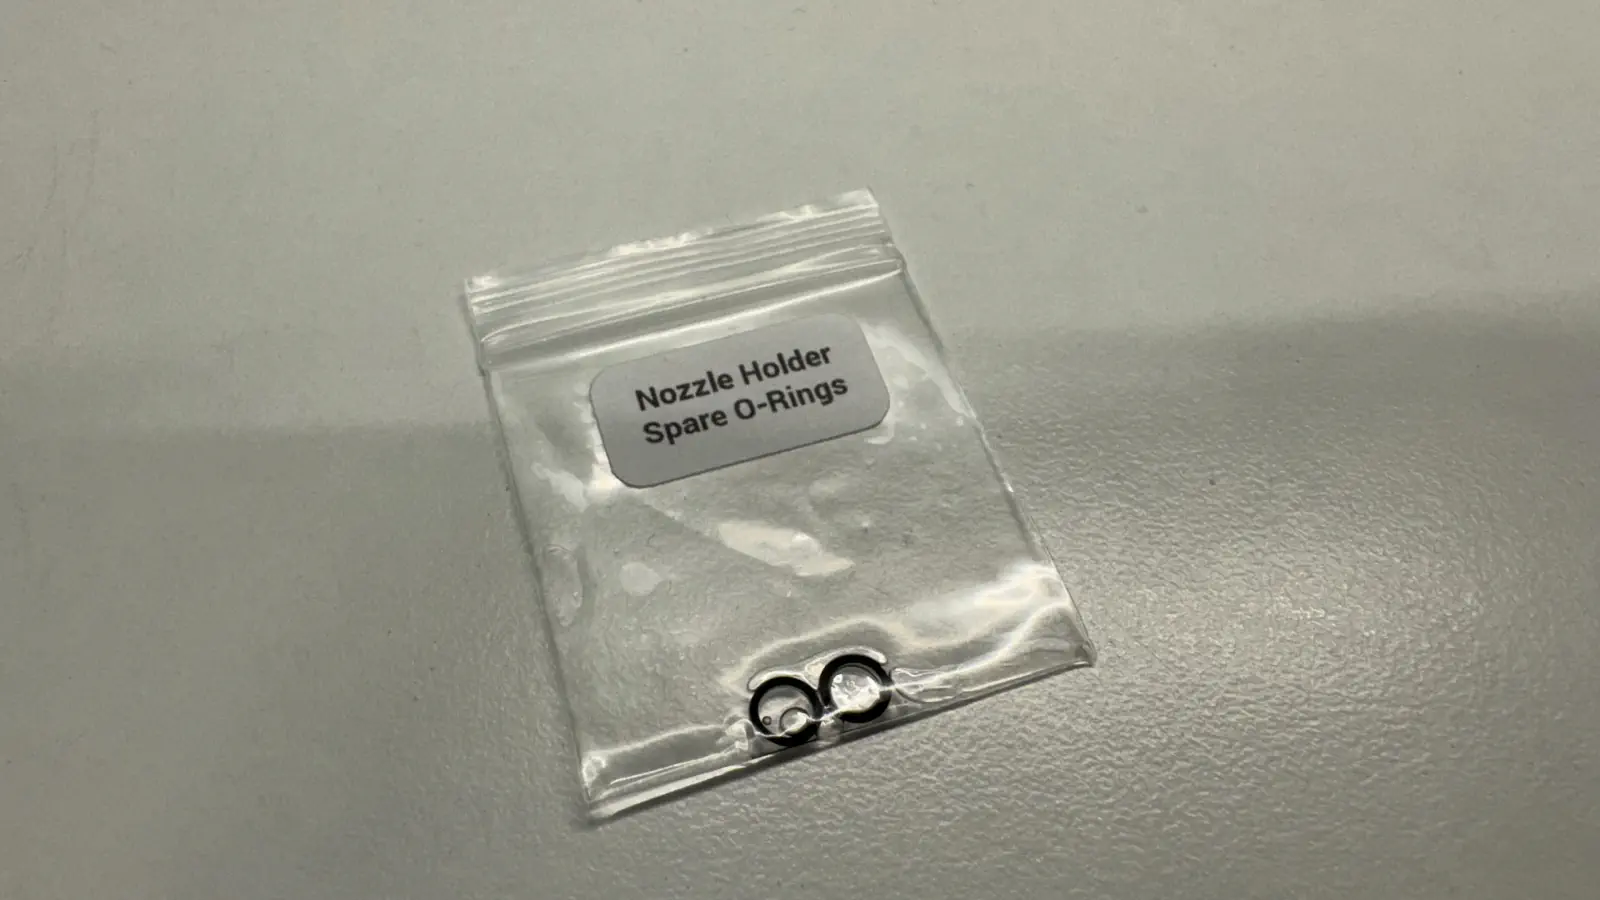
Prepare spare-o-ring-set
-
Place 2x
nozzle-holder-o-ringinto a1.5x1.5-bag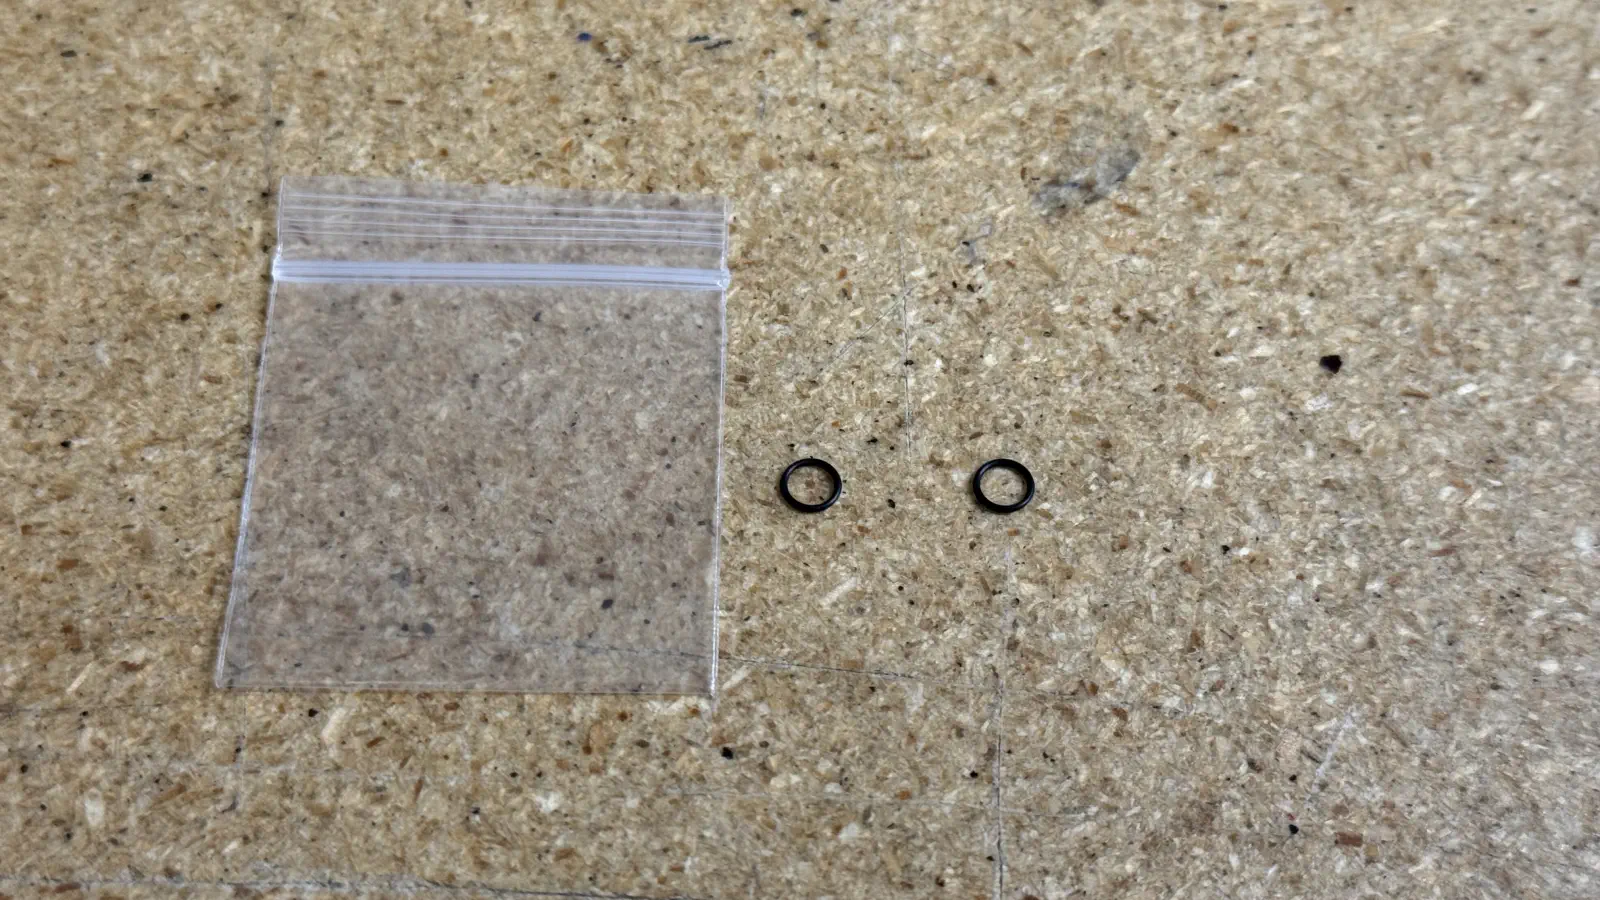
-
Add a few drops of
precision-machine-oilinto the plastic bag before sealing it shut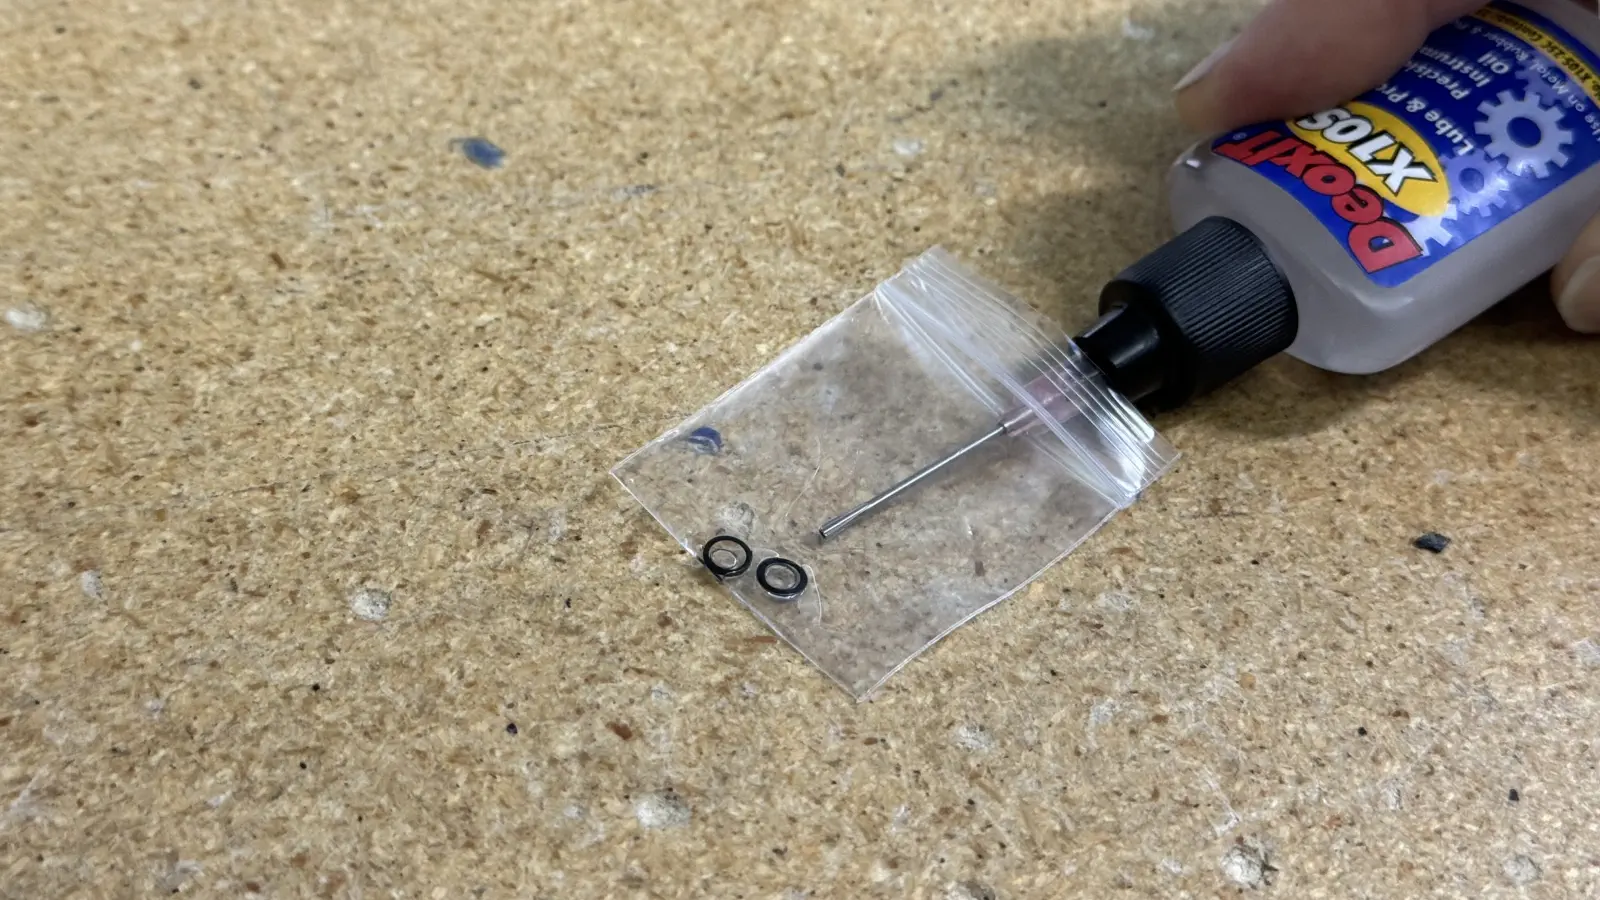
-
Adhere a
Nozzle Holder Spare O-Ringslabel to the outside of the bag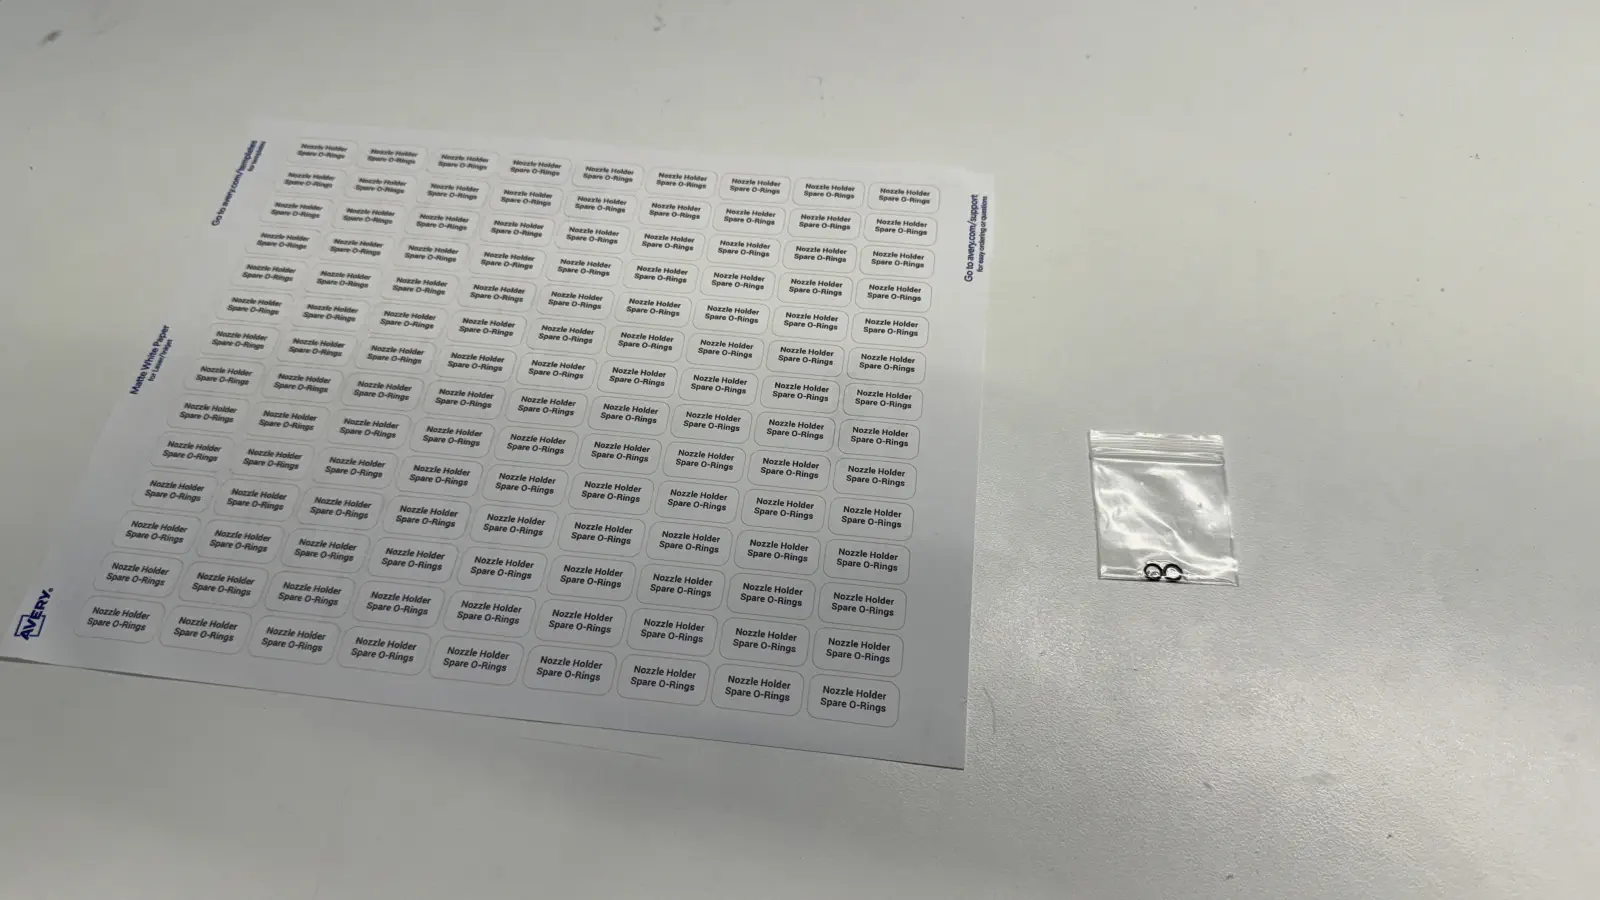
Create lumenpnp-v4-hardware-kit
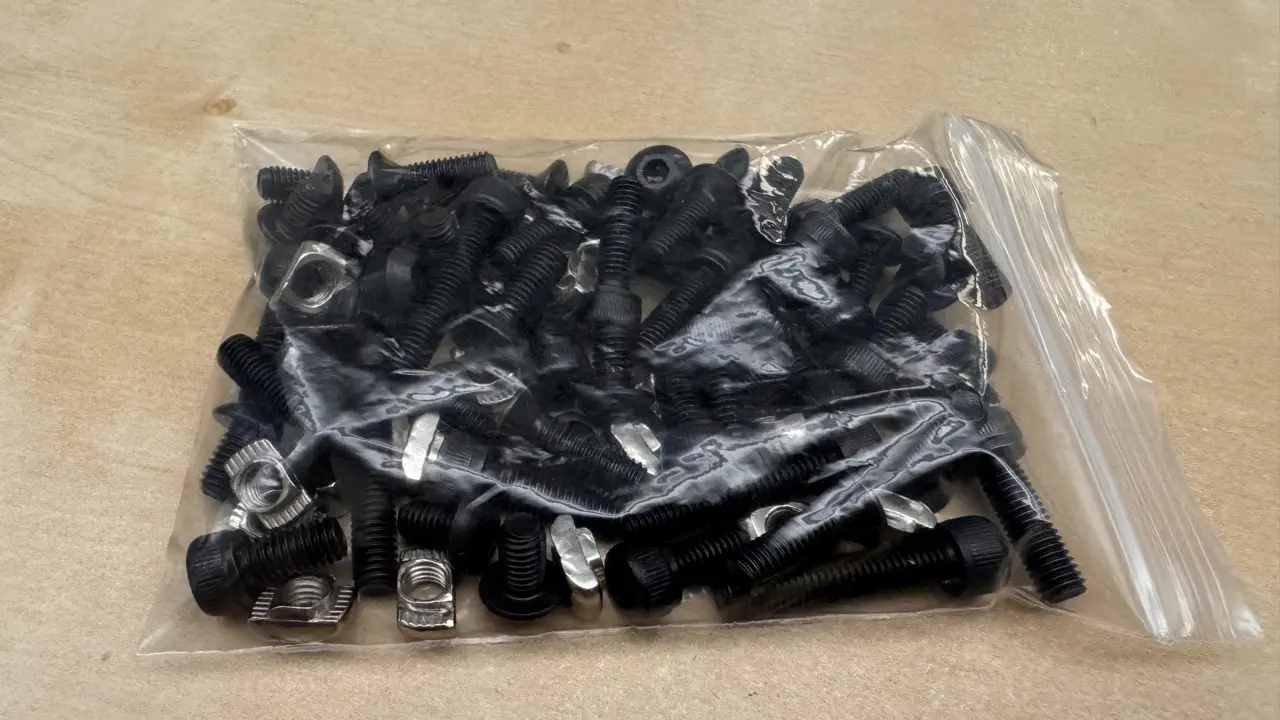
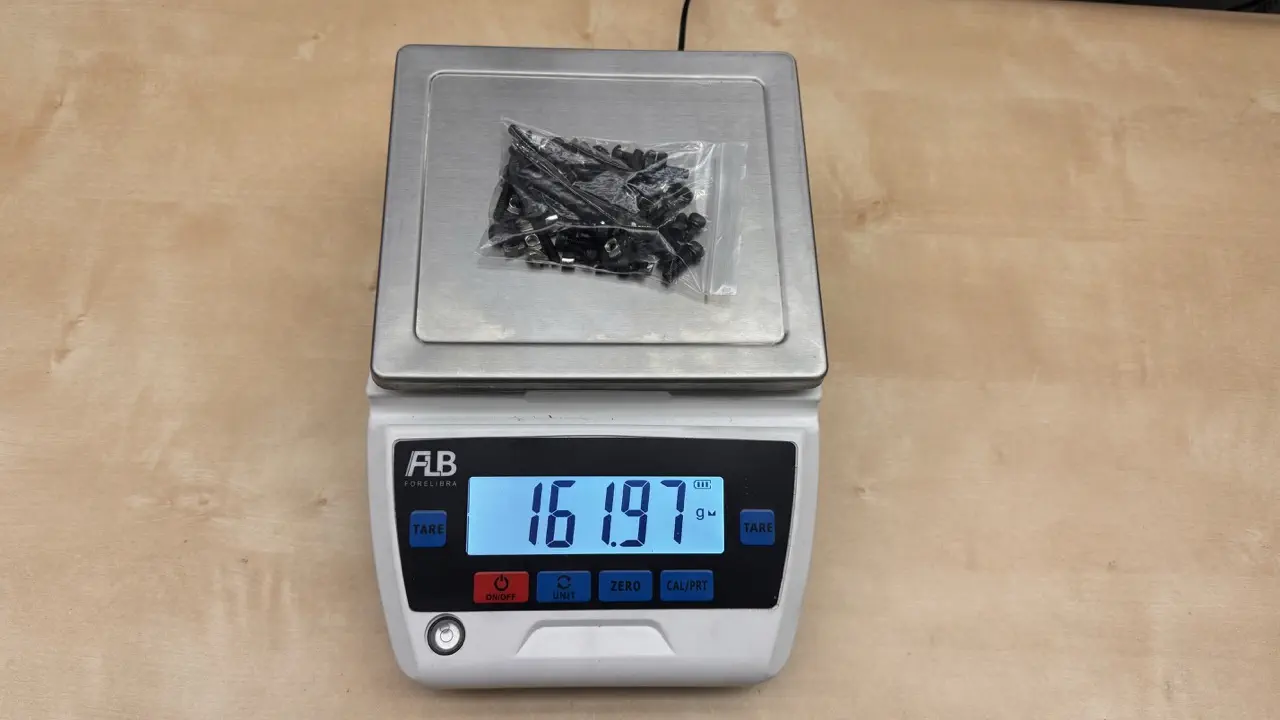
- Collect
lumenpnp-v4-fastener-kitfrom inventory and weigh it - confirm the bag weights approx.162.0 +/- 0.5gbefore proceeding
We purchase lumenpnp-v4-fastener-kit to avoid bagging dozens of bolts ourselves at HQ, however the more custom items from Opulo Managed Inventory must be mixed with this fastener kit to create a lumenpnp-v4-hardware-kit.
-
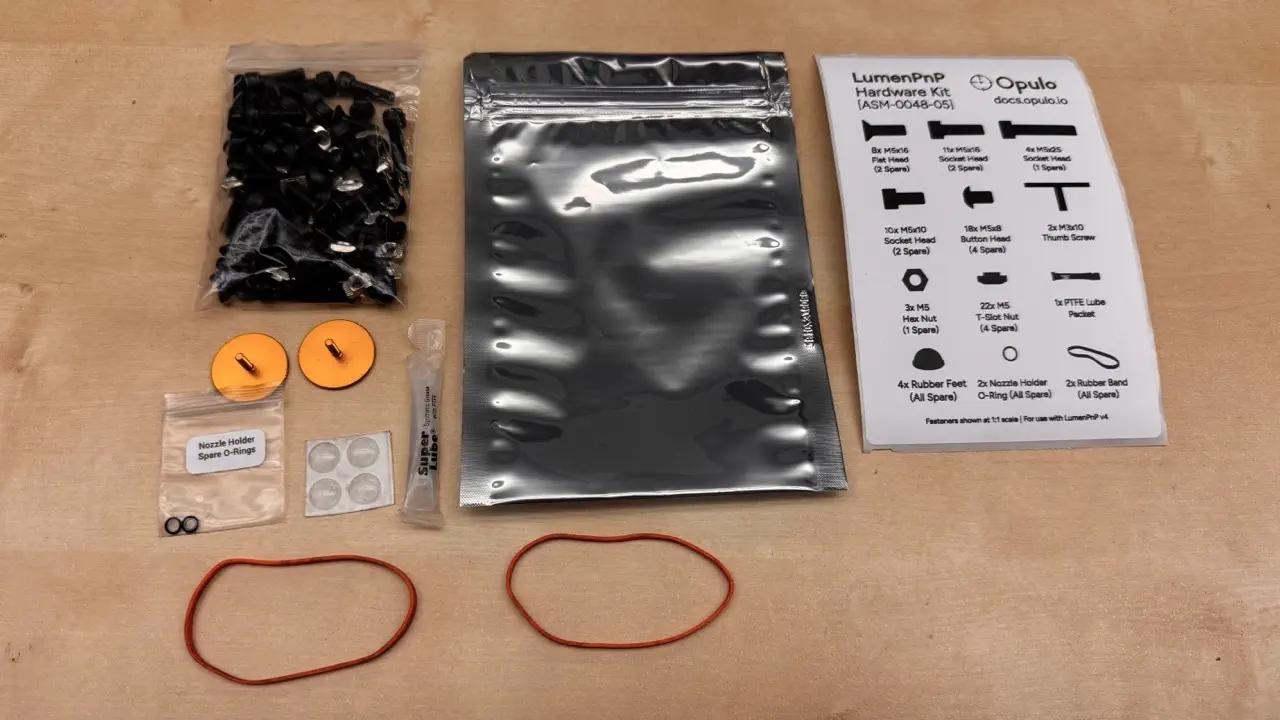
Add the following items into a
4x6-esd-bagbefore sealing it shut- 2x
rubber-band - 1x
spare-o-ring-set - 4x
rubber-feet - 1x
silicone-grease-packet - 2x
M3-thumb-screw - 1x
lumenpnp-v4-fastener-kit

- 2x
-
QC review
lumenpnp-v4-hardware-kitwith a weight check- Confirm each bag weighs
176.6 +/- 0.5g - If a bag weighs less than this, recount the pieces and rework as needed before proceeding
The bag has been updated to contain 8x M5x16-Flat-Head and the weight hasn't be updated for this yet
- Confirm each bag weighs
-
After a bag passes weight check, adhere a
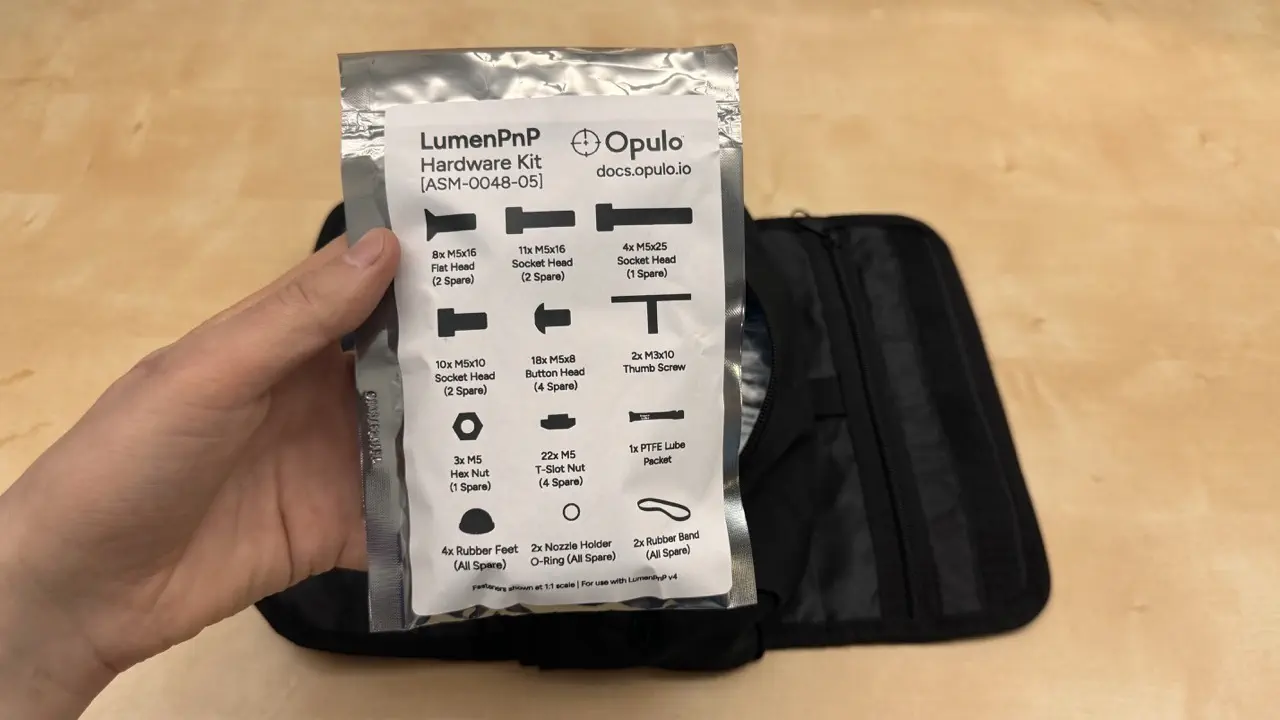
bolt-kit-bag-labelto the outside oflumenpnp-v4-hardware-kit- Note that the current Opulo MFG P/N for
lumenpnp-v4-hardware-kitisASM-0048-05
- Note that the current Opulo MFG P/N for
Create punched-holes-kit
-
Punch 10x holes from cardstock paper
-
Insert punched holes into a 2x3 bag
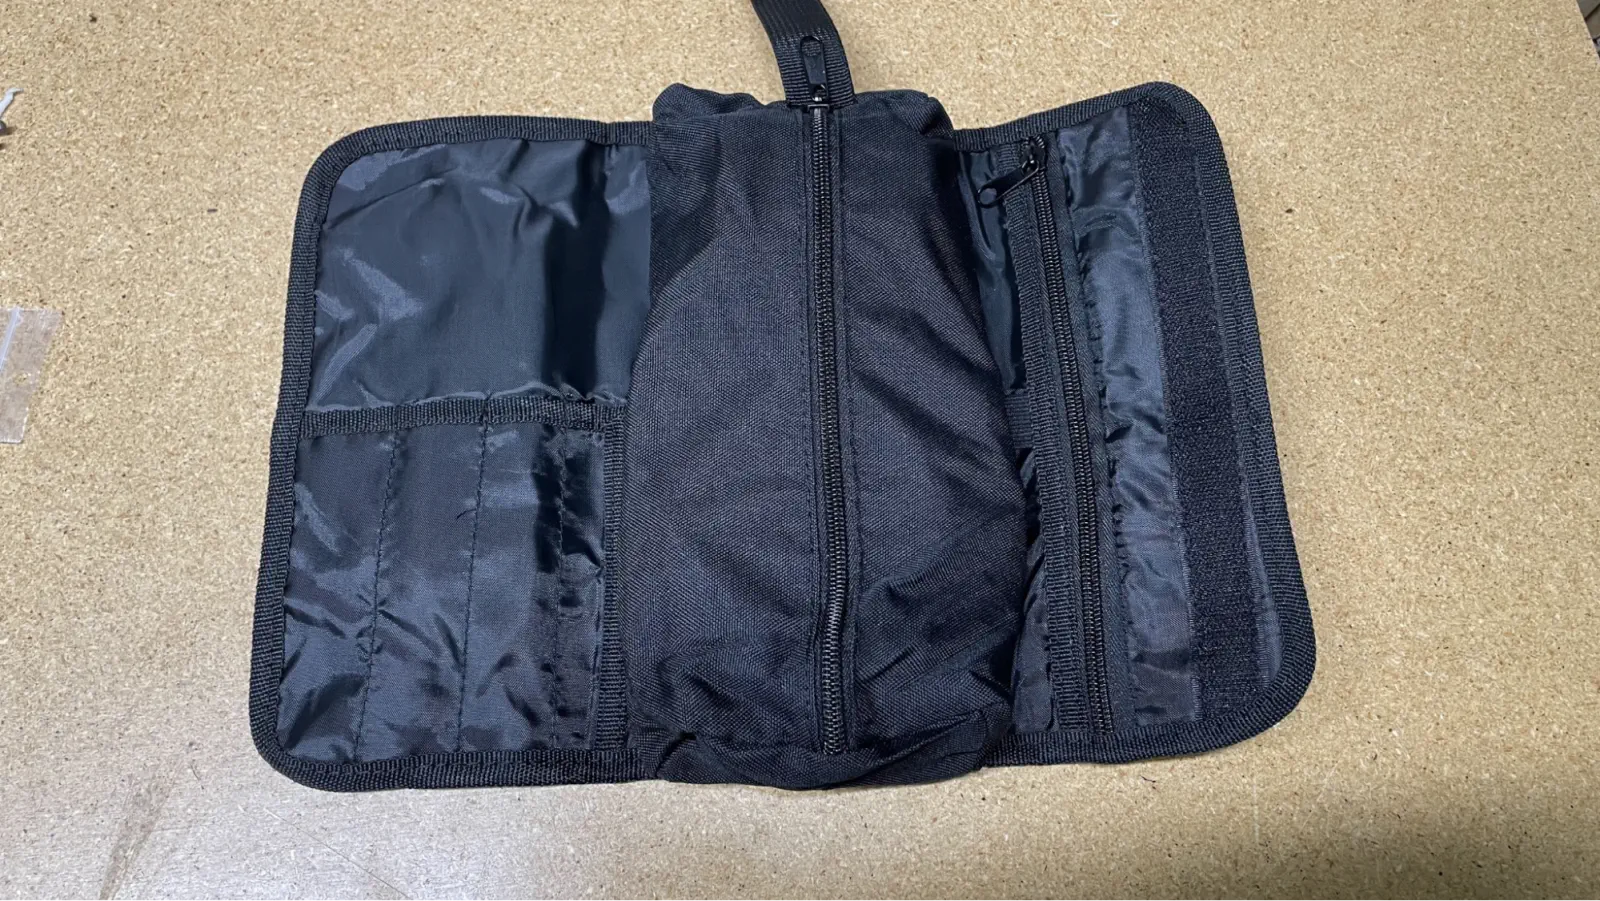
Pack tool-kit-bag
-
Gather components shown:
-
Place
zip-tie-bagintotool-kit-bagpouch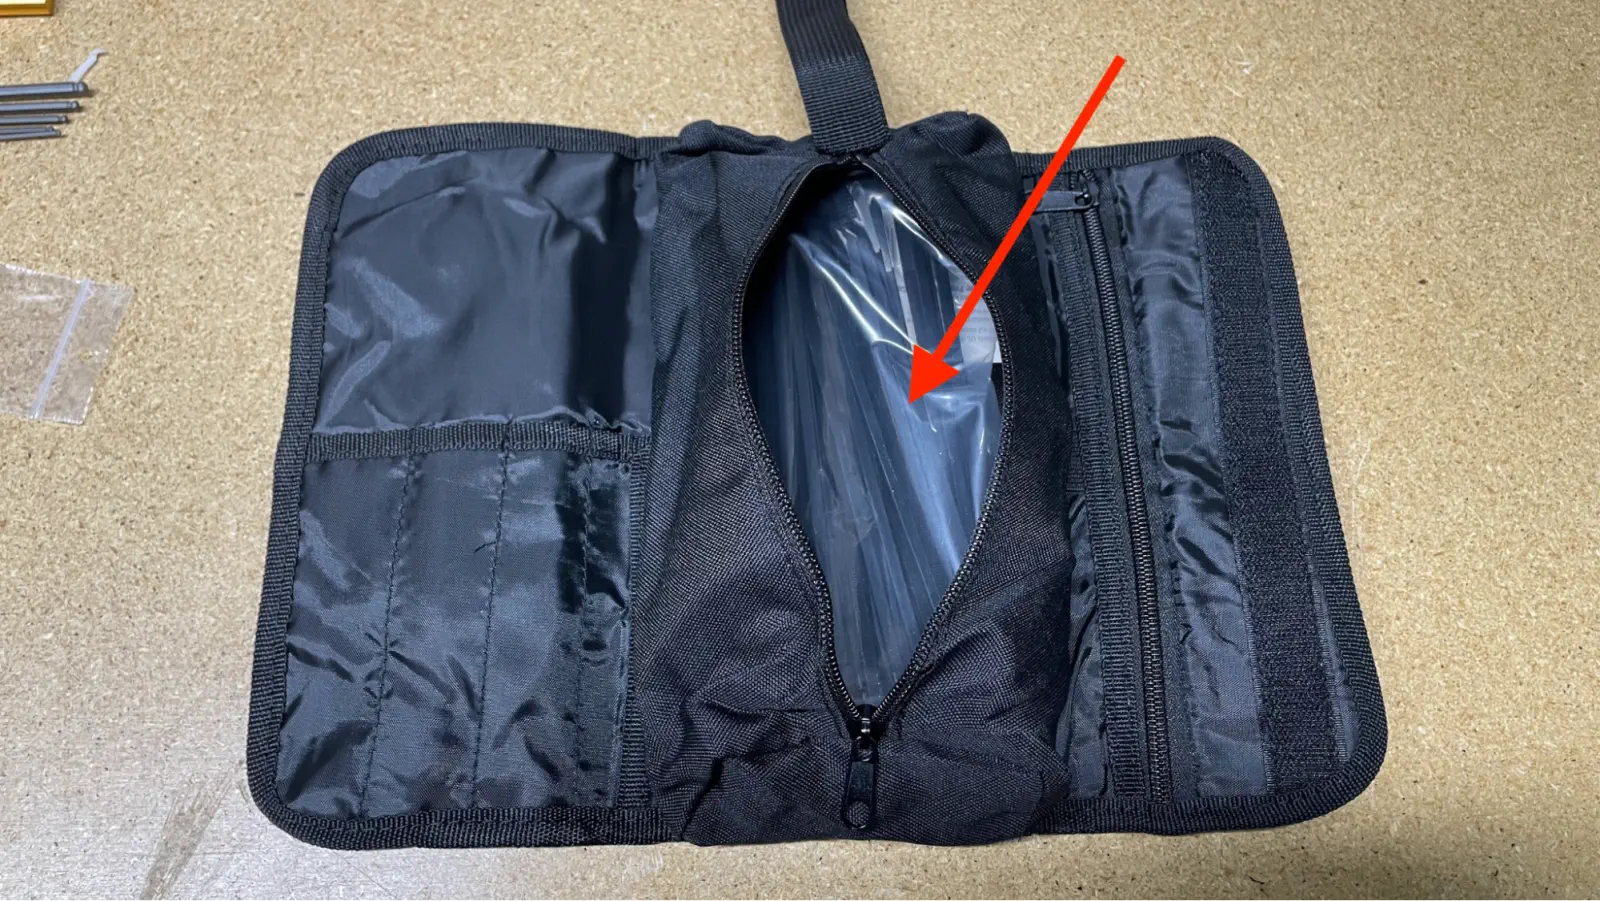
-
Place
ESD-wrist-strapinto pouch
-
Place
USB-A to USB-B cableaboveESD wrist strap, towards the bottom of pouch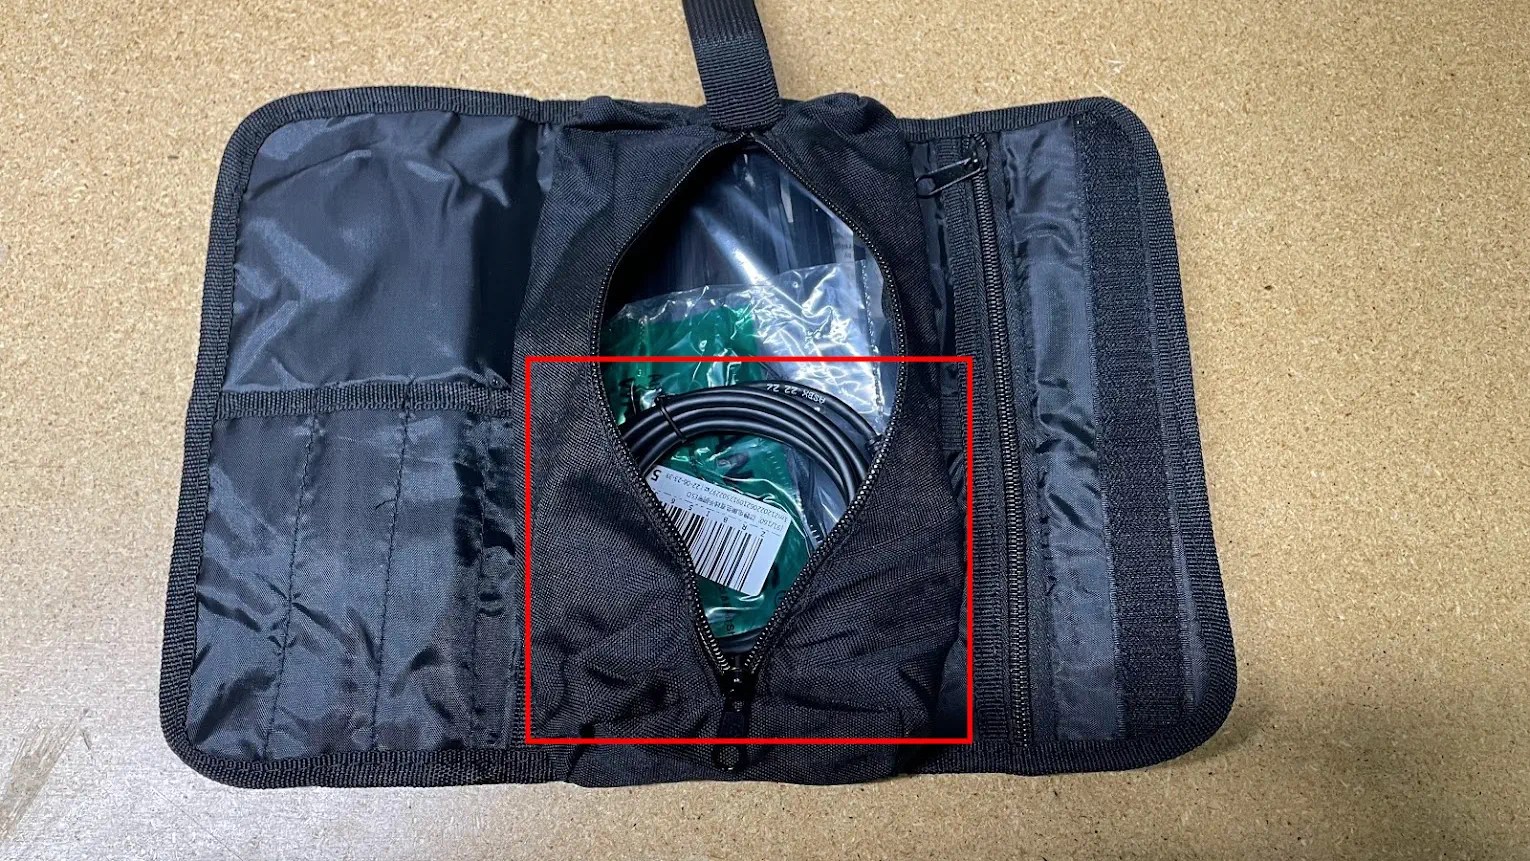
-
Place
feeder-programmerinto pouch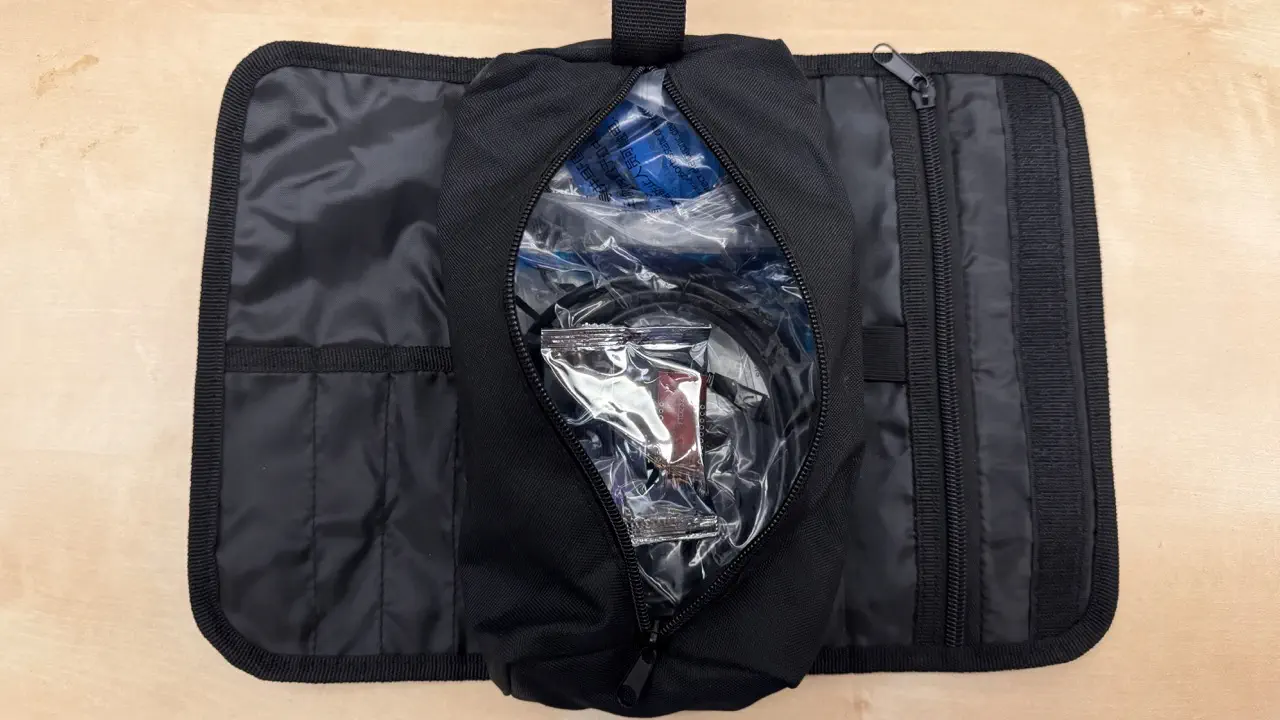
-
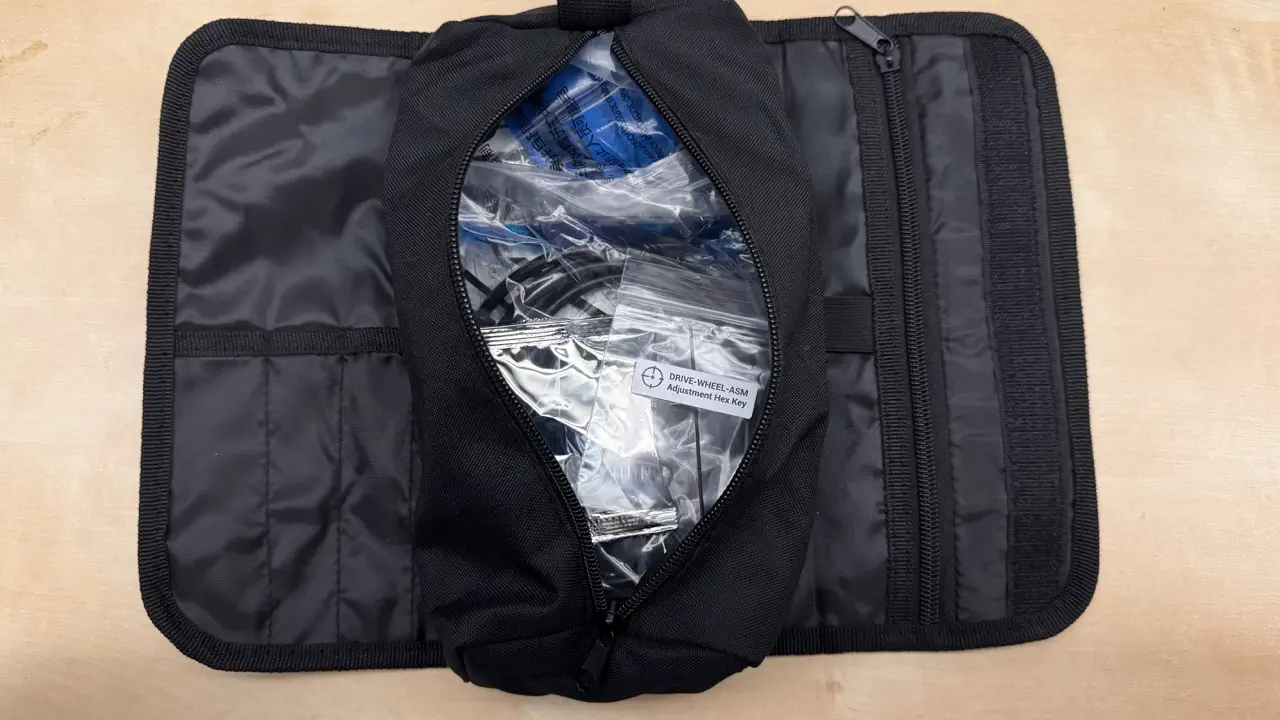
Place
DRIVE-WHEEL-ASM Adjustment Hex Keyinto pouch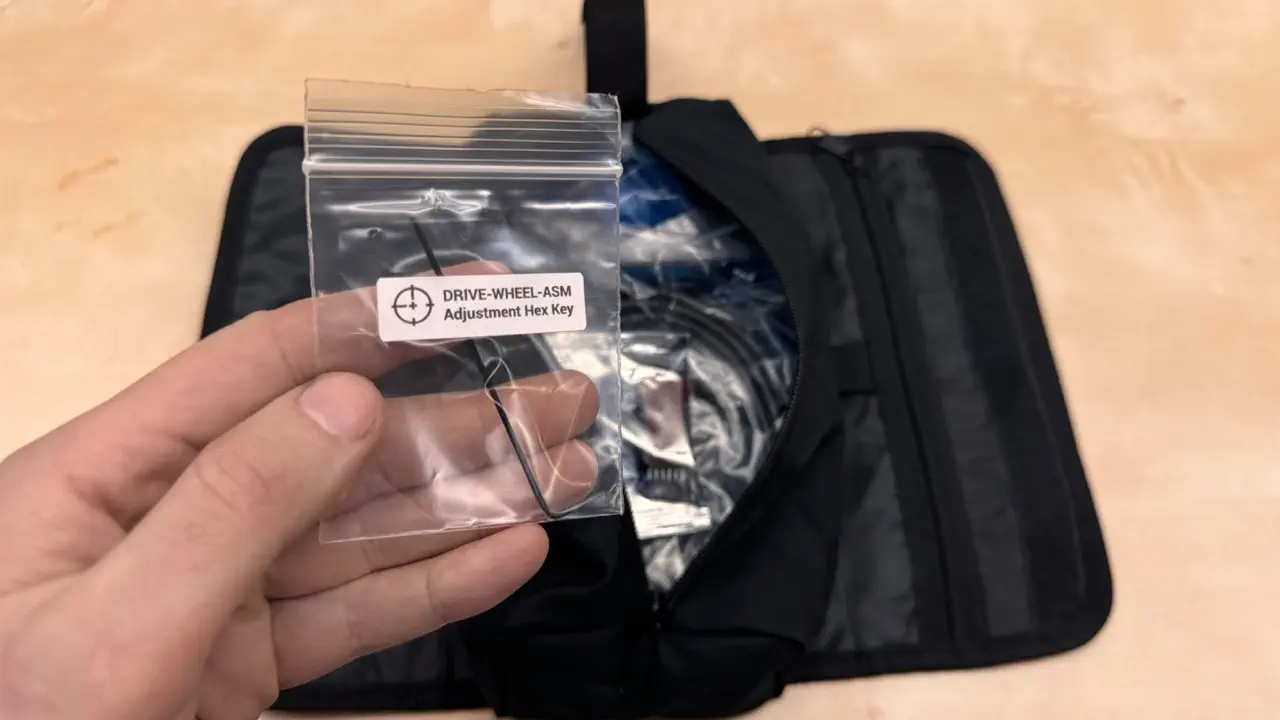
-
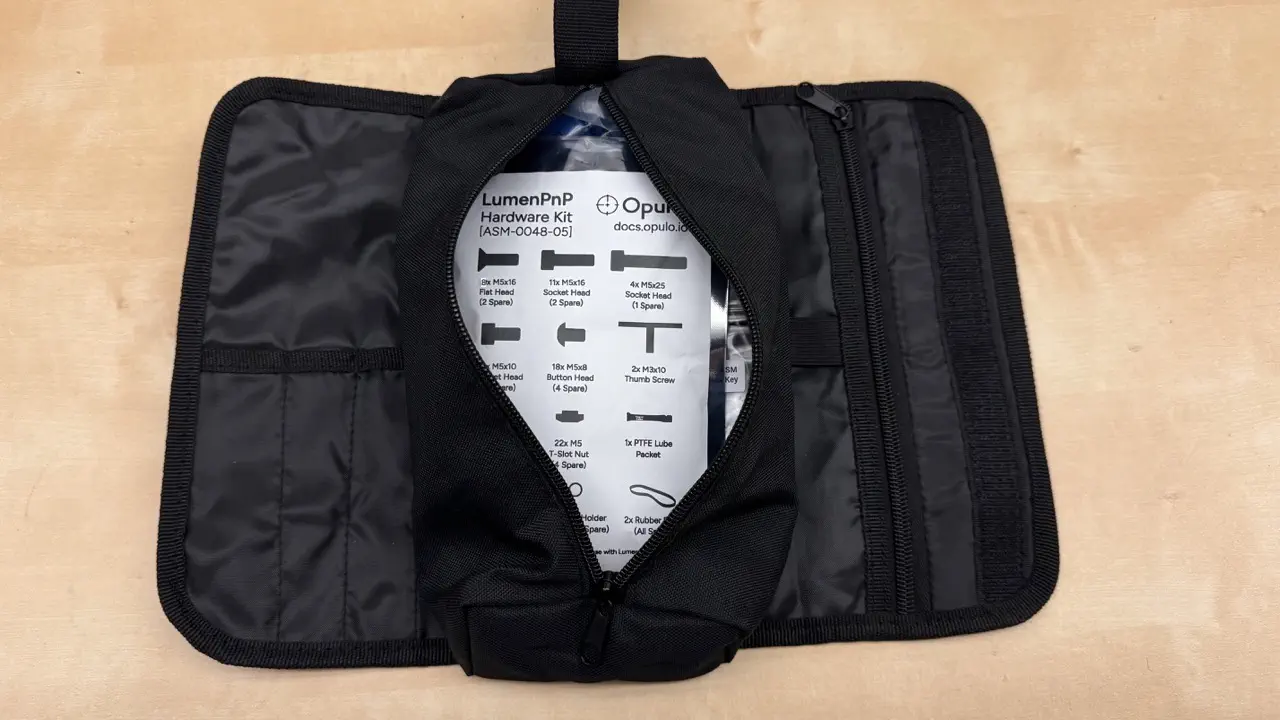
Place
lumenpnp-v4-hardware-kitinto pouchIt is critical to ensure that this hardware kit has been correctly prepared
-
Place
punched-holes-kitinto pouch -
Close the pouch's zipper
-
Unwrap protective plastic from
flush-cutterand install it into left side oftool-kit-bag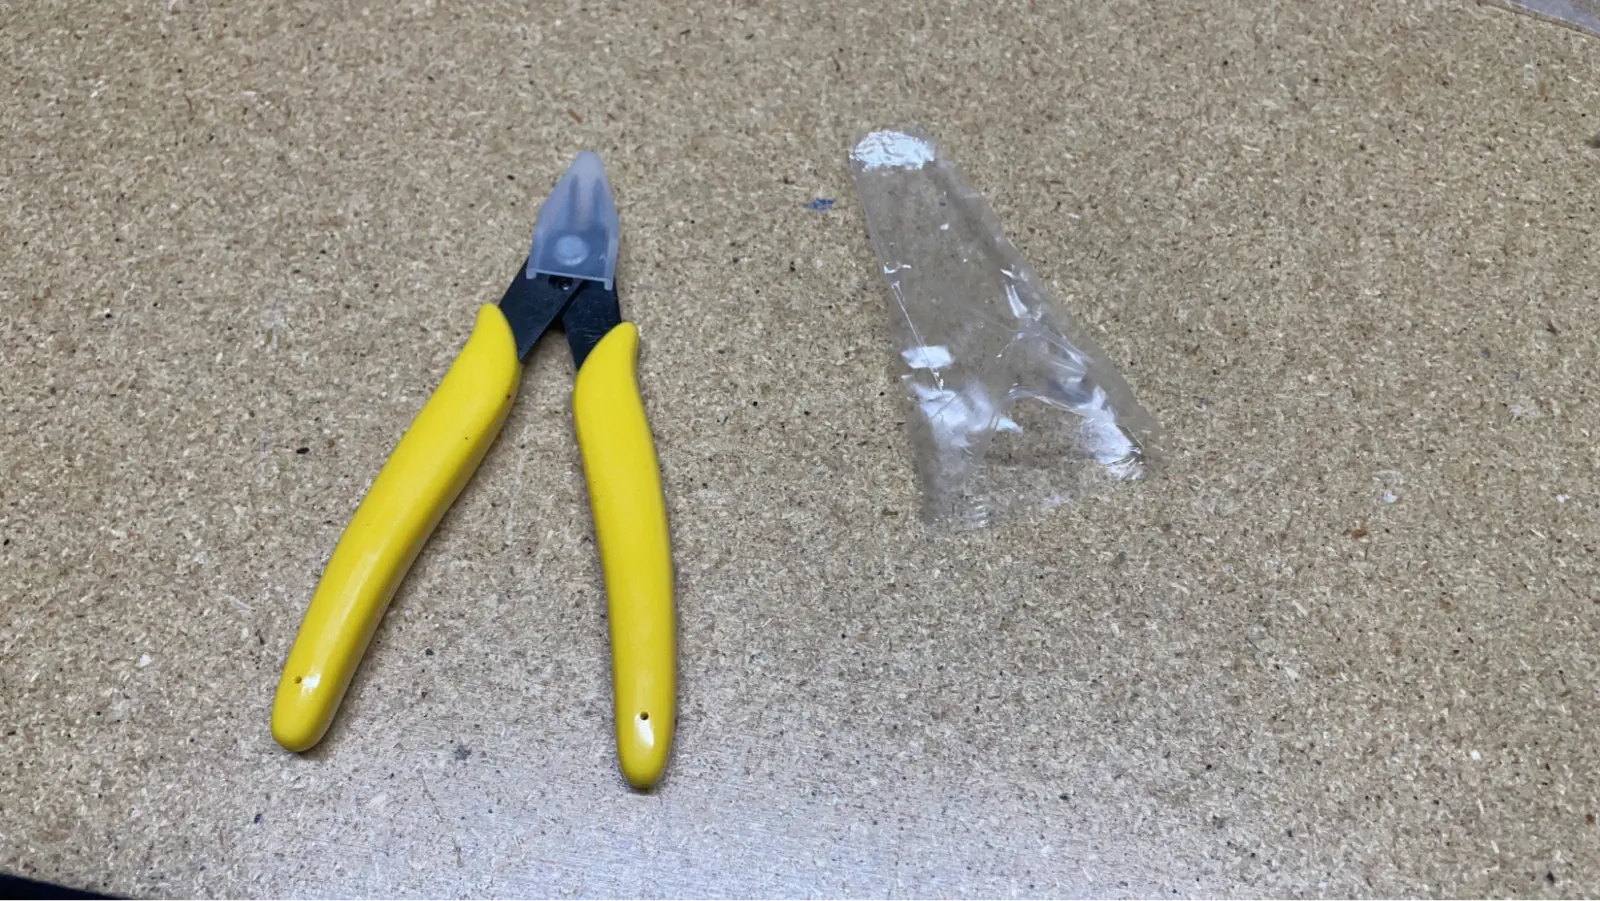

-
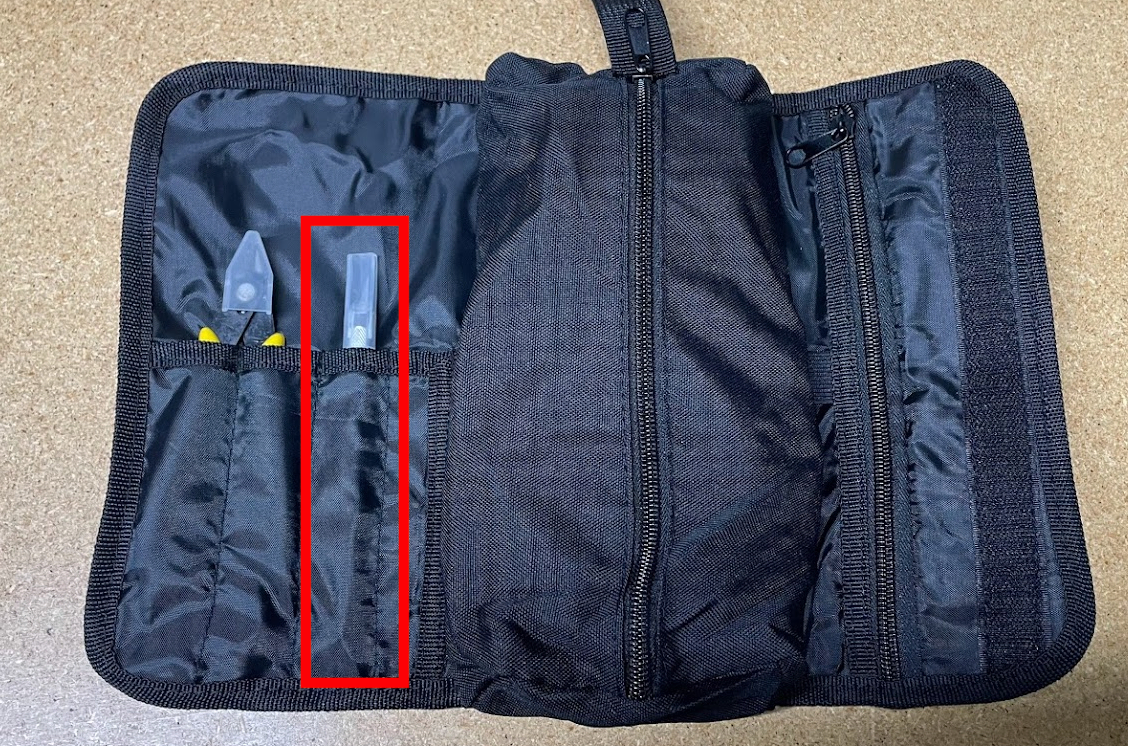
Place
xacto-knifeinto the following pocket in thetool-kit-bag- Make sure the protective cap is on tightly and that the blade clamp is tight
-
Unbag and then insert
ESD-safe-tweezerinto right-most pocket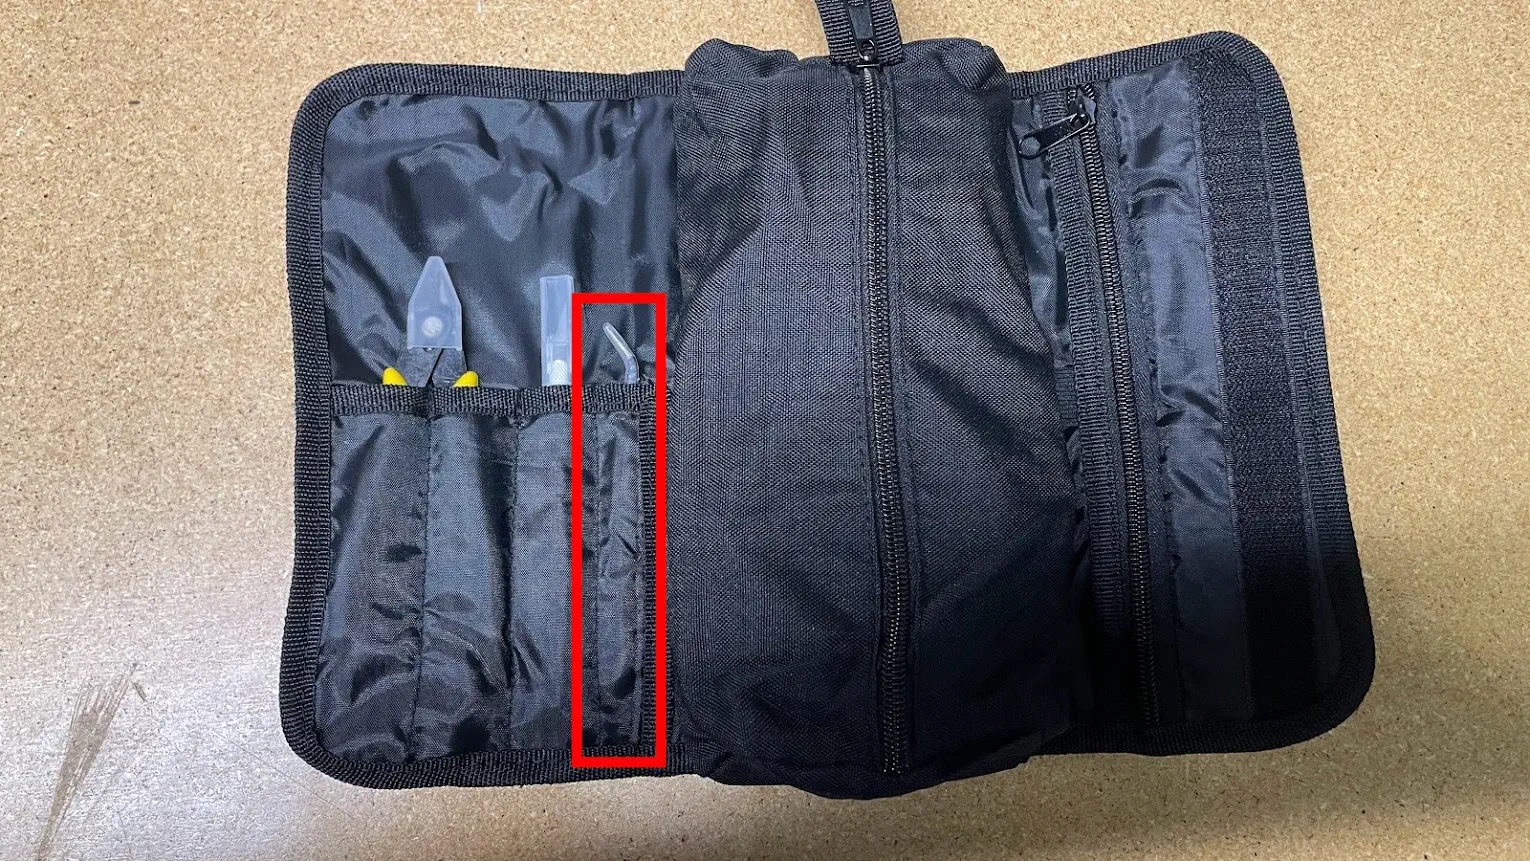
-
Use the elastic strap on right-side of
tool-kit-bagto secure7pcs-allen-wrench-setin place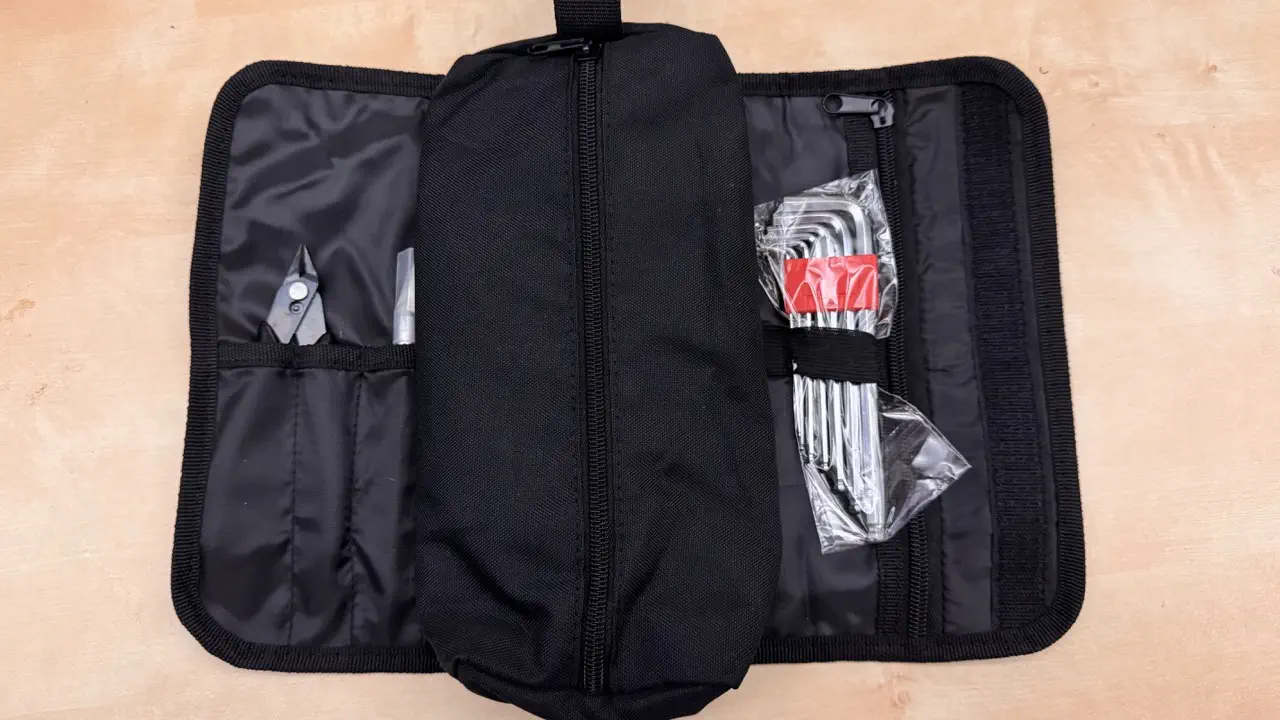
-
Close
tool-kit-bagand gently massage away any bulges