Additional Parts
Overview
This section of the work instructions covers the additional parts that must be packaged in a LumenPnP shipment prior to fulfillment.
These parts and their respective quantities are as follows:
- 1x
bagged-extrusion-cable-clips - 2x
back-leg-extension - 2x
front-leg-extension - 1x
y-limit-striker - 1x
static-camera-foot - 1x
aux-staging-plate-foot - 1x
nozzle-rack-asm
Work Instructions
bagged-extrusion-cable-clips
- Place 10x
extrusion-cable-clippieces into a3x4-bagbefore sealing it closed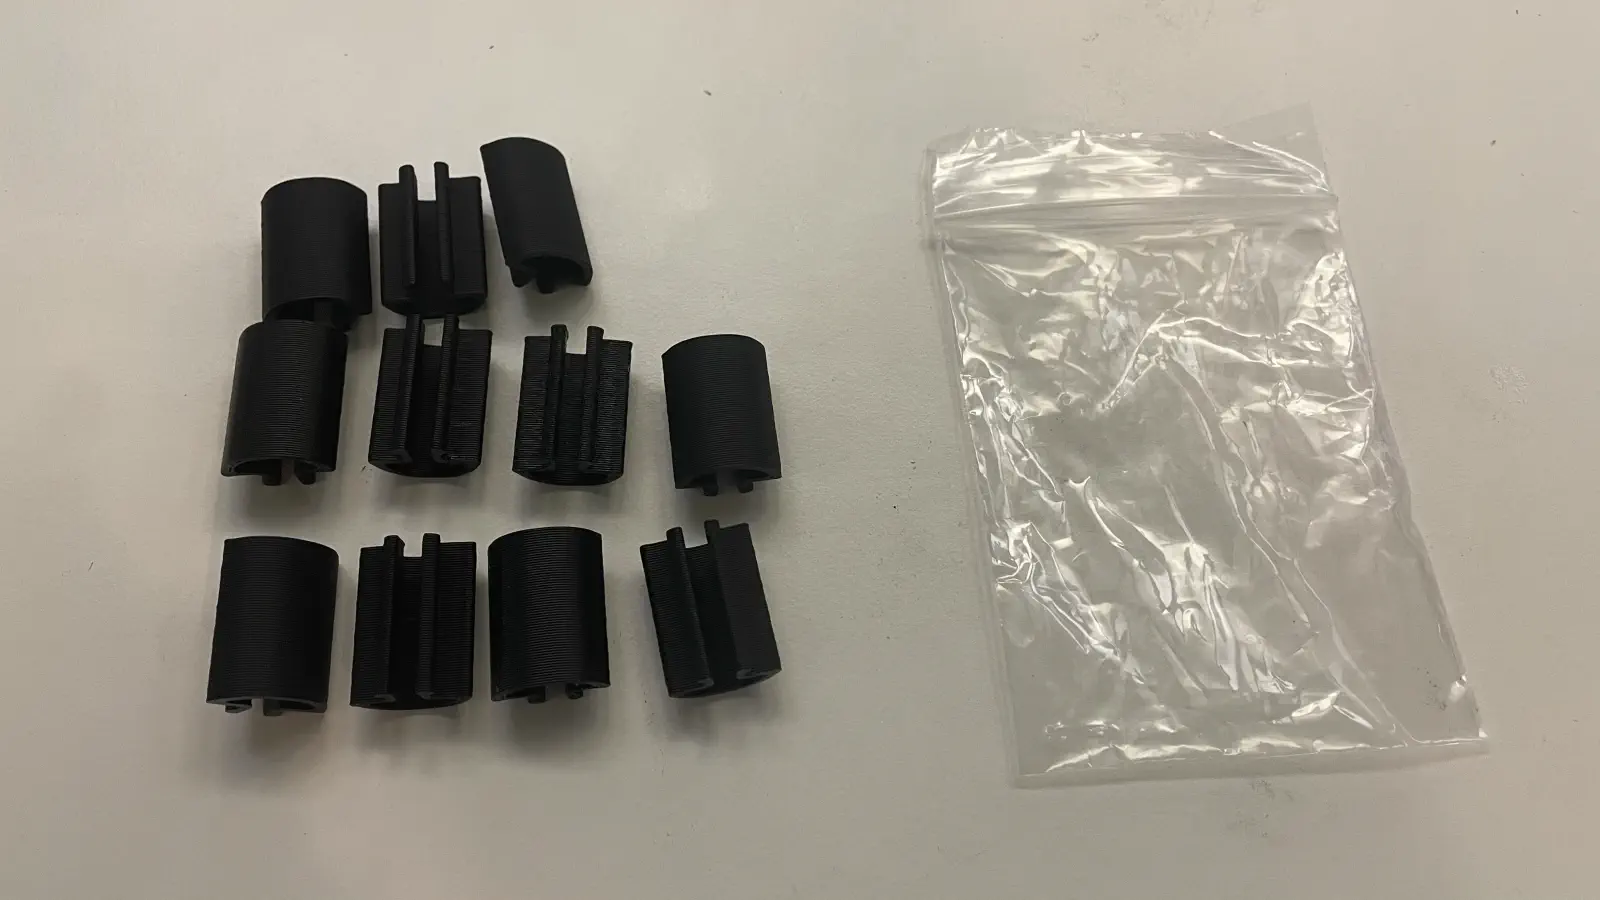

- Place each
bagged-extrusion-cable-clipsset into a yellow NEEDS QC bin while it awaits inspection
- Weigh each
bagged-extrusion-cable-clips, confirming it weighs20g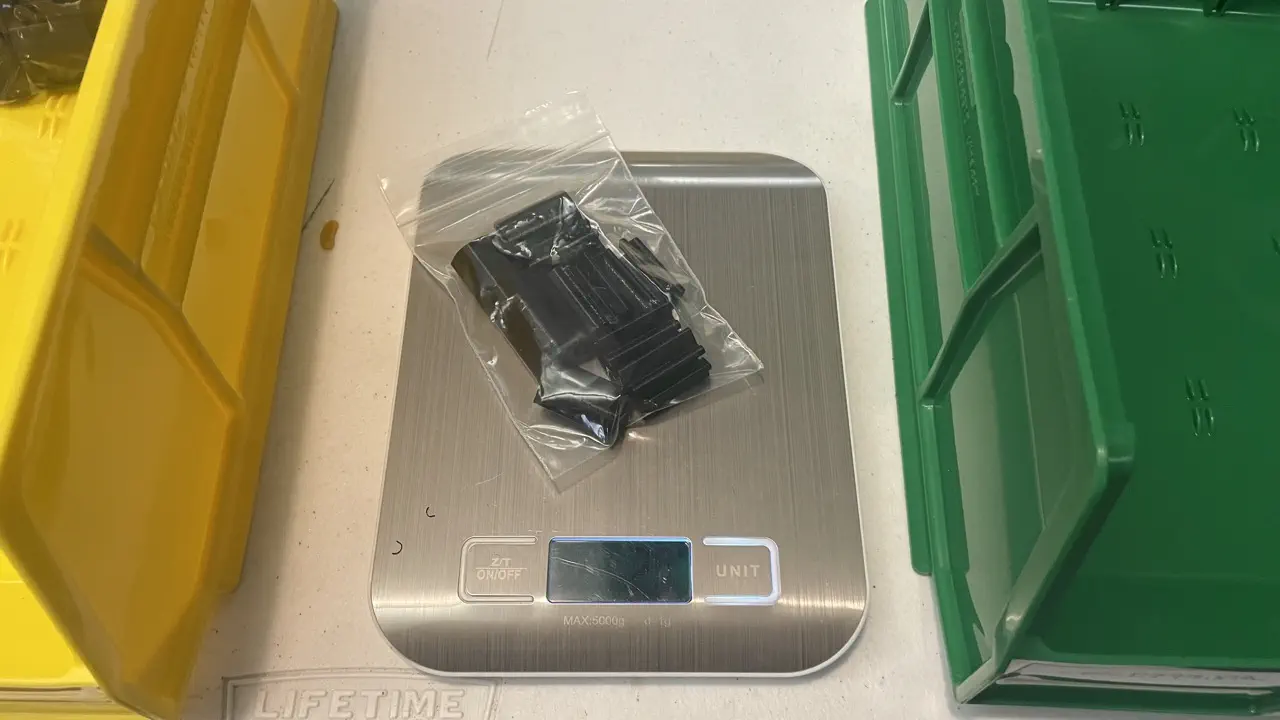
- Place the
bagged-extrusion-cable-clipspieces that pass weight check into a green QC-Pass bin
back-leg-extension
- Clean print of any observed stringing
- Adhere 2x
rubber-footto eachback-leg-extension, centering each in the circular cutouts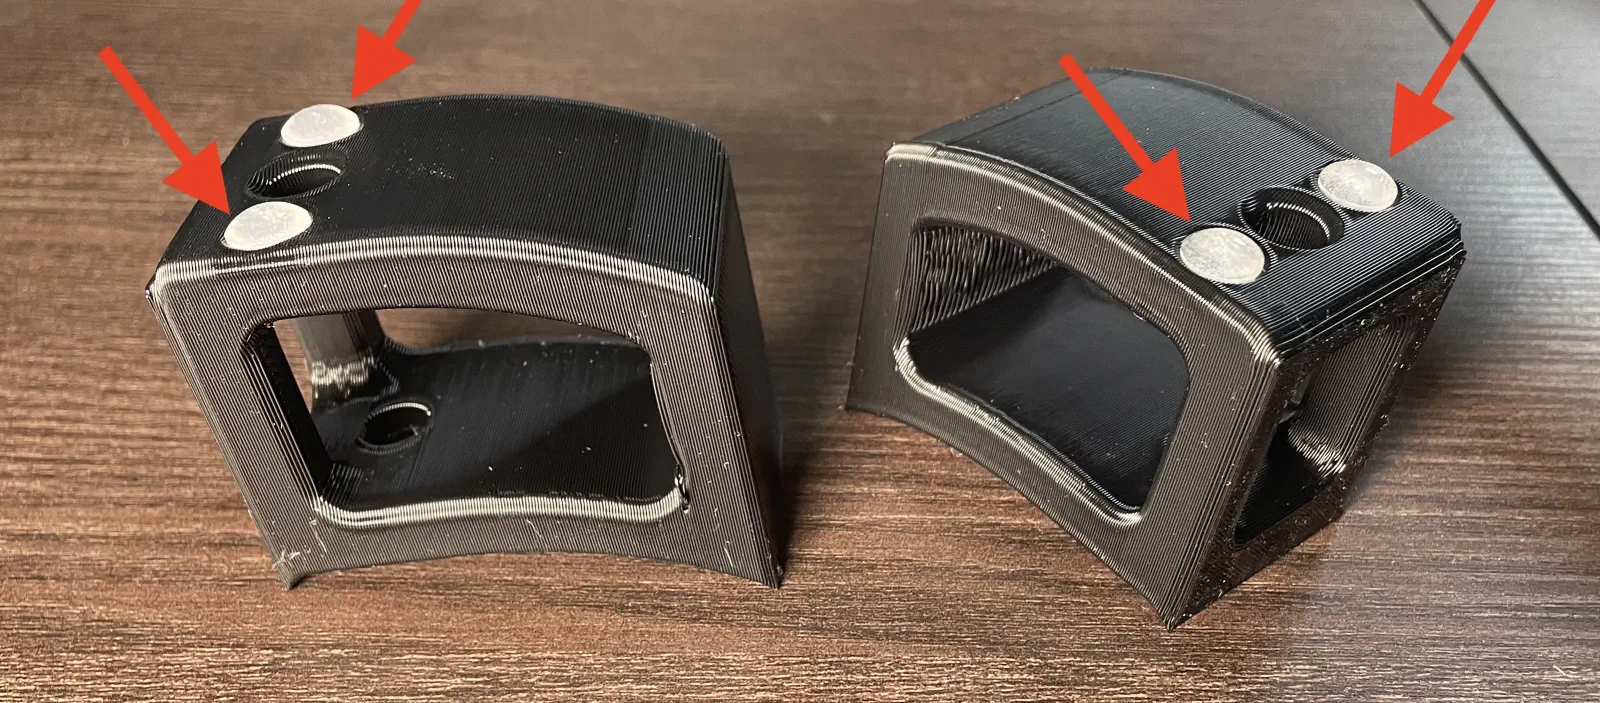
- Place each
back-leg-extensioninto a yellow NEEDS QC bin while it awaits inspection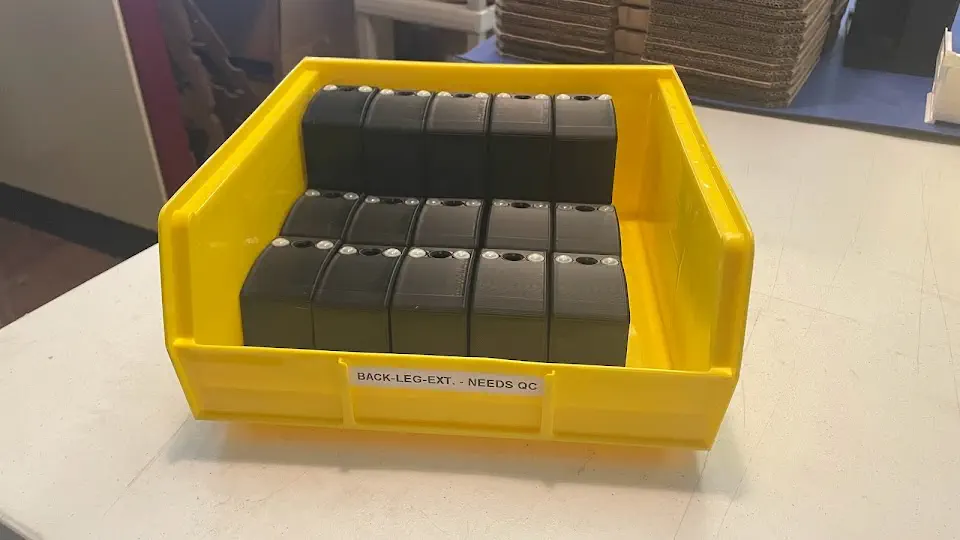
front-leg-extension
- Clean print of any observed stringing
- Adhere 1x
rubber-footto eachfront-leg-extension, centering it in the circular cutout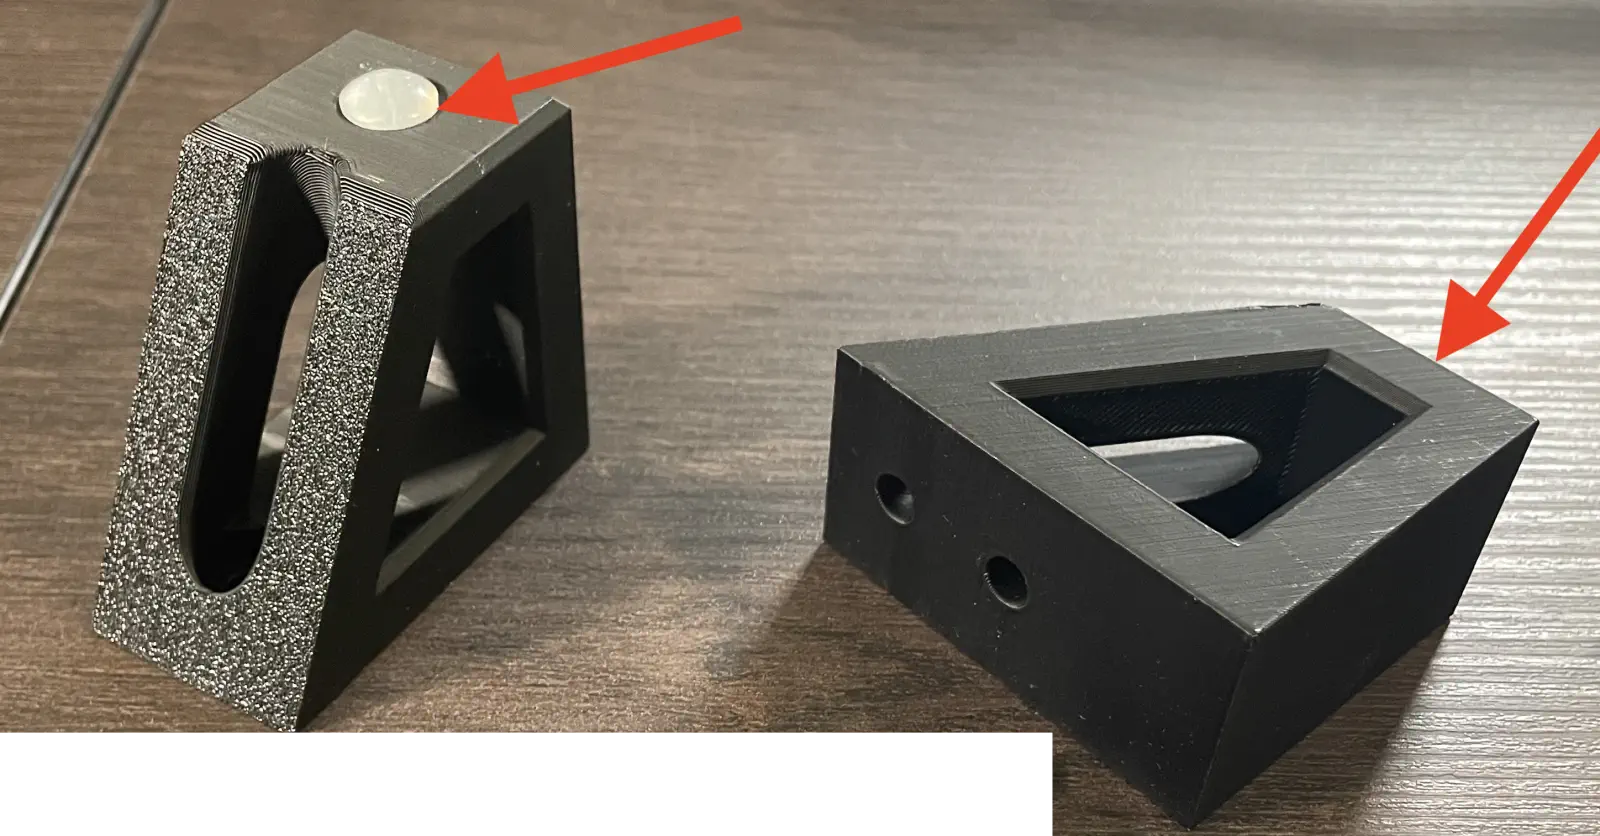
- Place each
front-leg-extensioninto a yellow NEEDS QC bin while it awaits inspection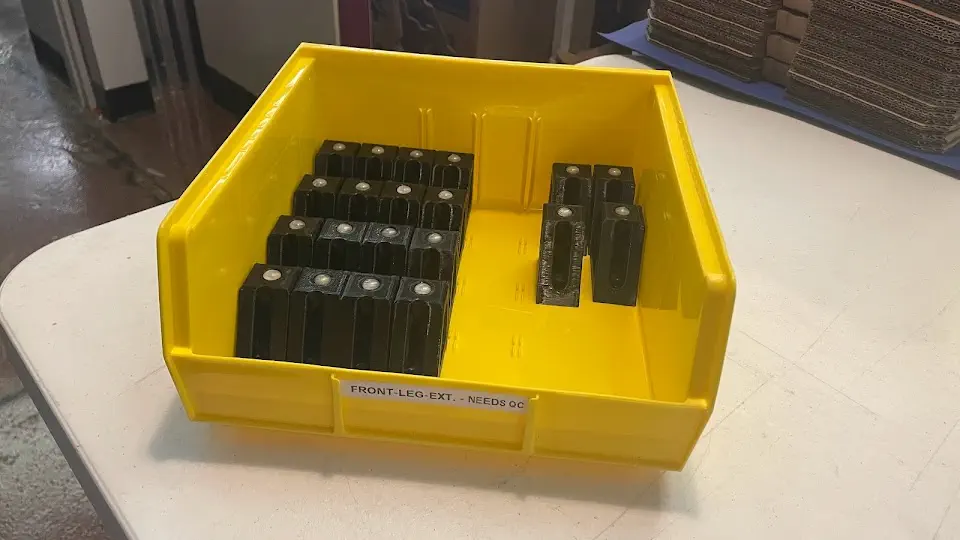
y-limit-striker
- Clean print of any observed stringing
-
Place
y-limit-strikerinto its arbor press fixture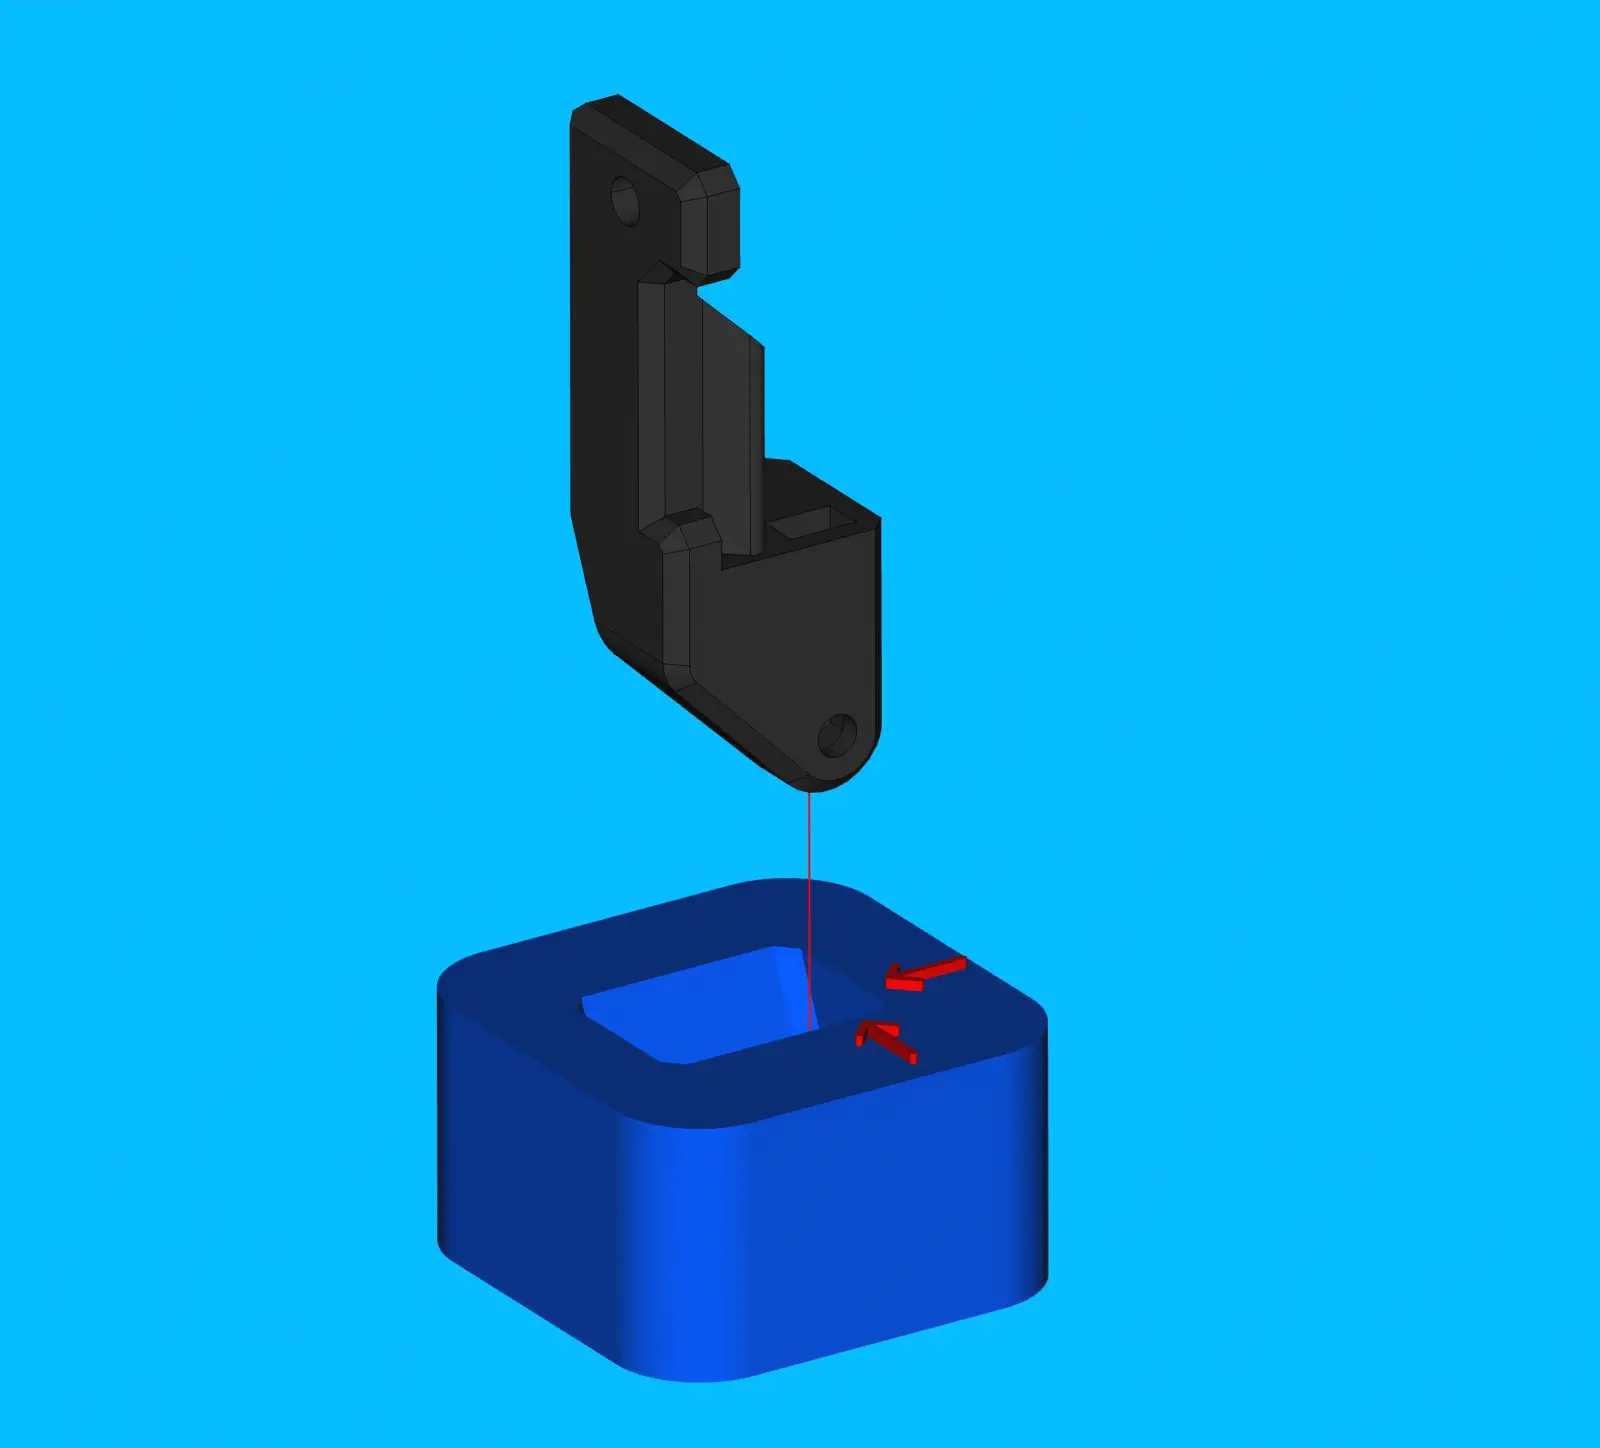
-
Use an arbor press to insert 1x
M5-lock-nutintoy-limit-striker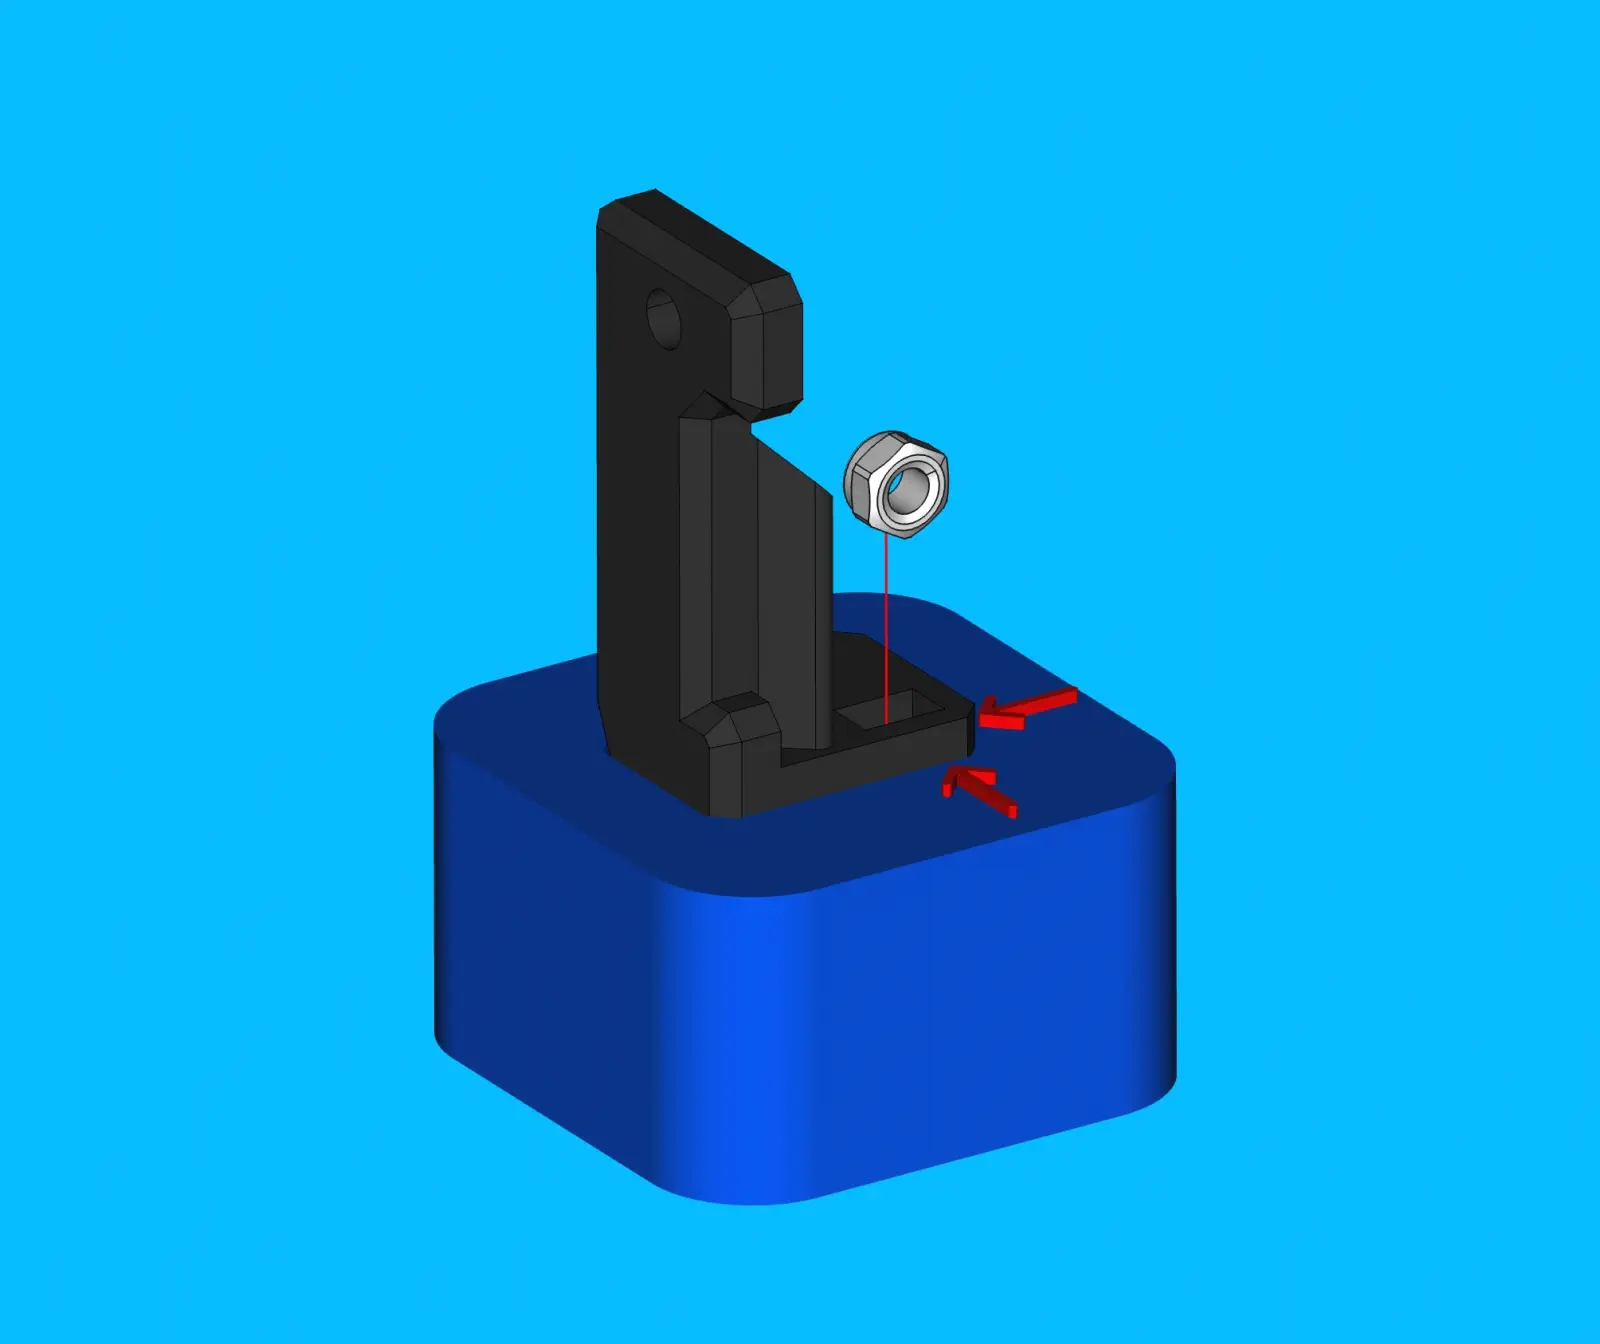
-
Thread a
M5-thumb-screwinto theM5-lock-nutpreviously installed intoy-limit-striker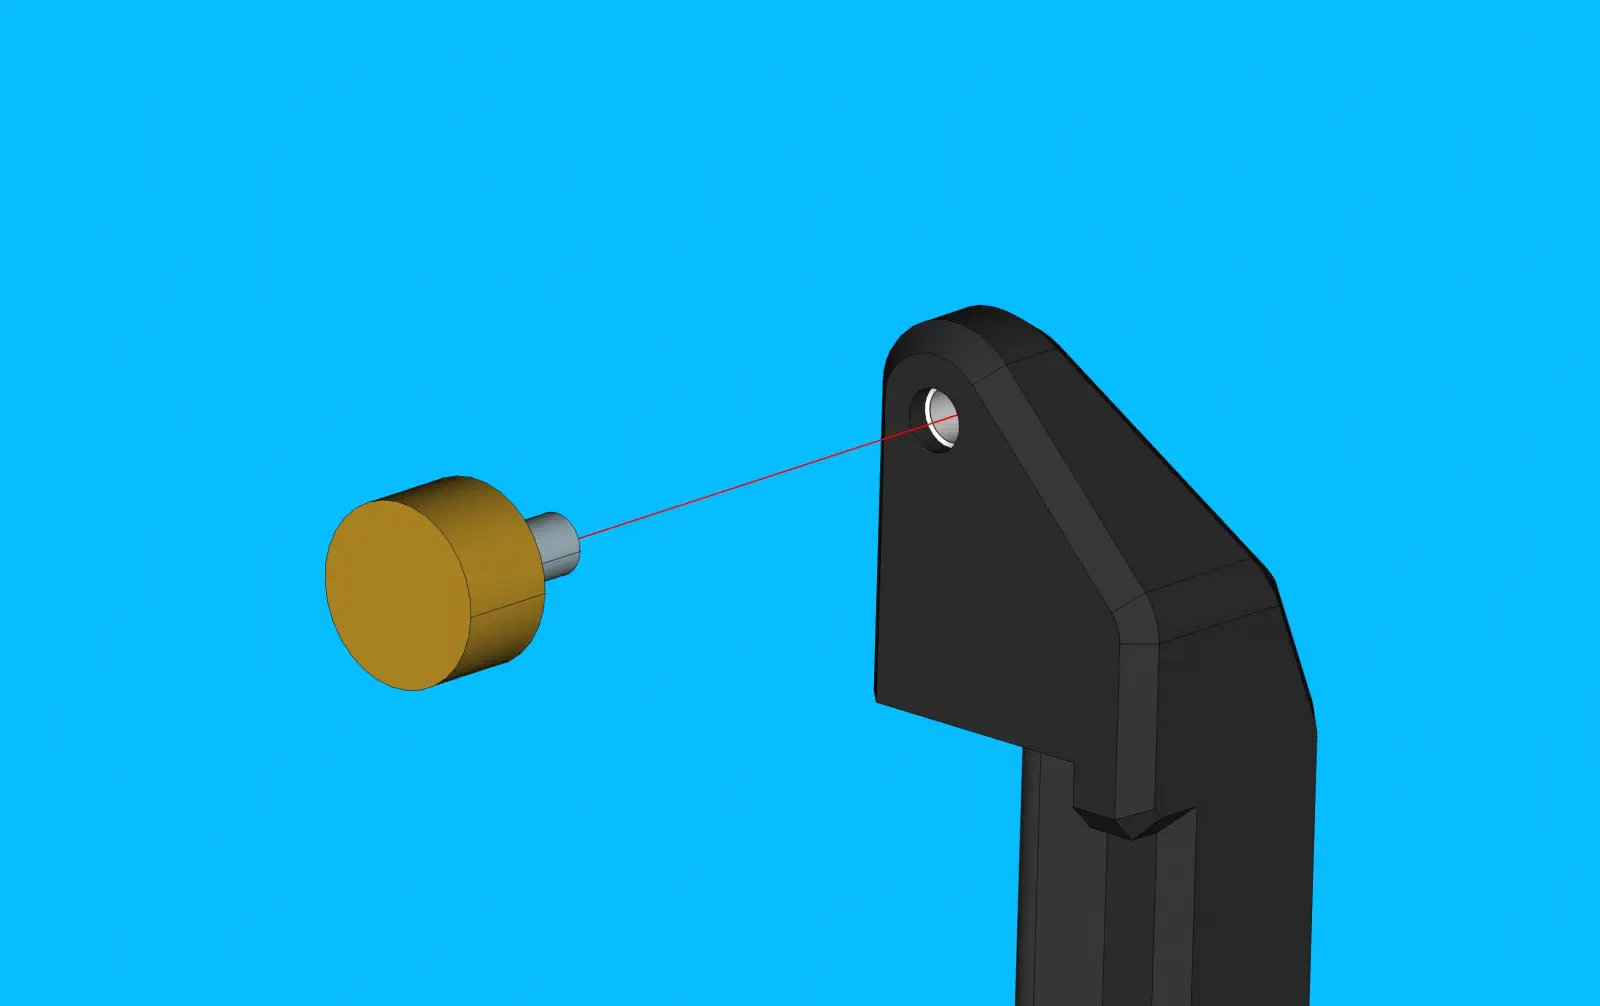
-
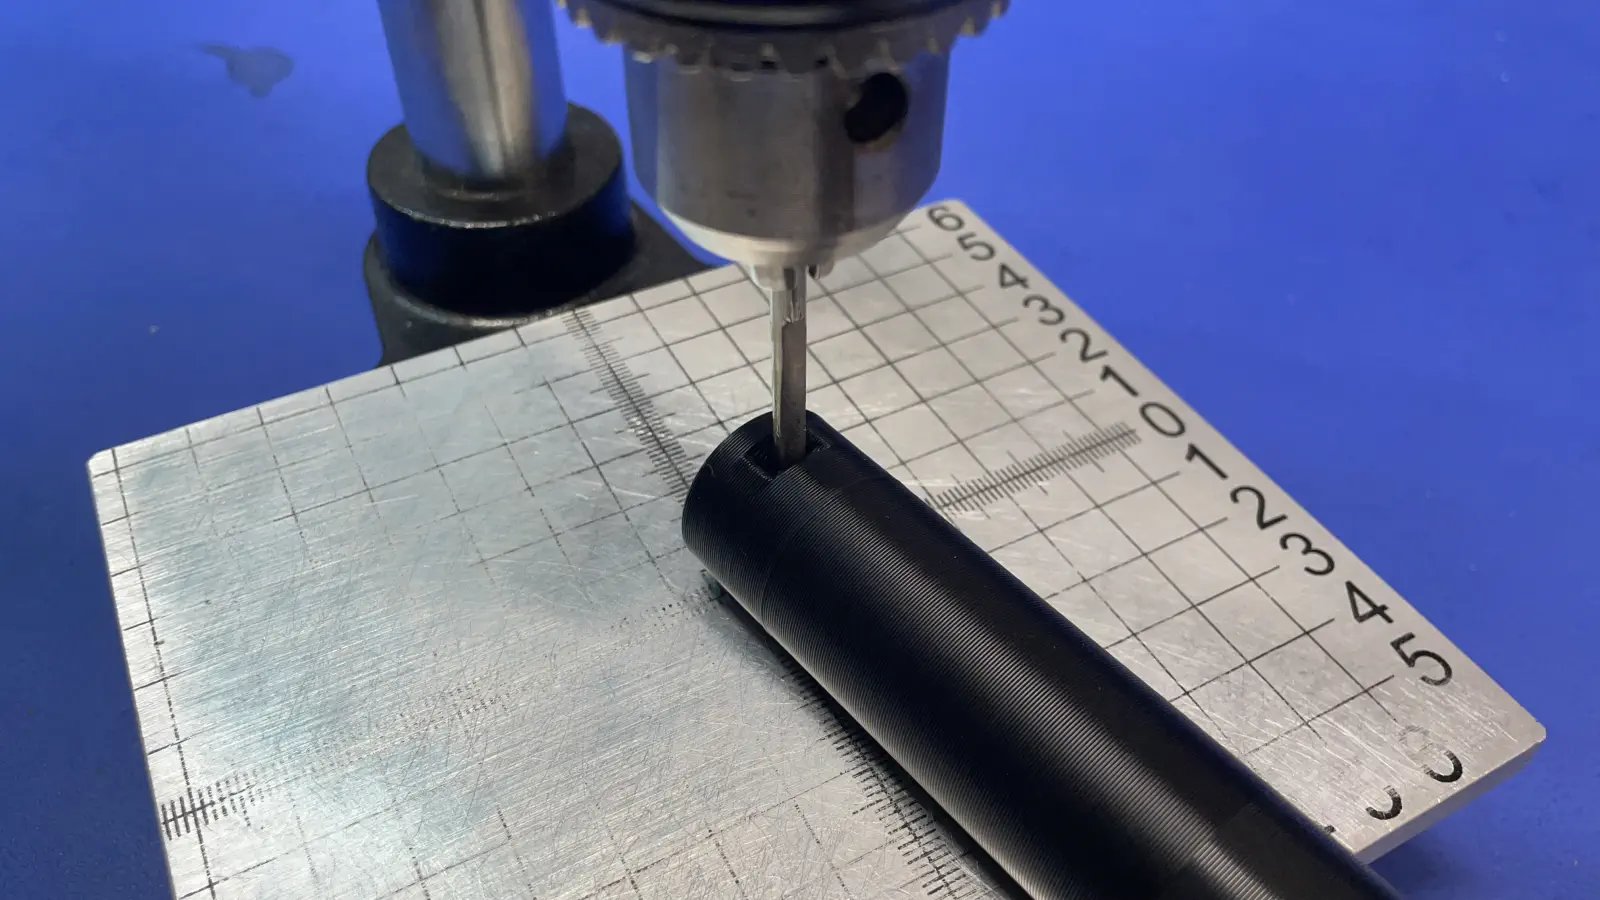
Use a feeler gauage and tighten
M5-thumb-screwuntil there is a##mmgap between back of screw and print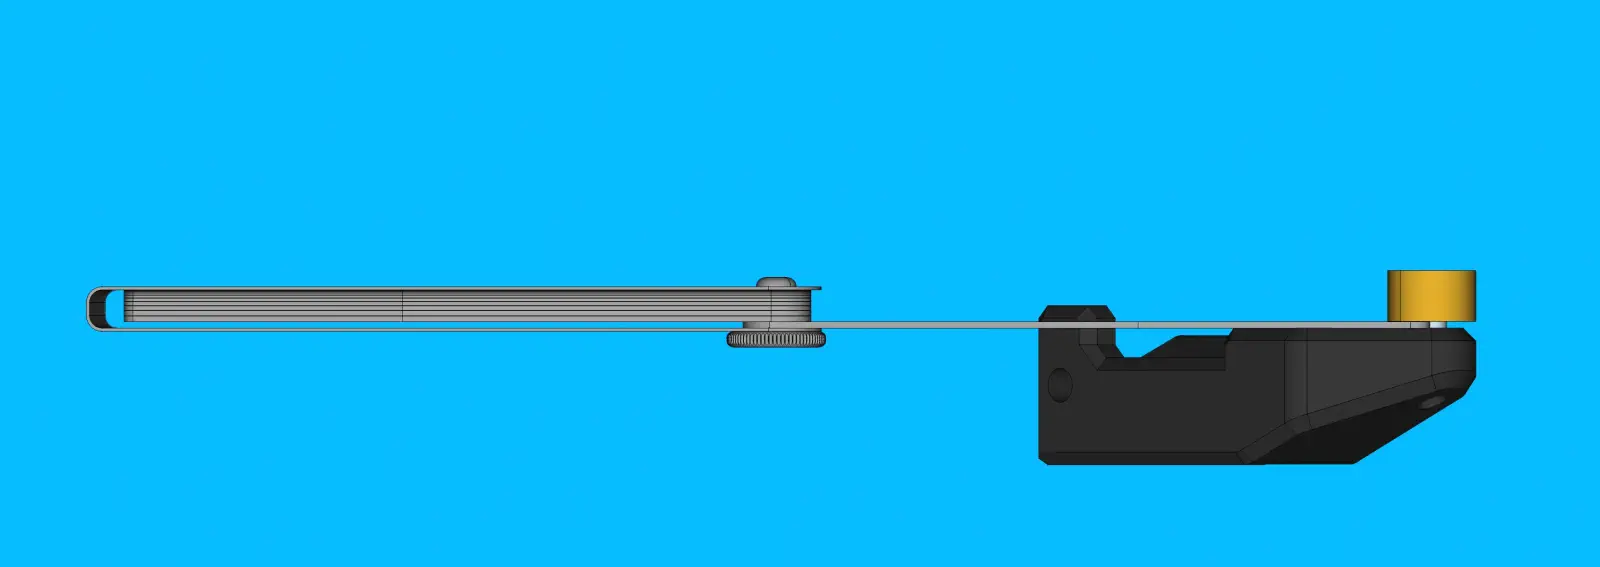
TO DO: ADD A VALUE FOR GAUGE THICKNESS
-
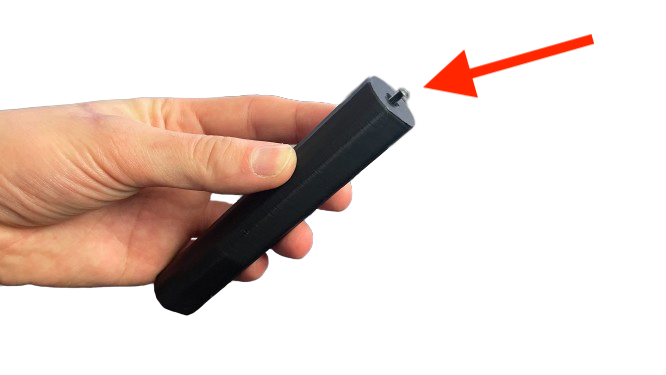
The completed
y-limit-strikershould match the image below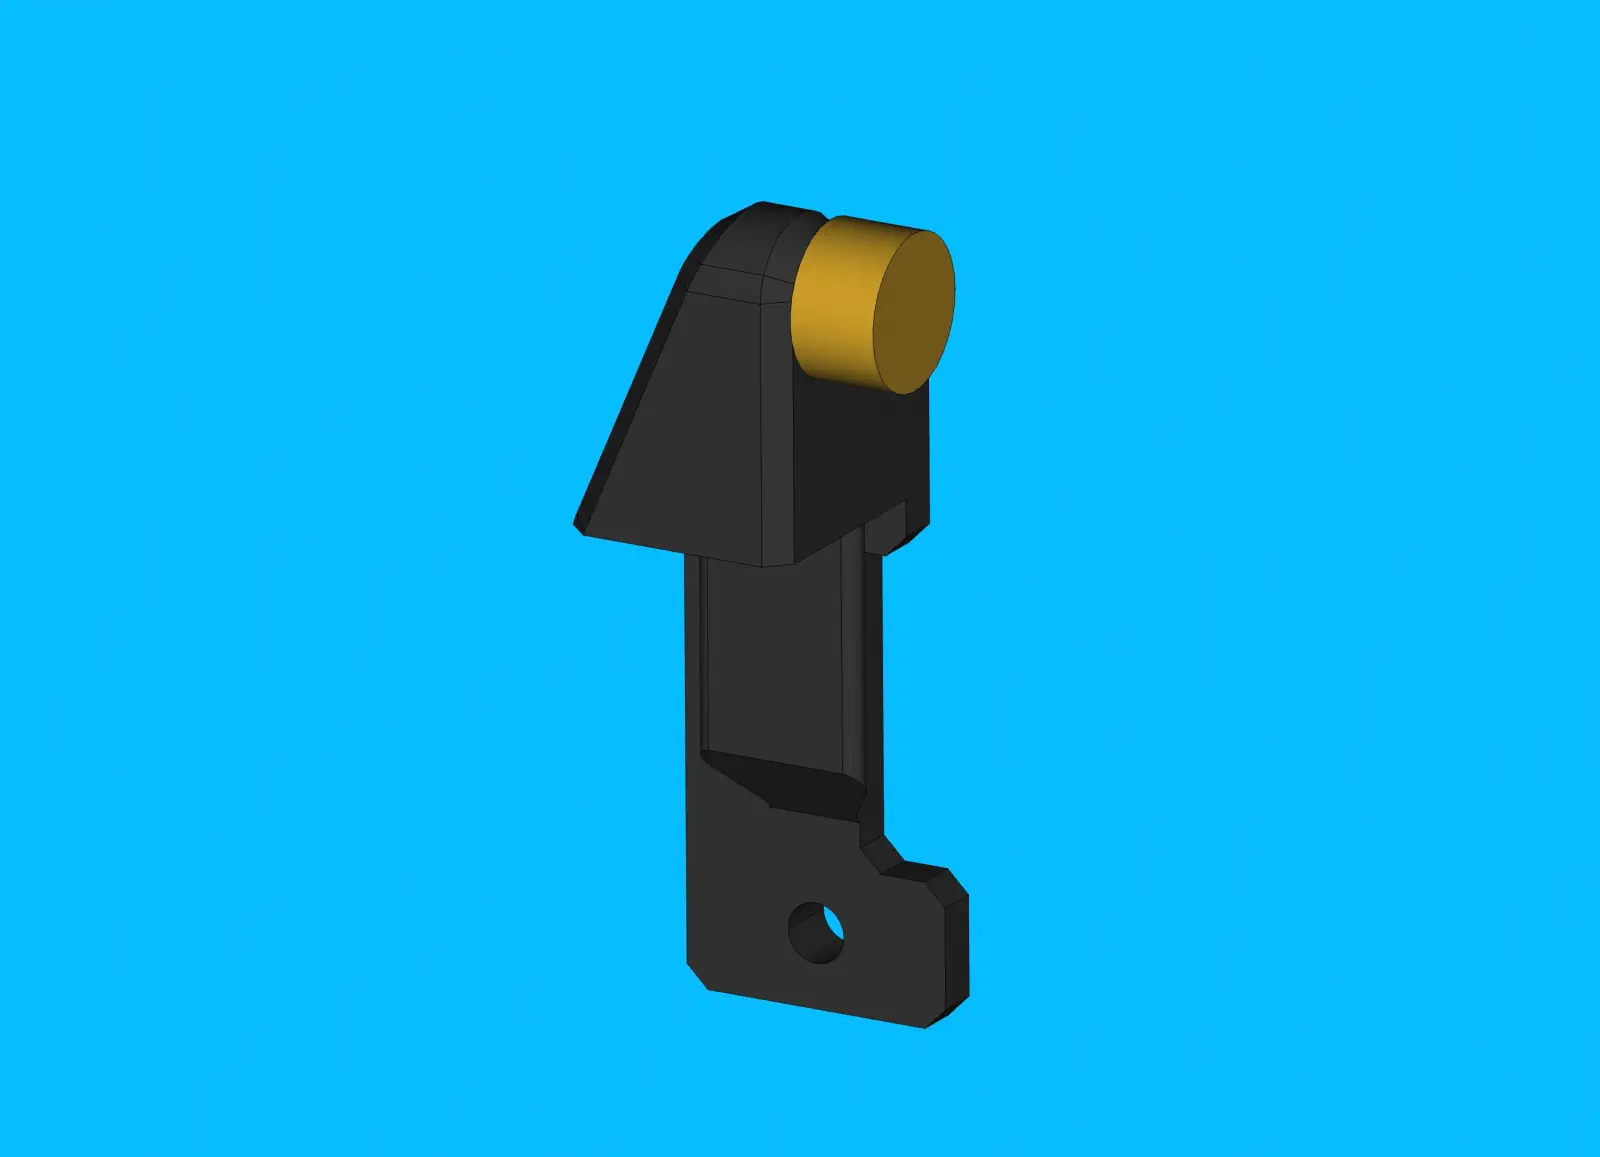
-
Place each completed
y-limit-strikerinto a yellow NEEDS QC bin while it awaits inspection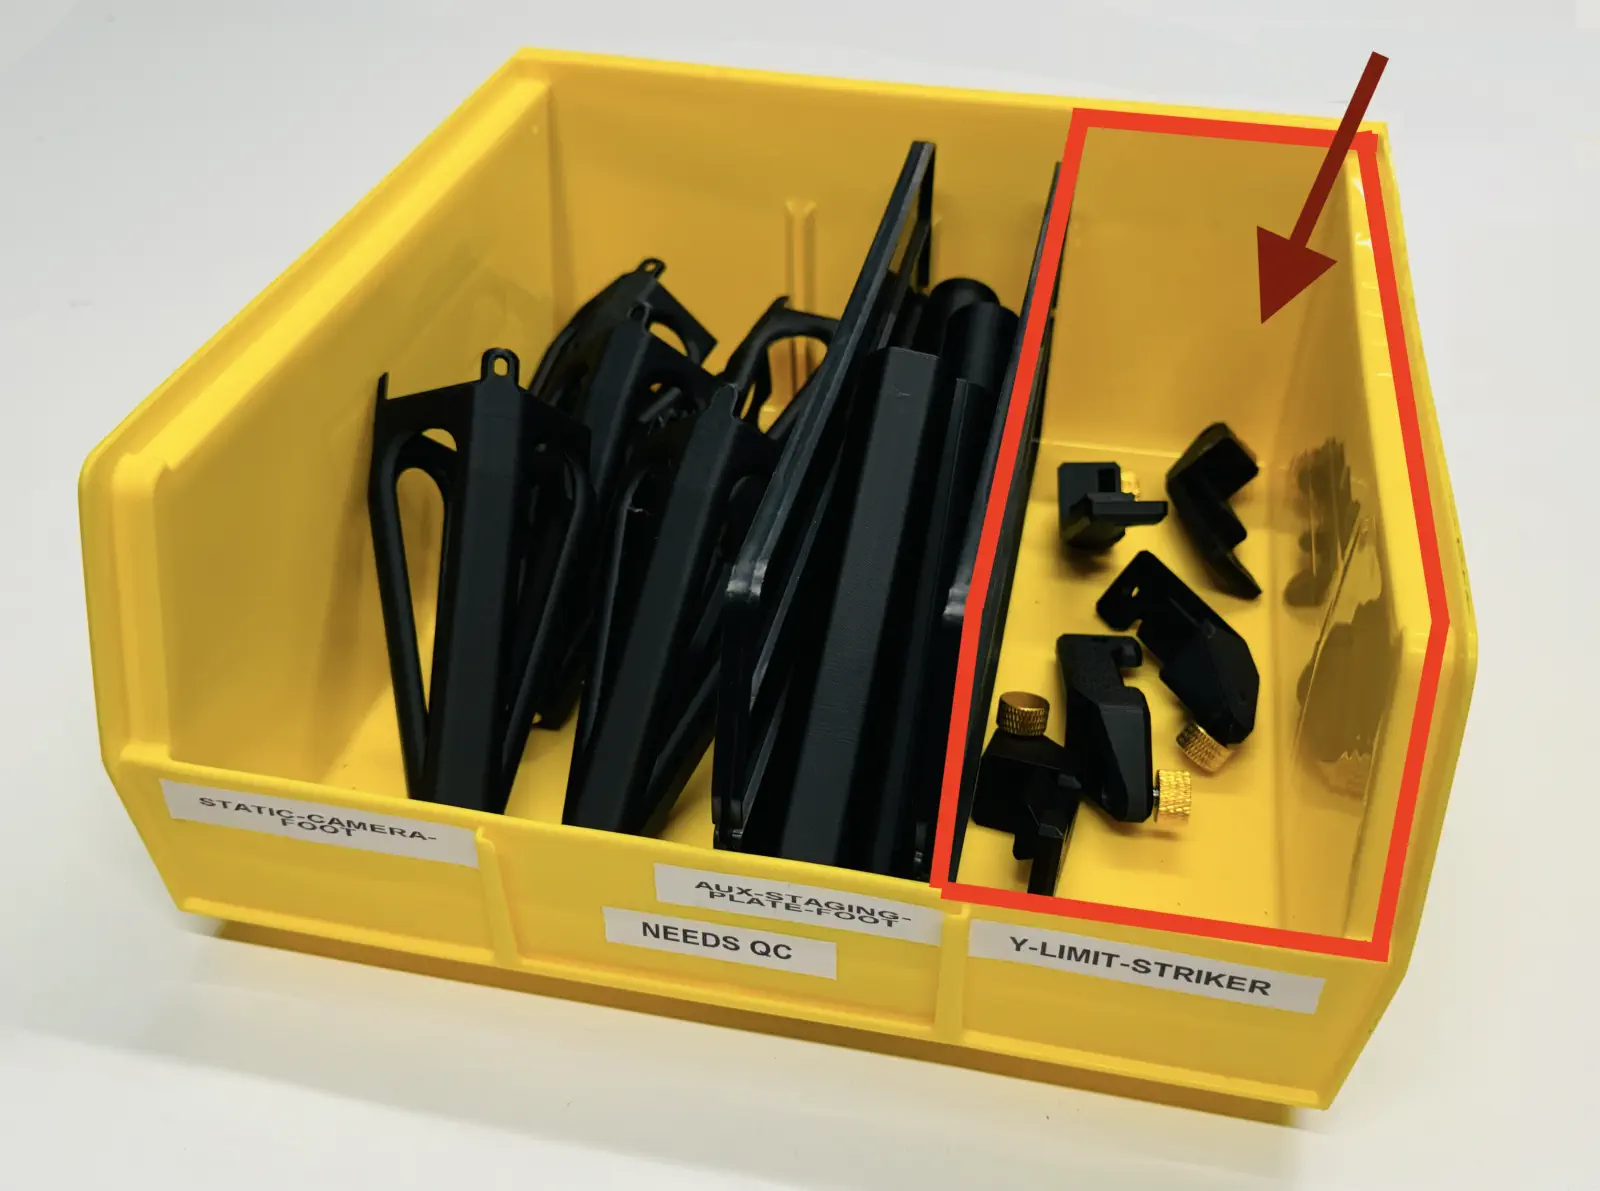
static-camera-foot
- Clean print of any observed stringing
- Adhere 1x
rubber-footto the bottom ofstatic-camera-foot, centering it in the circular cutout
- Place each
static-camera-footinto a yellow NEEDS QC bin while it awaits inspection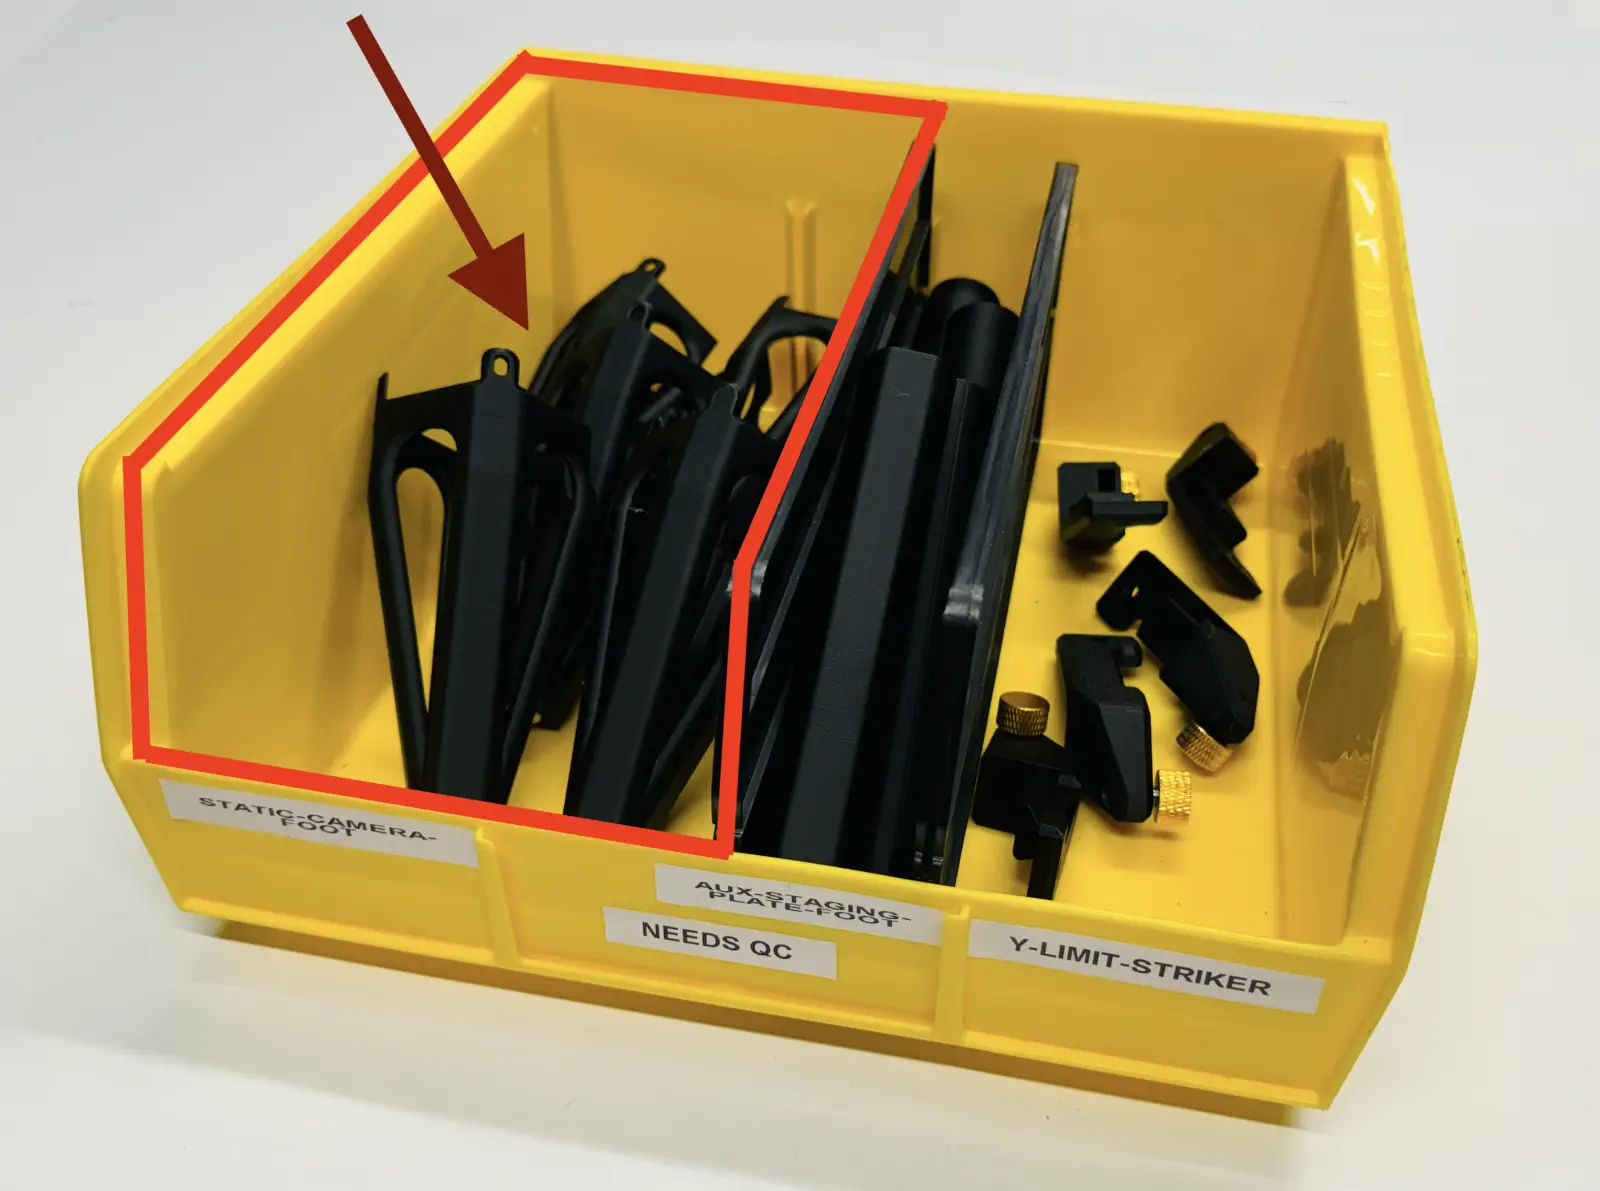
aux-staging-plate-foot
- Clean print of any observed stringing
- Use an arbor press to insert 1x
M3-square-nutintoaux-staging-plate-foot

- Thread an
M3x14-boltinto the top-side ofaux-staging-plate-foot, leaving a few mm of bolt threading exposed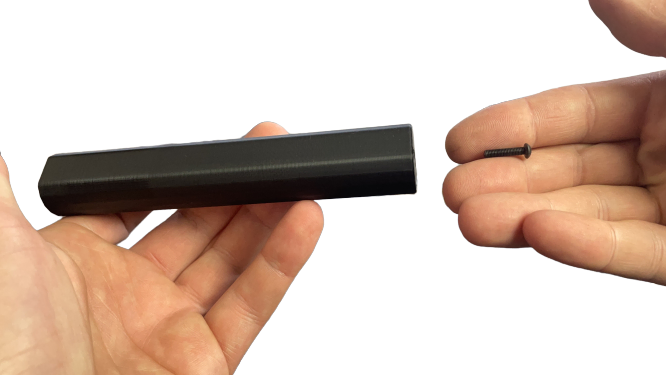
- Adhere 1x
rubber-footto the bottom ofaux-staging-plate-foot, centering it in the circular cutout
- Place each
aux-staging-plate-footinto a yellow NEEDS QC bin while it awaits inspection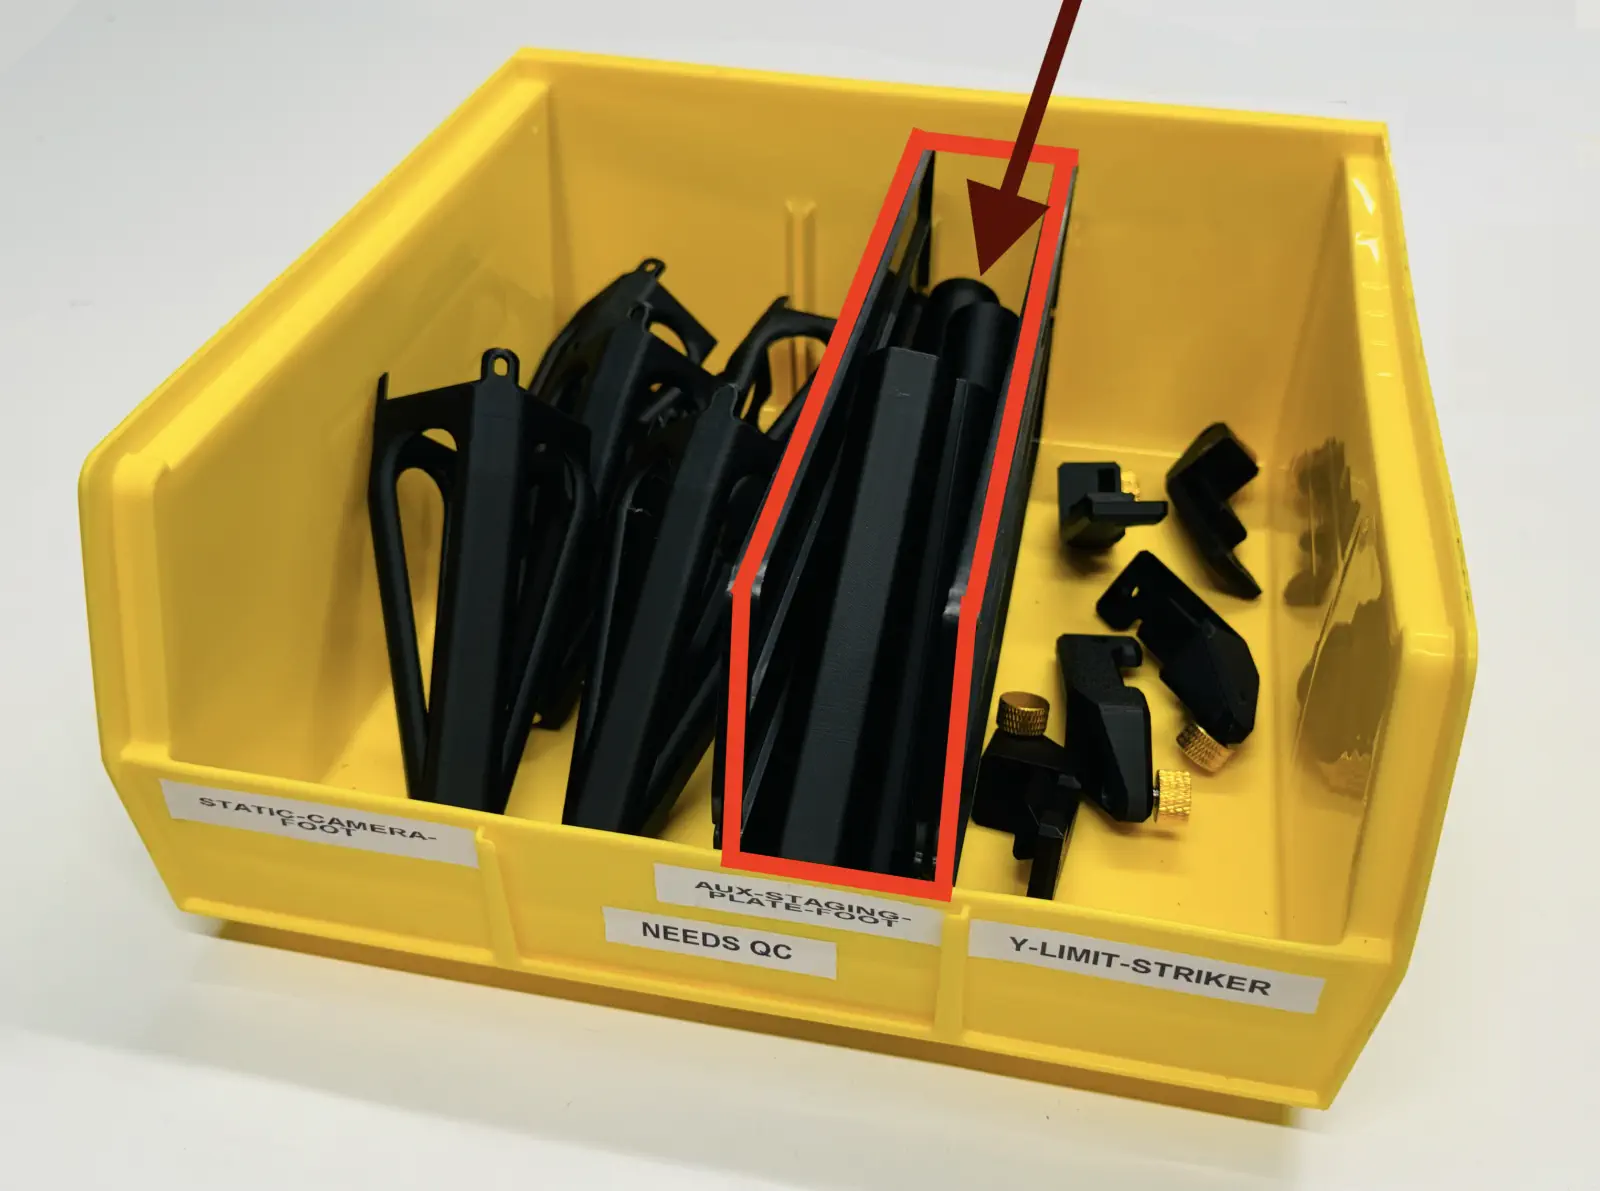
nozzle-rack-asm
-
Insert 2x
m3-hex-head-boltinto the left and right outermost slots onnozzle-rack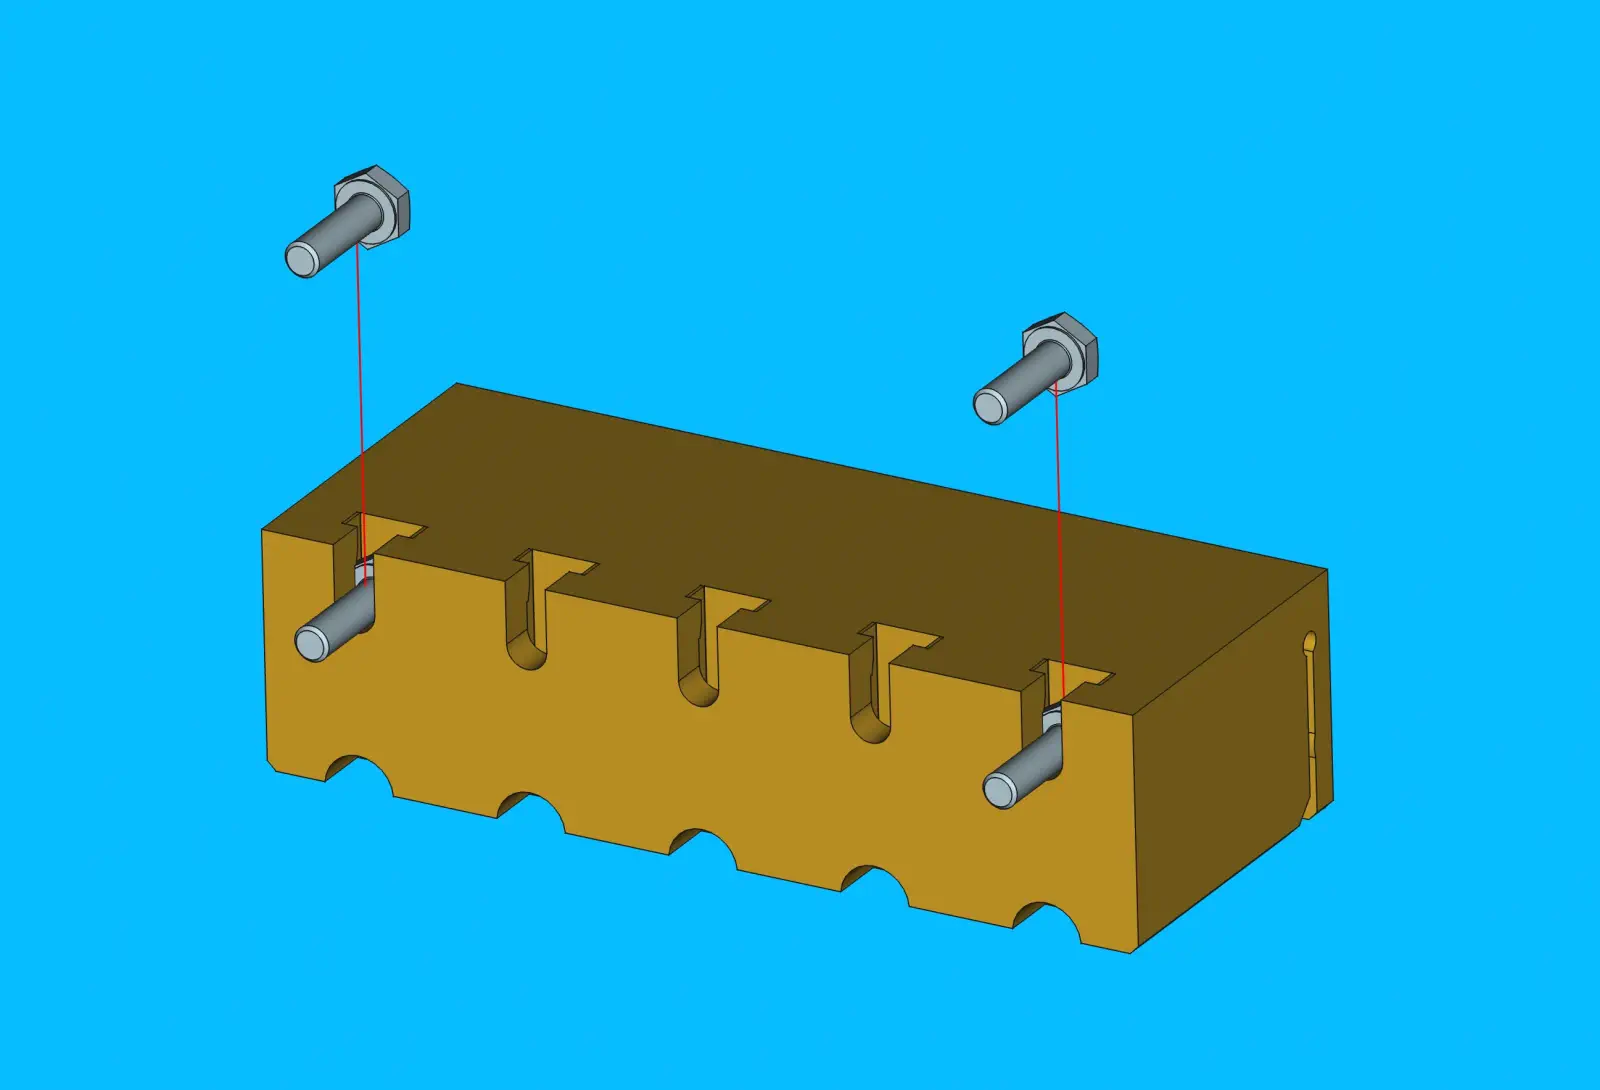
-
Place a
M3-wing-nutonto eachm3-hex-head-bolt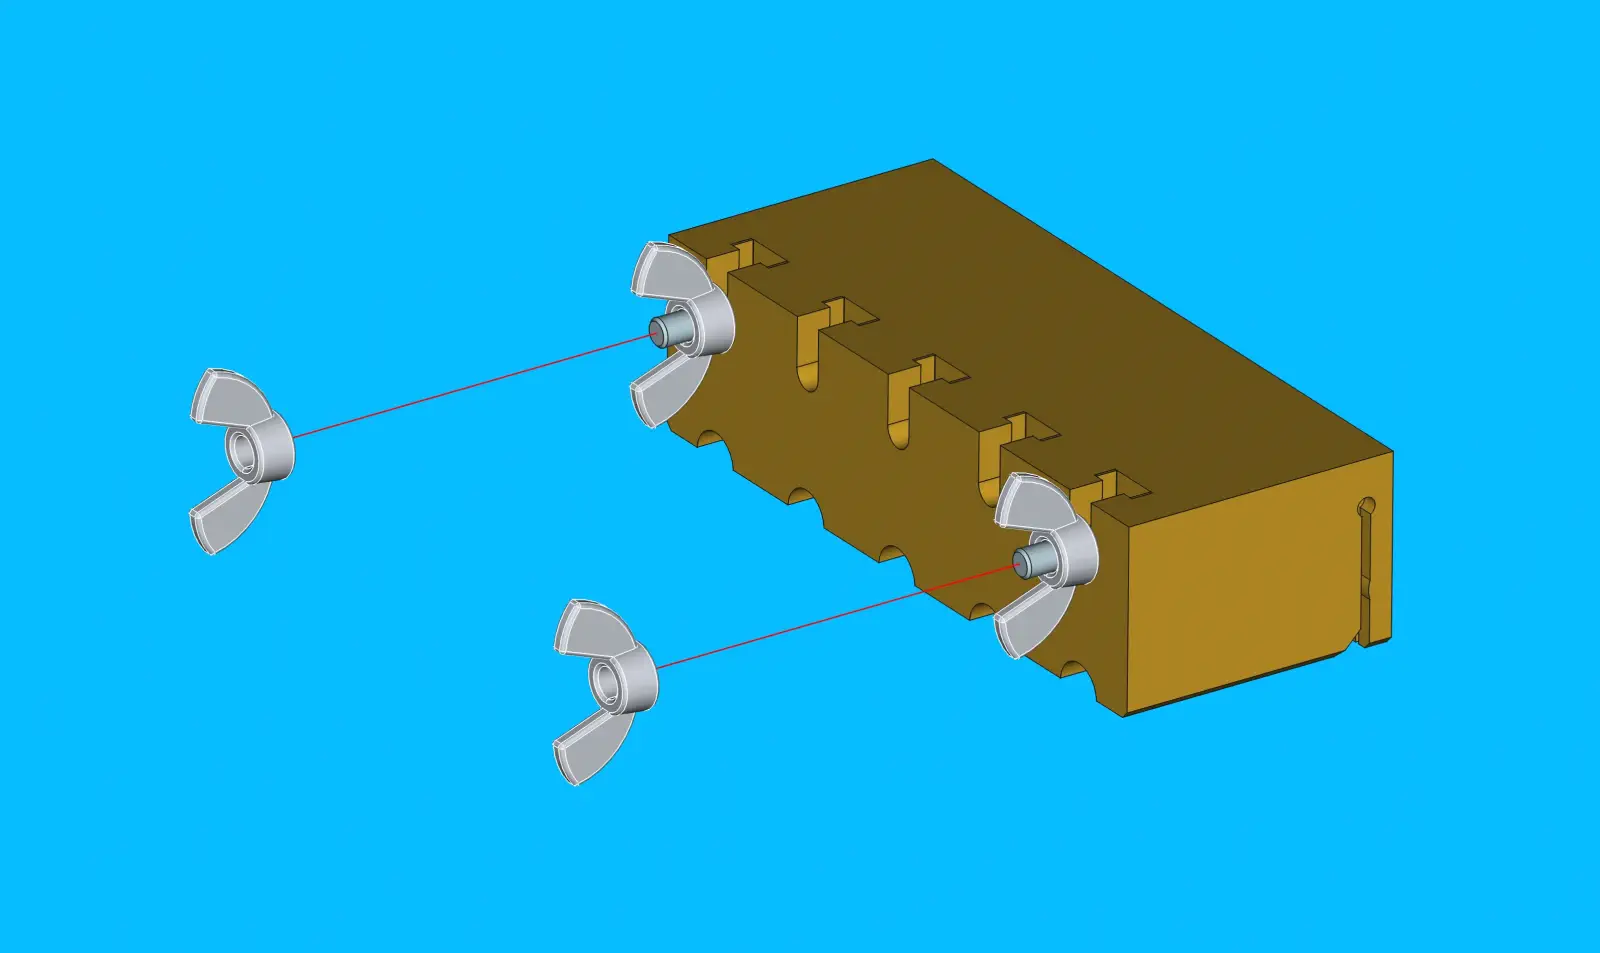
-
Install all 6 different nozzles onto
nozzle-rack, ensuring that each nozzle can pop in and out relatively easily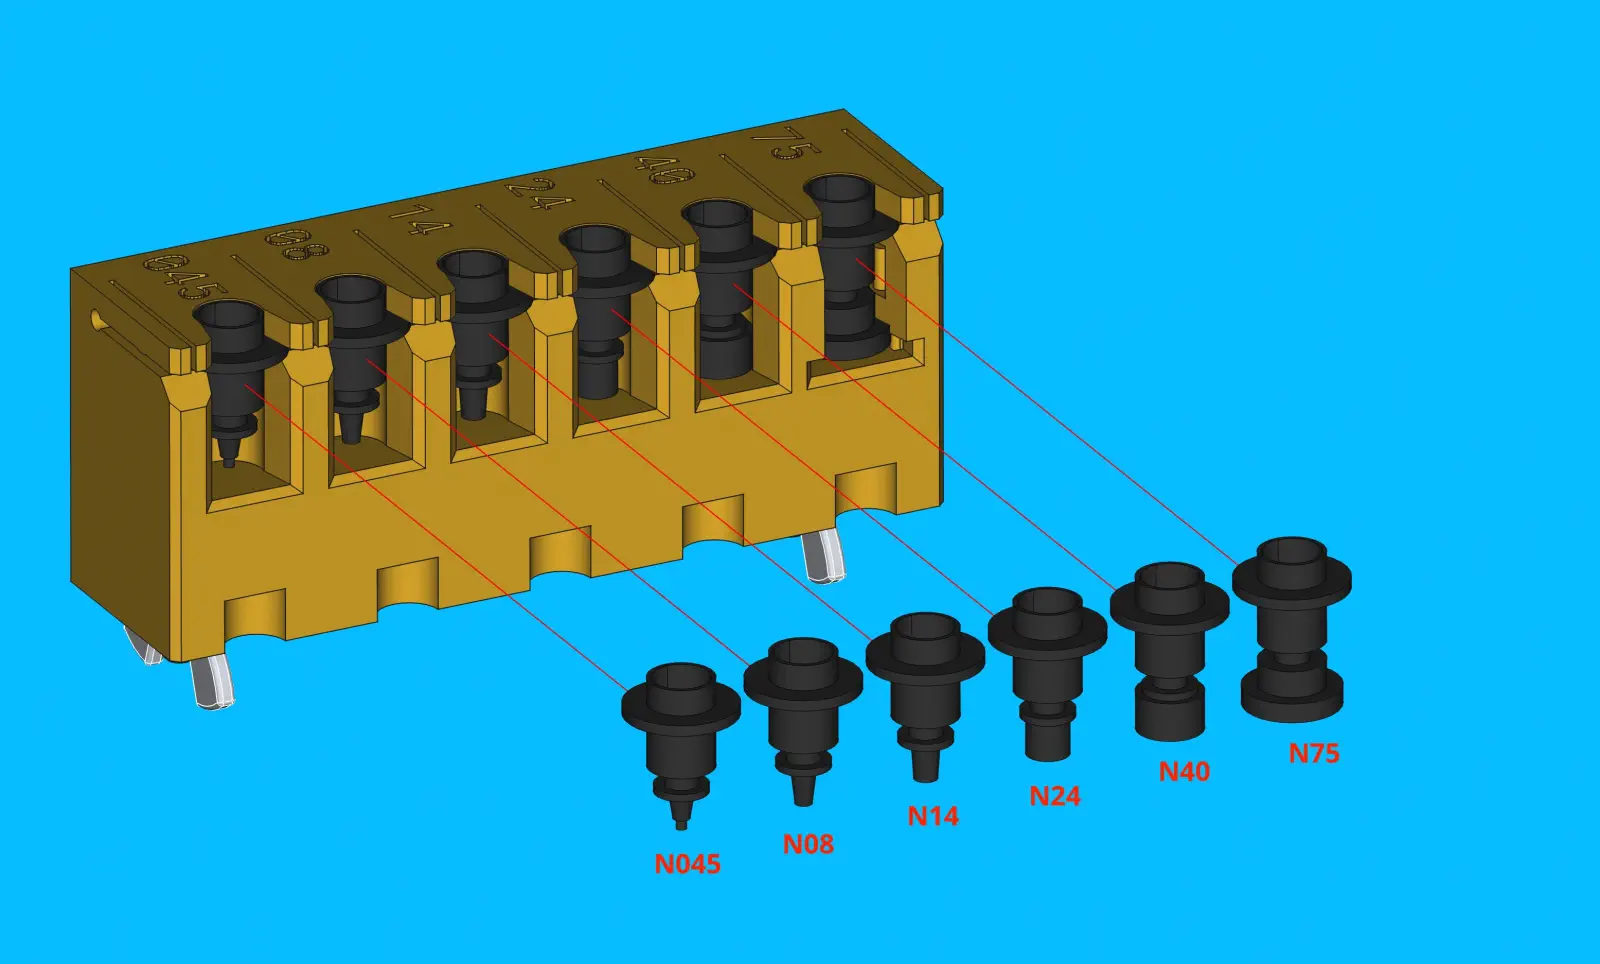
-
Place a
rubber-bandaroundnozzle-rackto secure each nozzle in place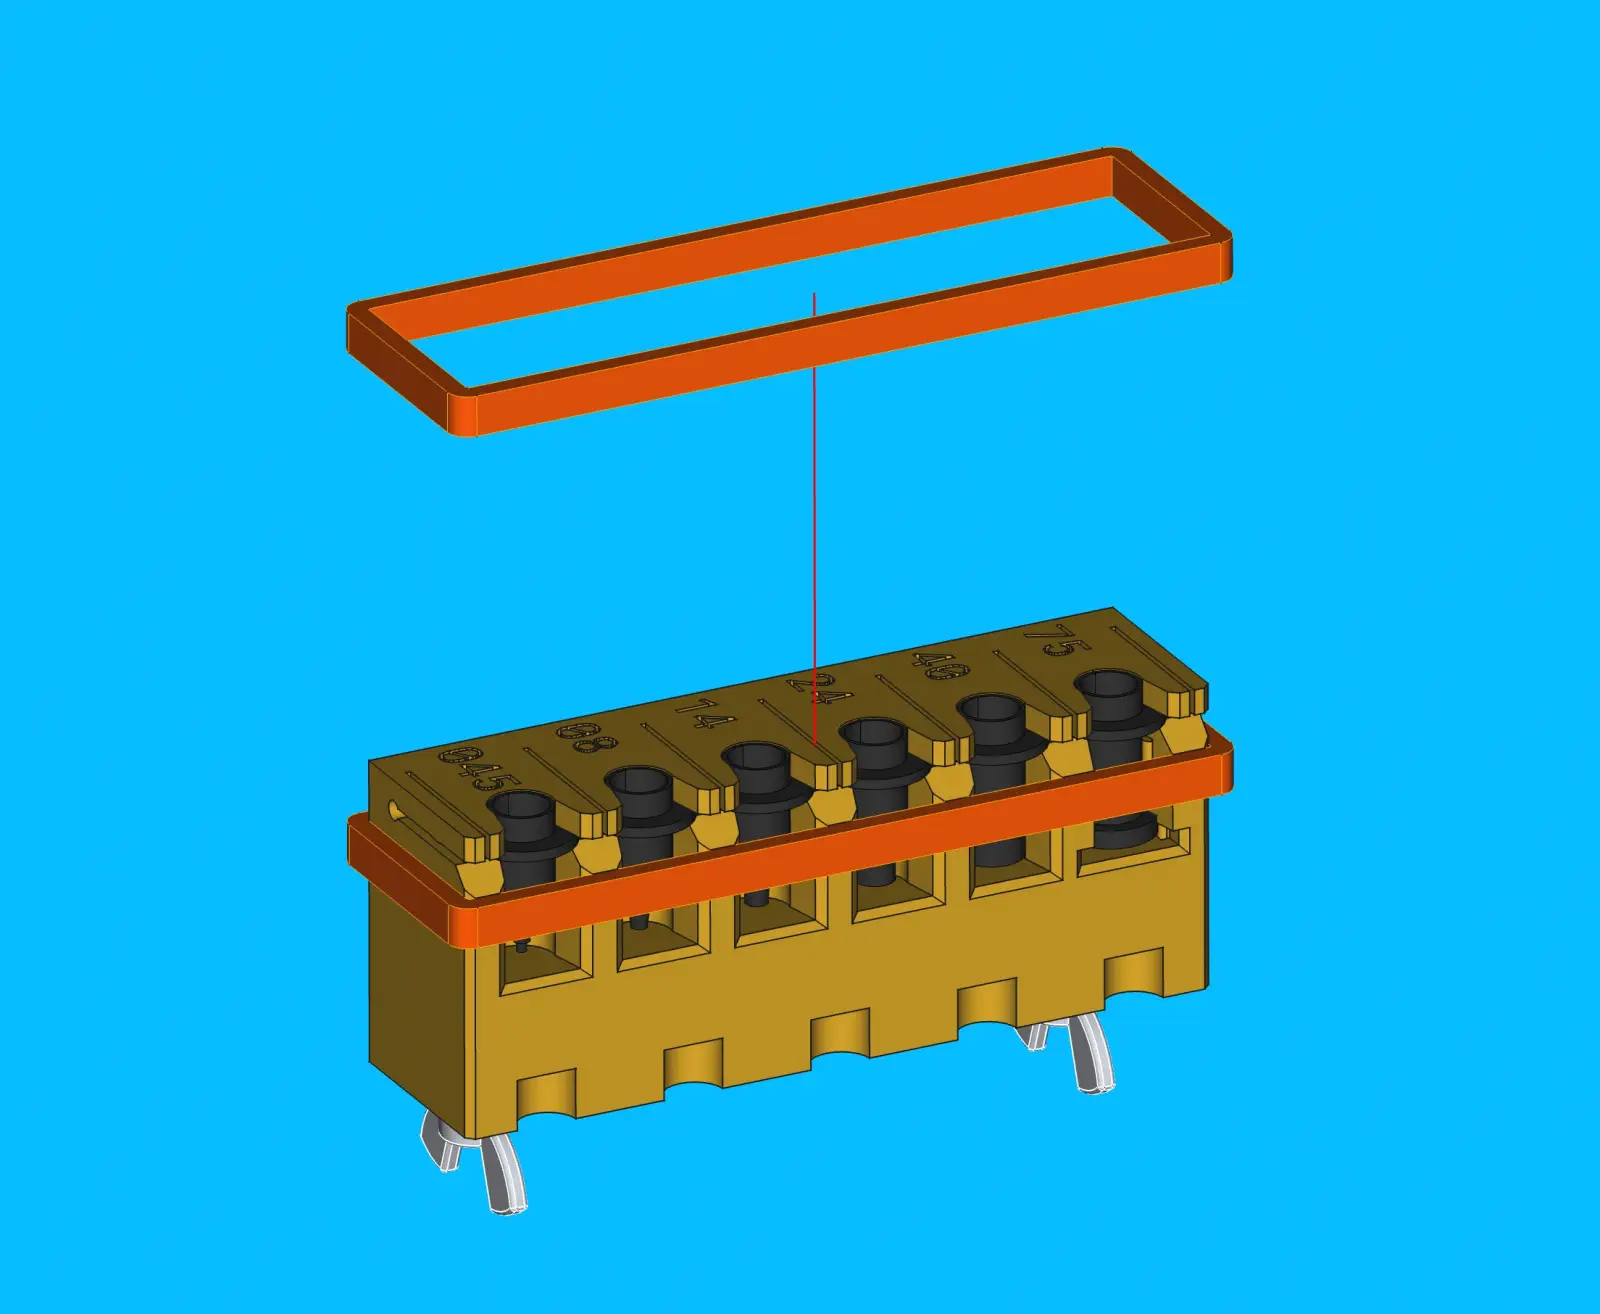
-
Place the completed
nozzle-rackinto a3x4-bagbefore sealing it shut to createnozzle-rack-asm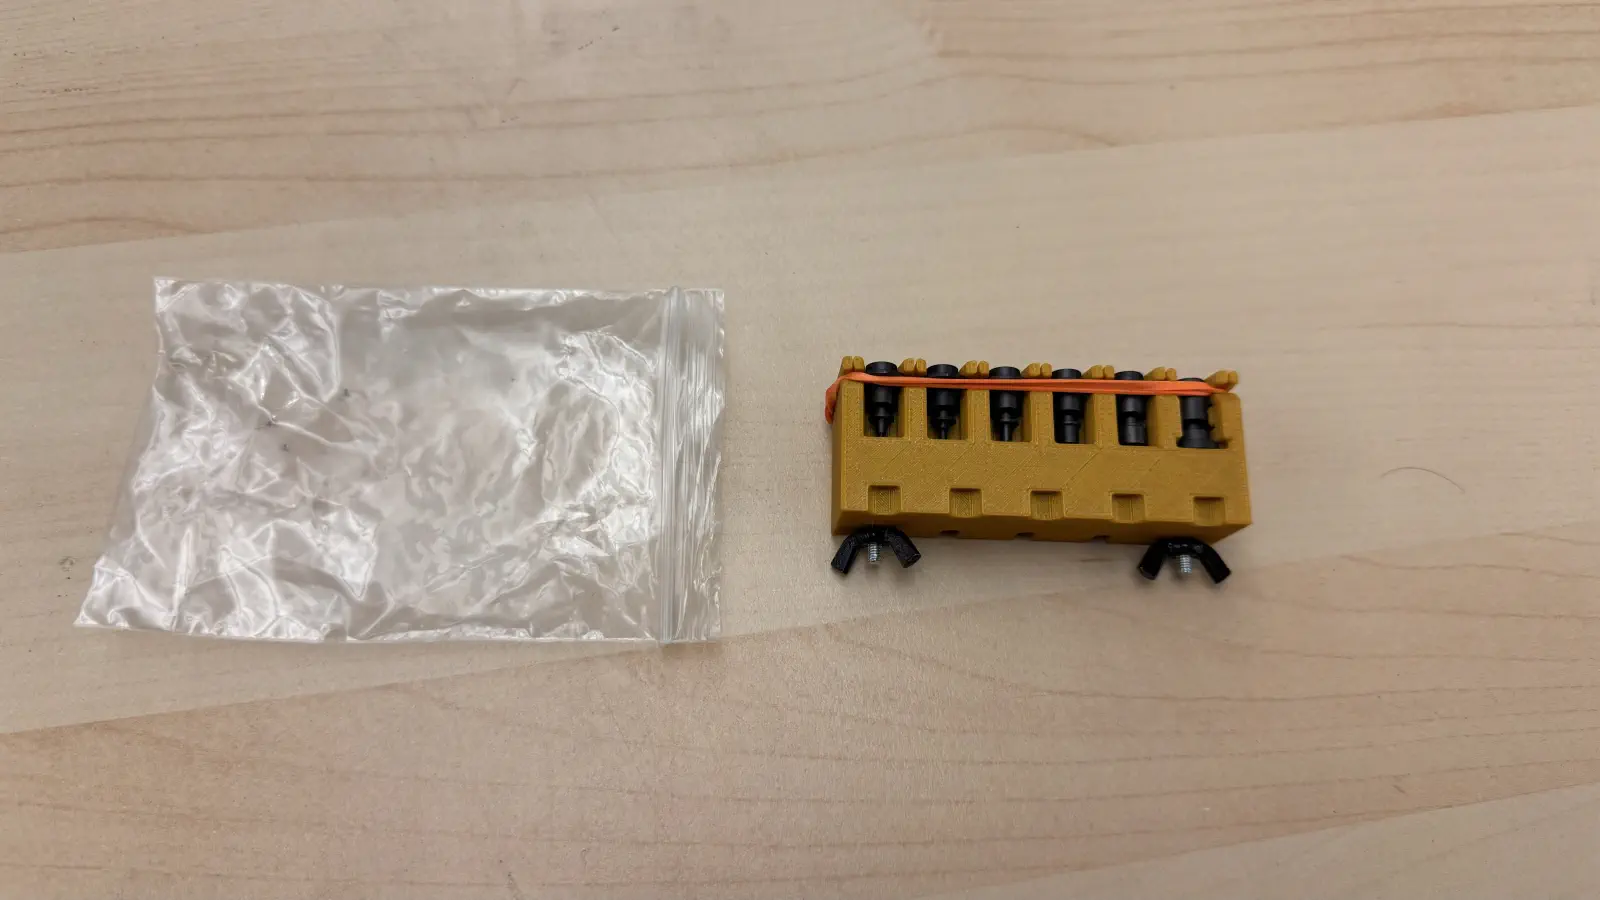

-
Place the completed
nozzle-rack-asmassemblies in a bin on the packout shelf while they await future use