Introduction
This guide will provide assembly instructions for the Reel Holder accessory for the LumenPnP.
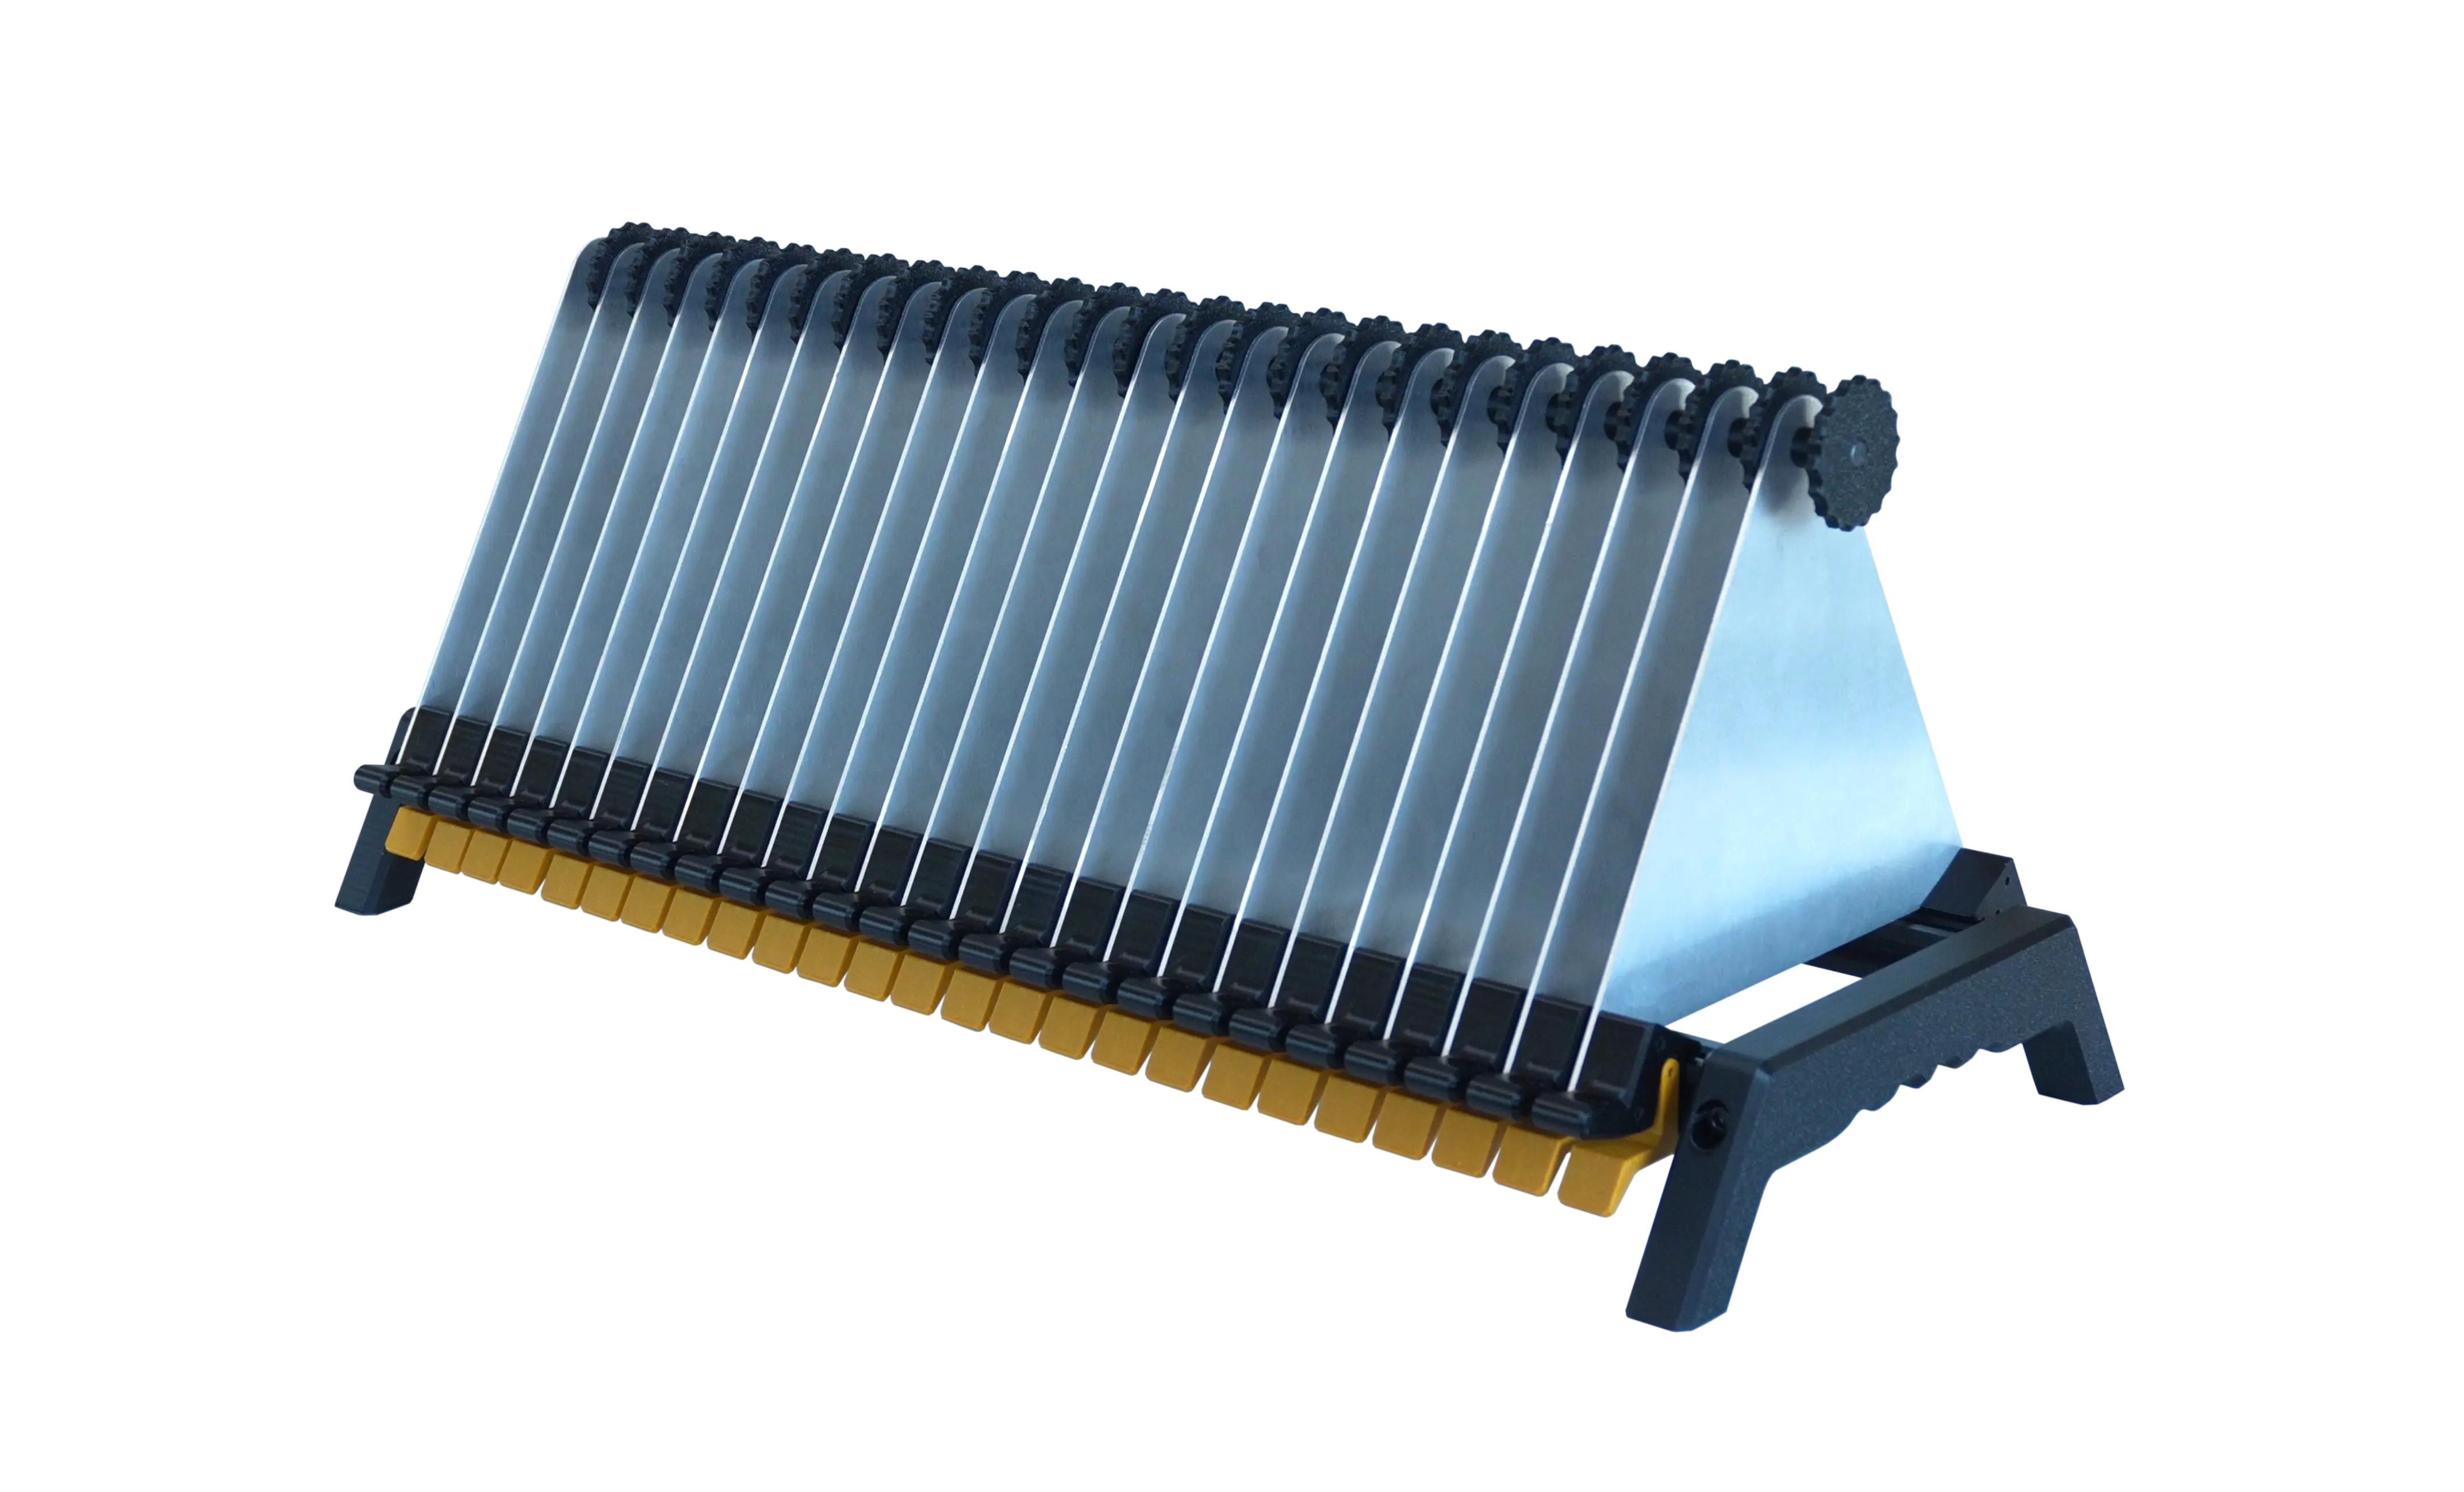
Tools and Parts
- Hex Driver (2mm and 4mm)
- 25x
reel-holder-plate - 125x
M3x12mm-self-tapping-flat-hex-head - 25x
m3x16mm-flat-head - 25x
m5x16mm-hex-head - 25x
m5x35mm-hex-head - 4x
m5x10mm-socket-head - 5x
m5-tslot-nut - 25x
feeder-compression-spring - 2x
vslot-extrusion-20mmx20mmx600mm - 4x
rubber-foot - 3x
6x9-bag
Prints
- 25x
dynamic-frame - 25x
static-frame - 25x
retention-clip - 25x
knob-1u - 25x
knob-2u - 2x
reel-holder-leg
Jigs
reel-holder-plate-jig
Base Assembly
-
Insert 2x
vslot-extrusion-20mmx20mmx600mmintoreel-holder-leg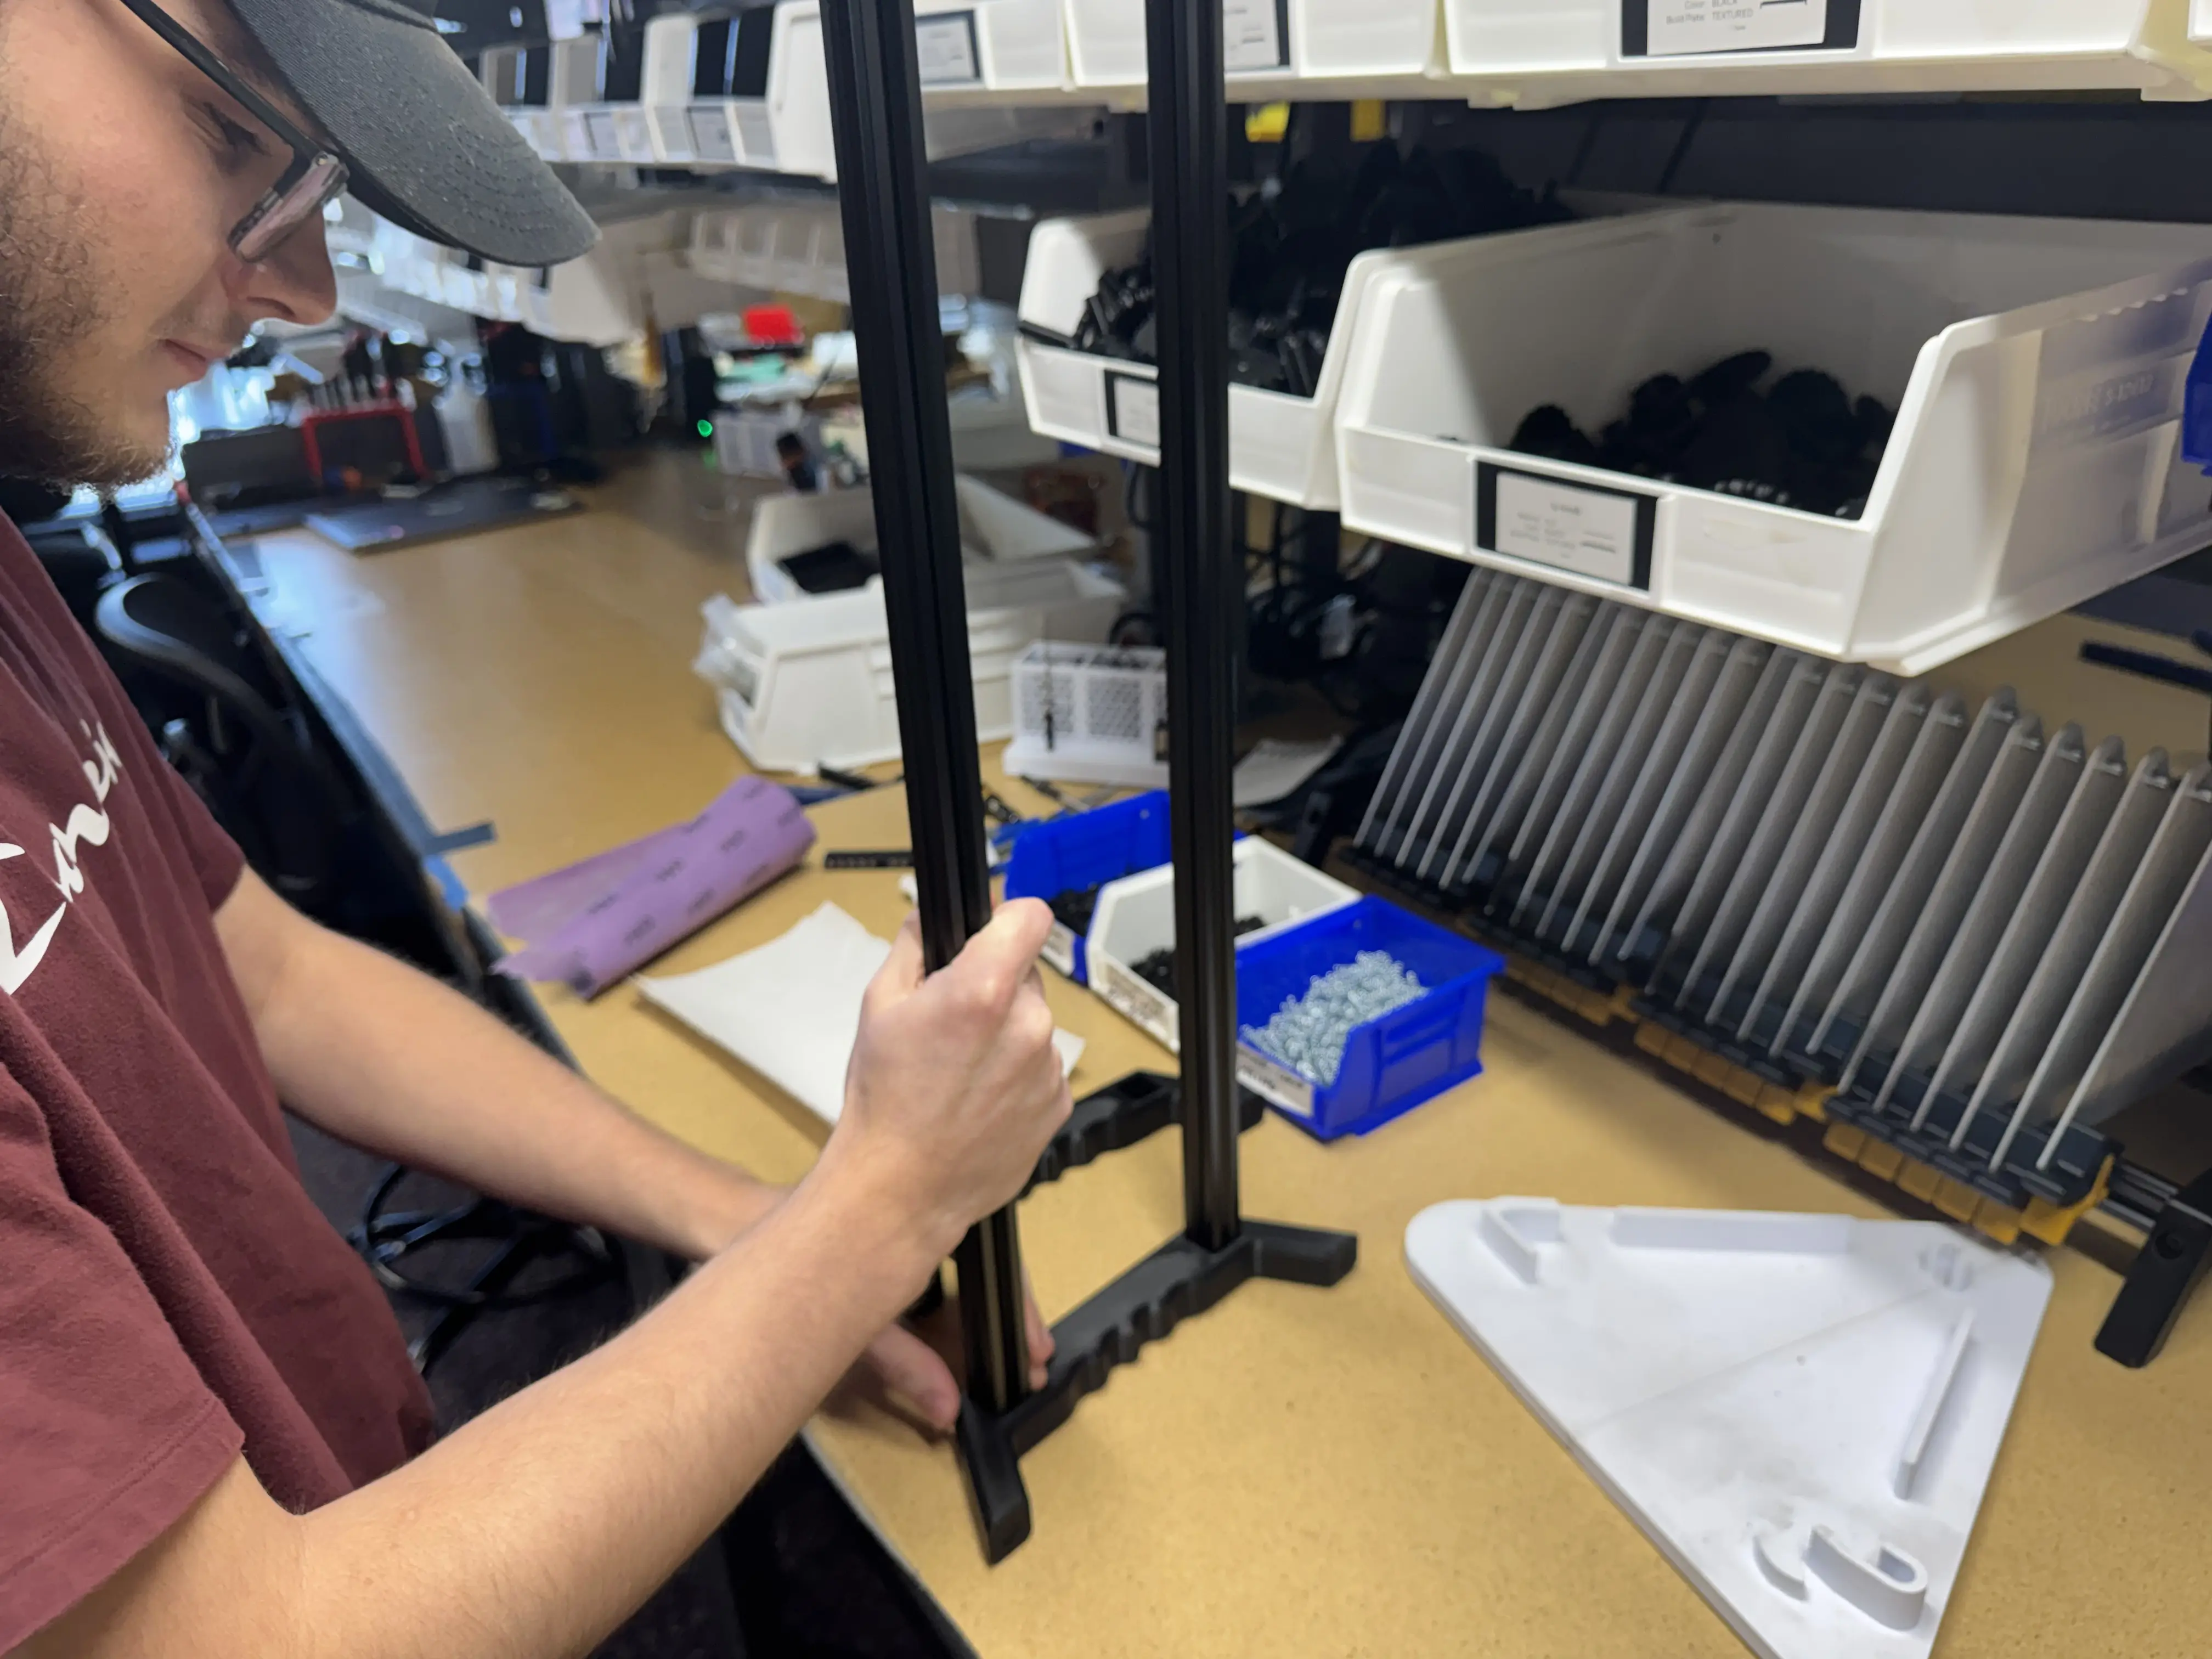
-
Secure a second
reel-holder-legto the other end of the extrusion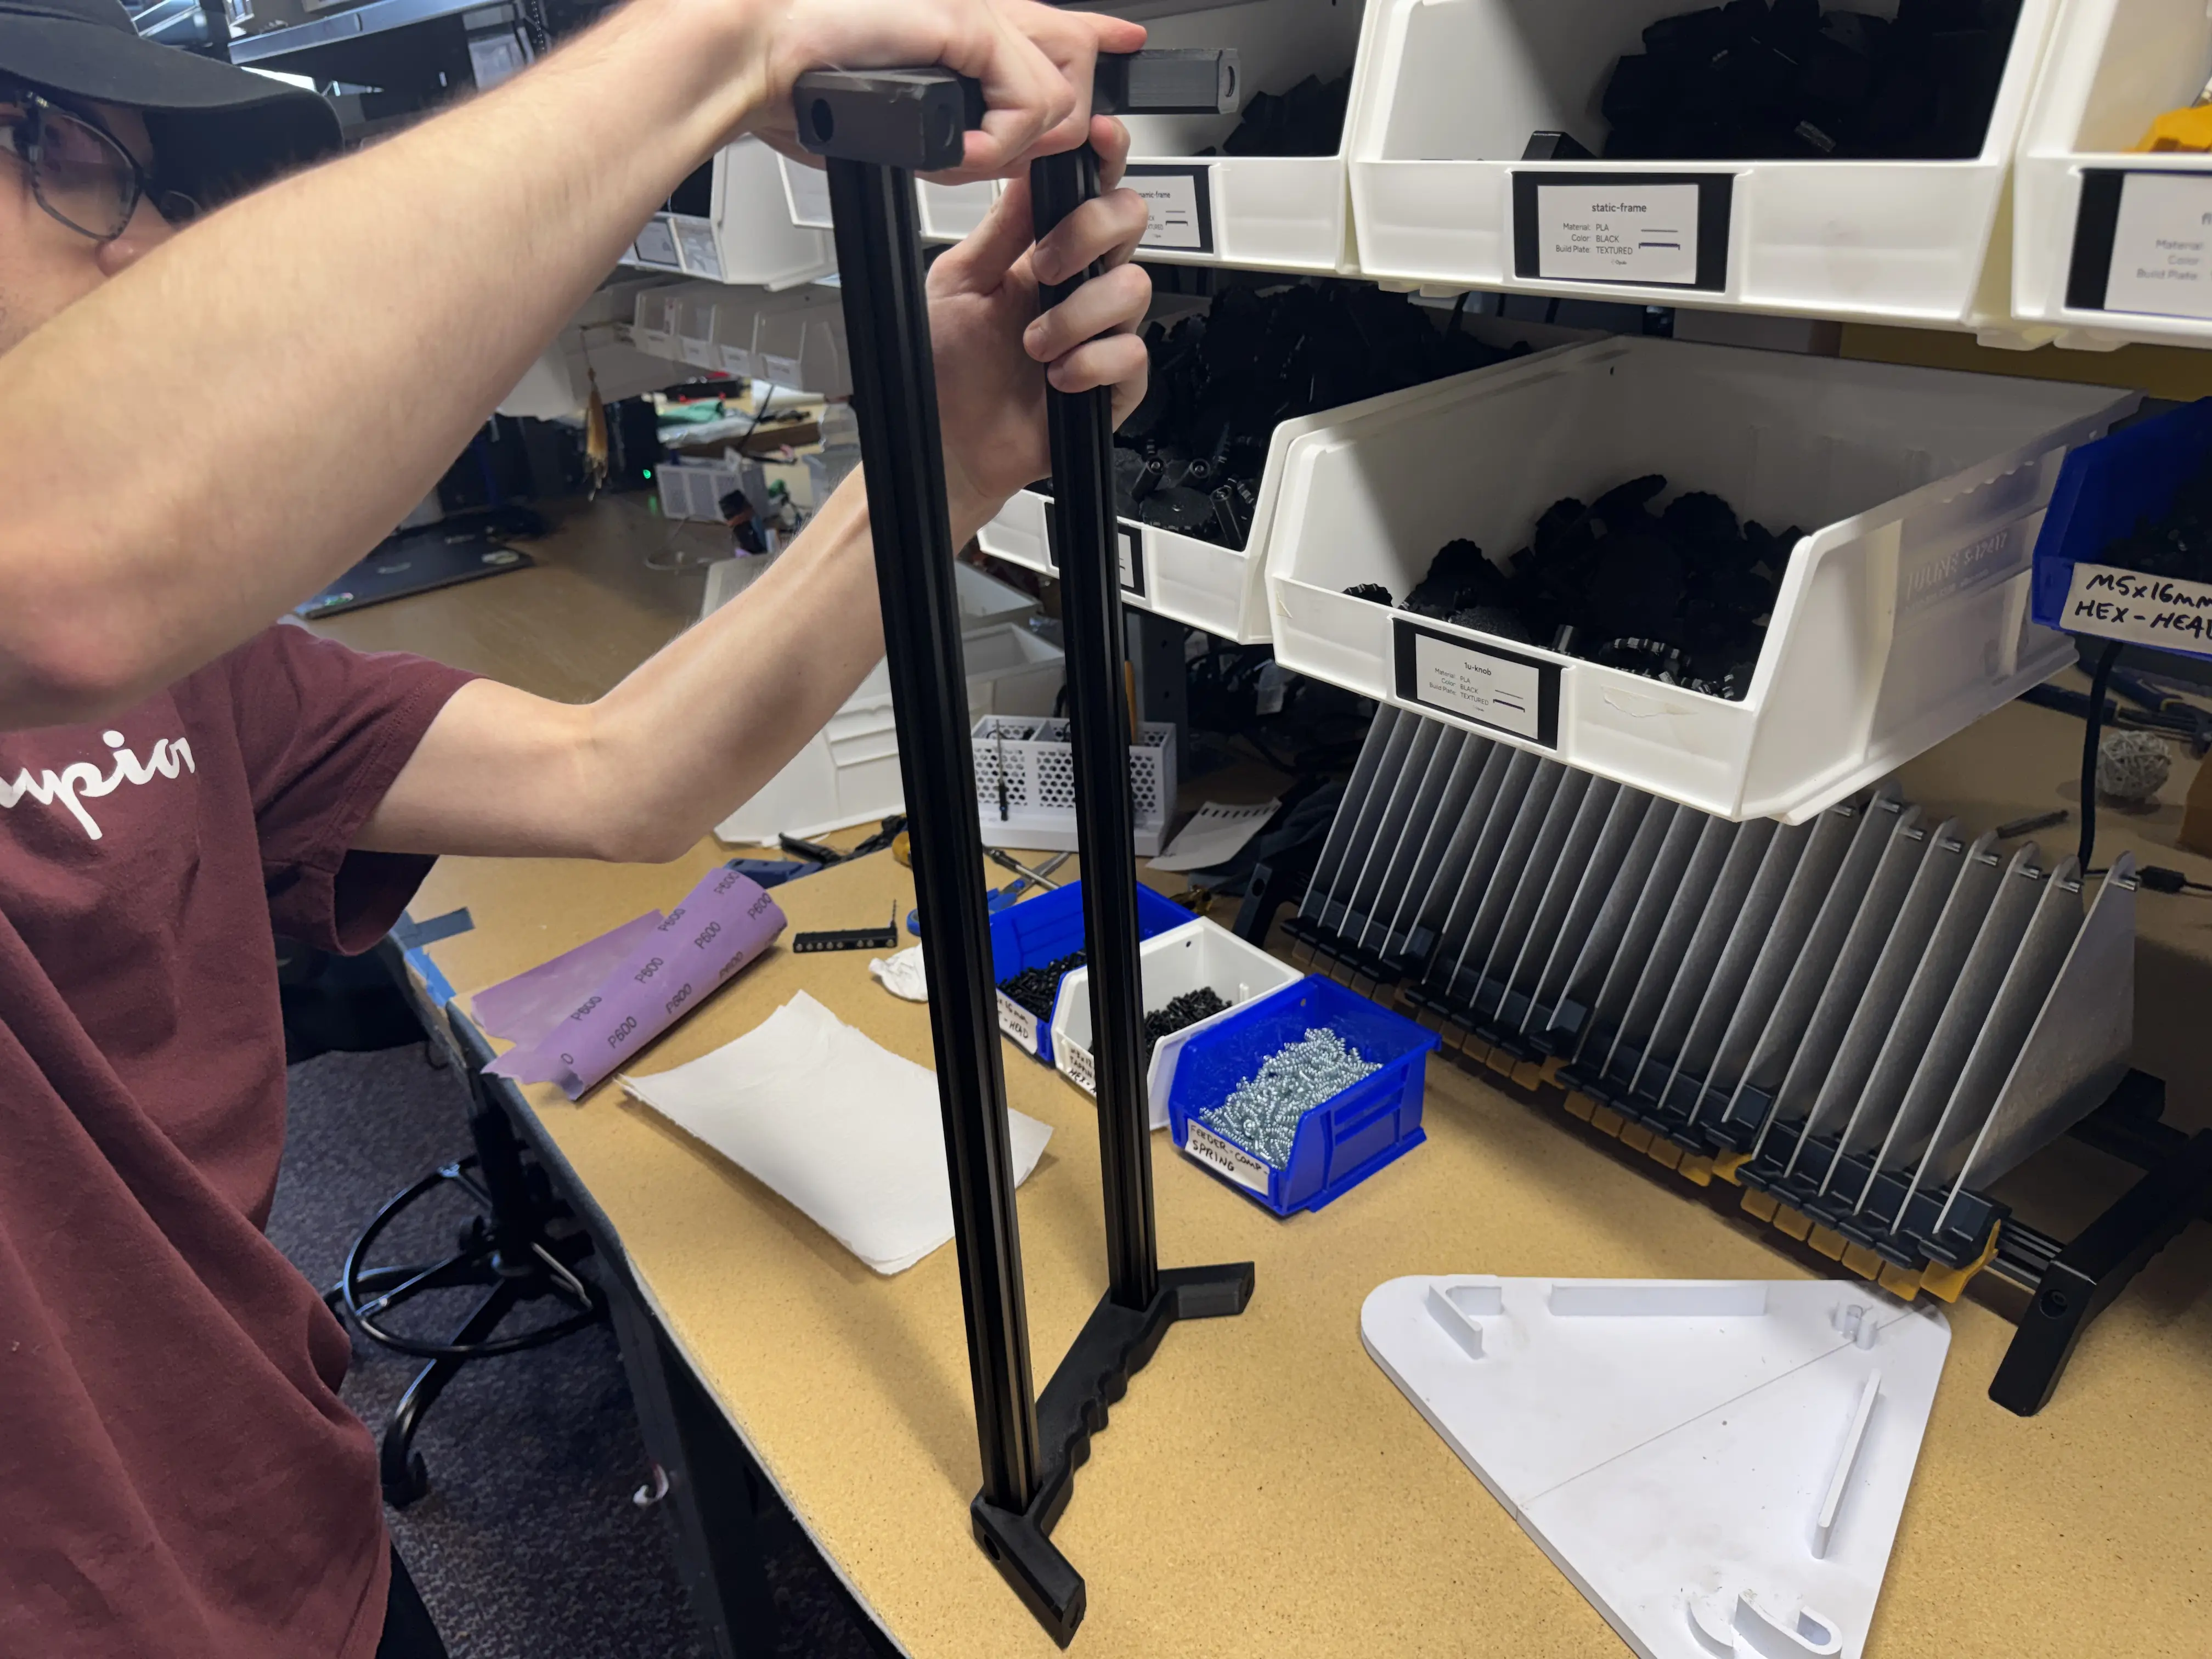
-
Insert
m5-tslot-nutinto rail and push behind hole inreel-holder-leg. Do this for each corner of the Reel Holder (4xm5-tslot-nuttotal)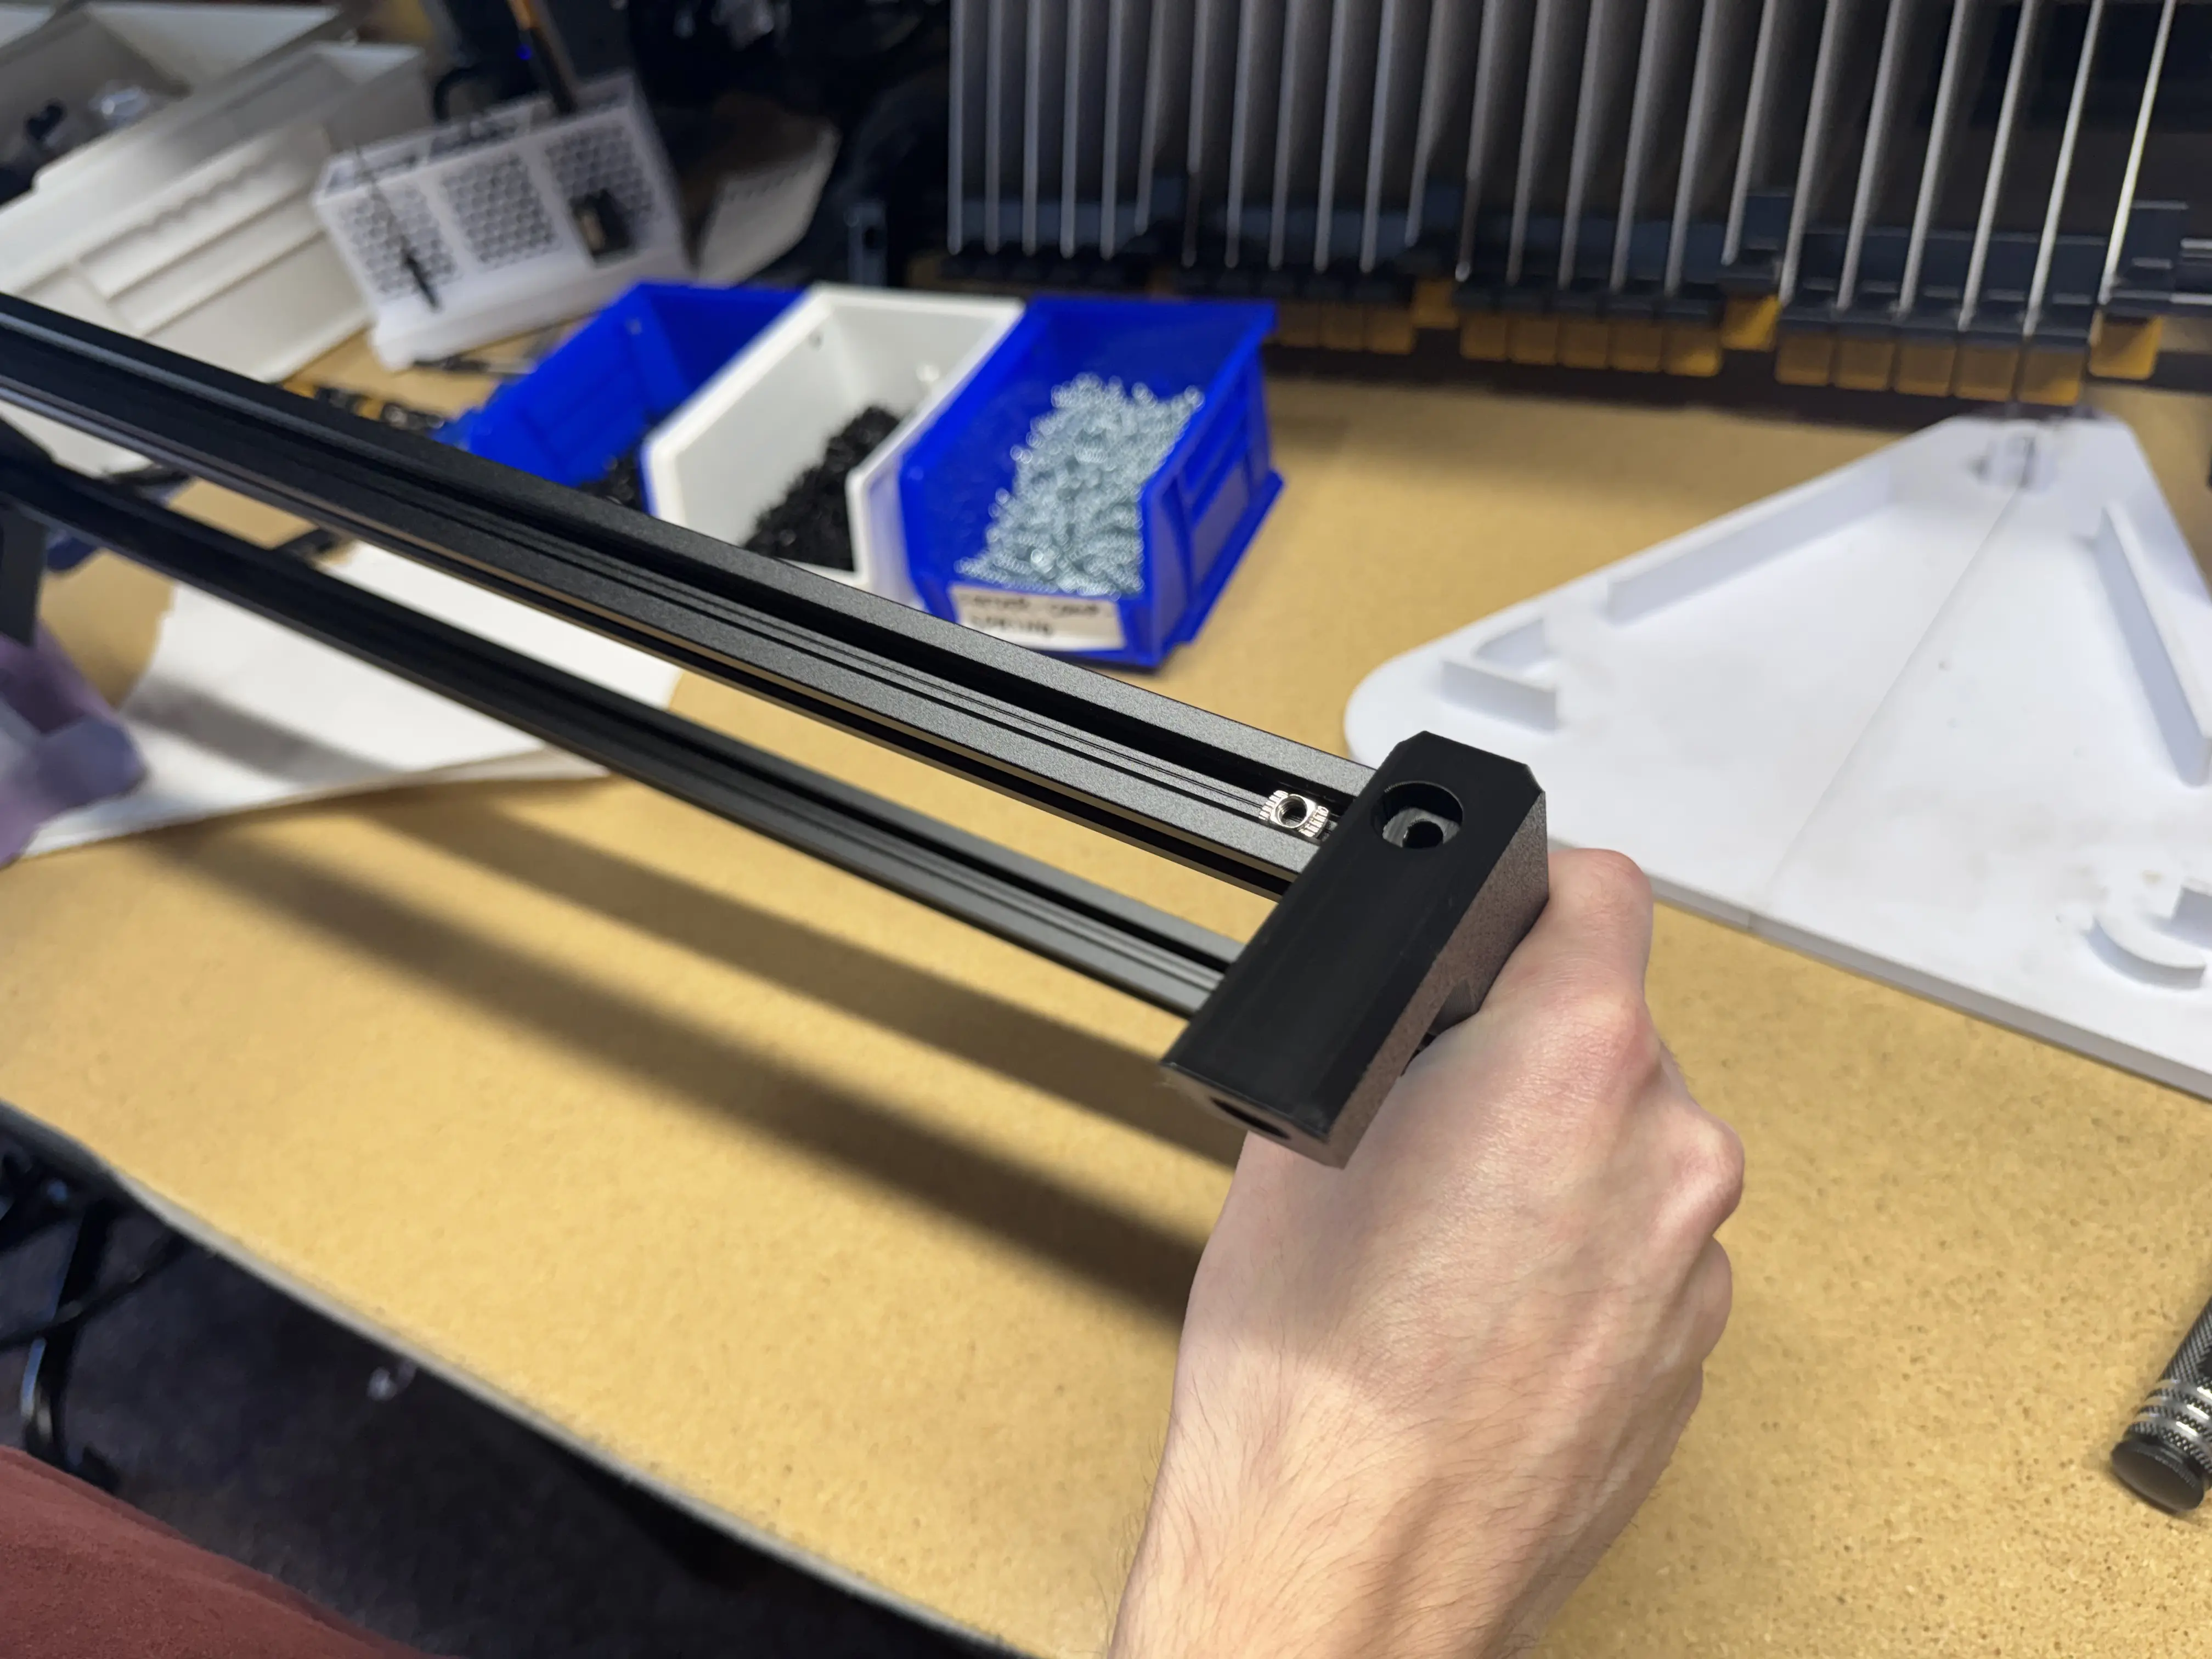
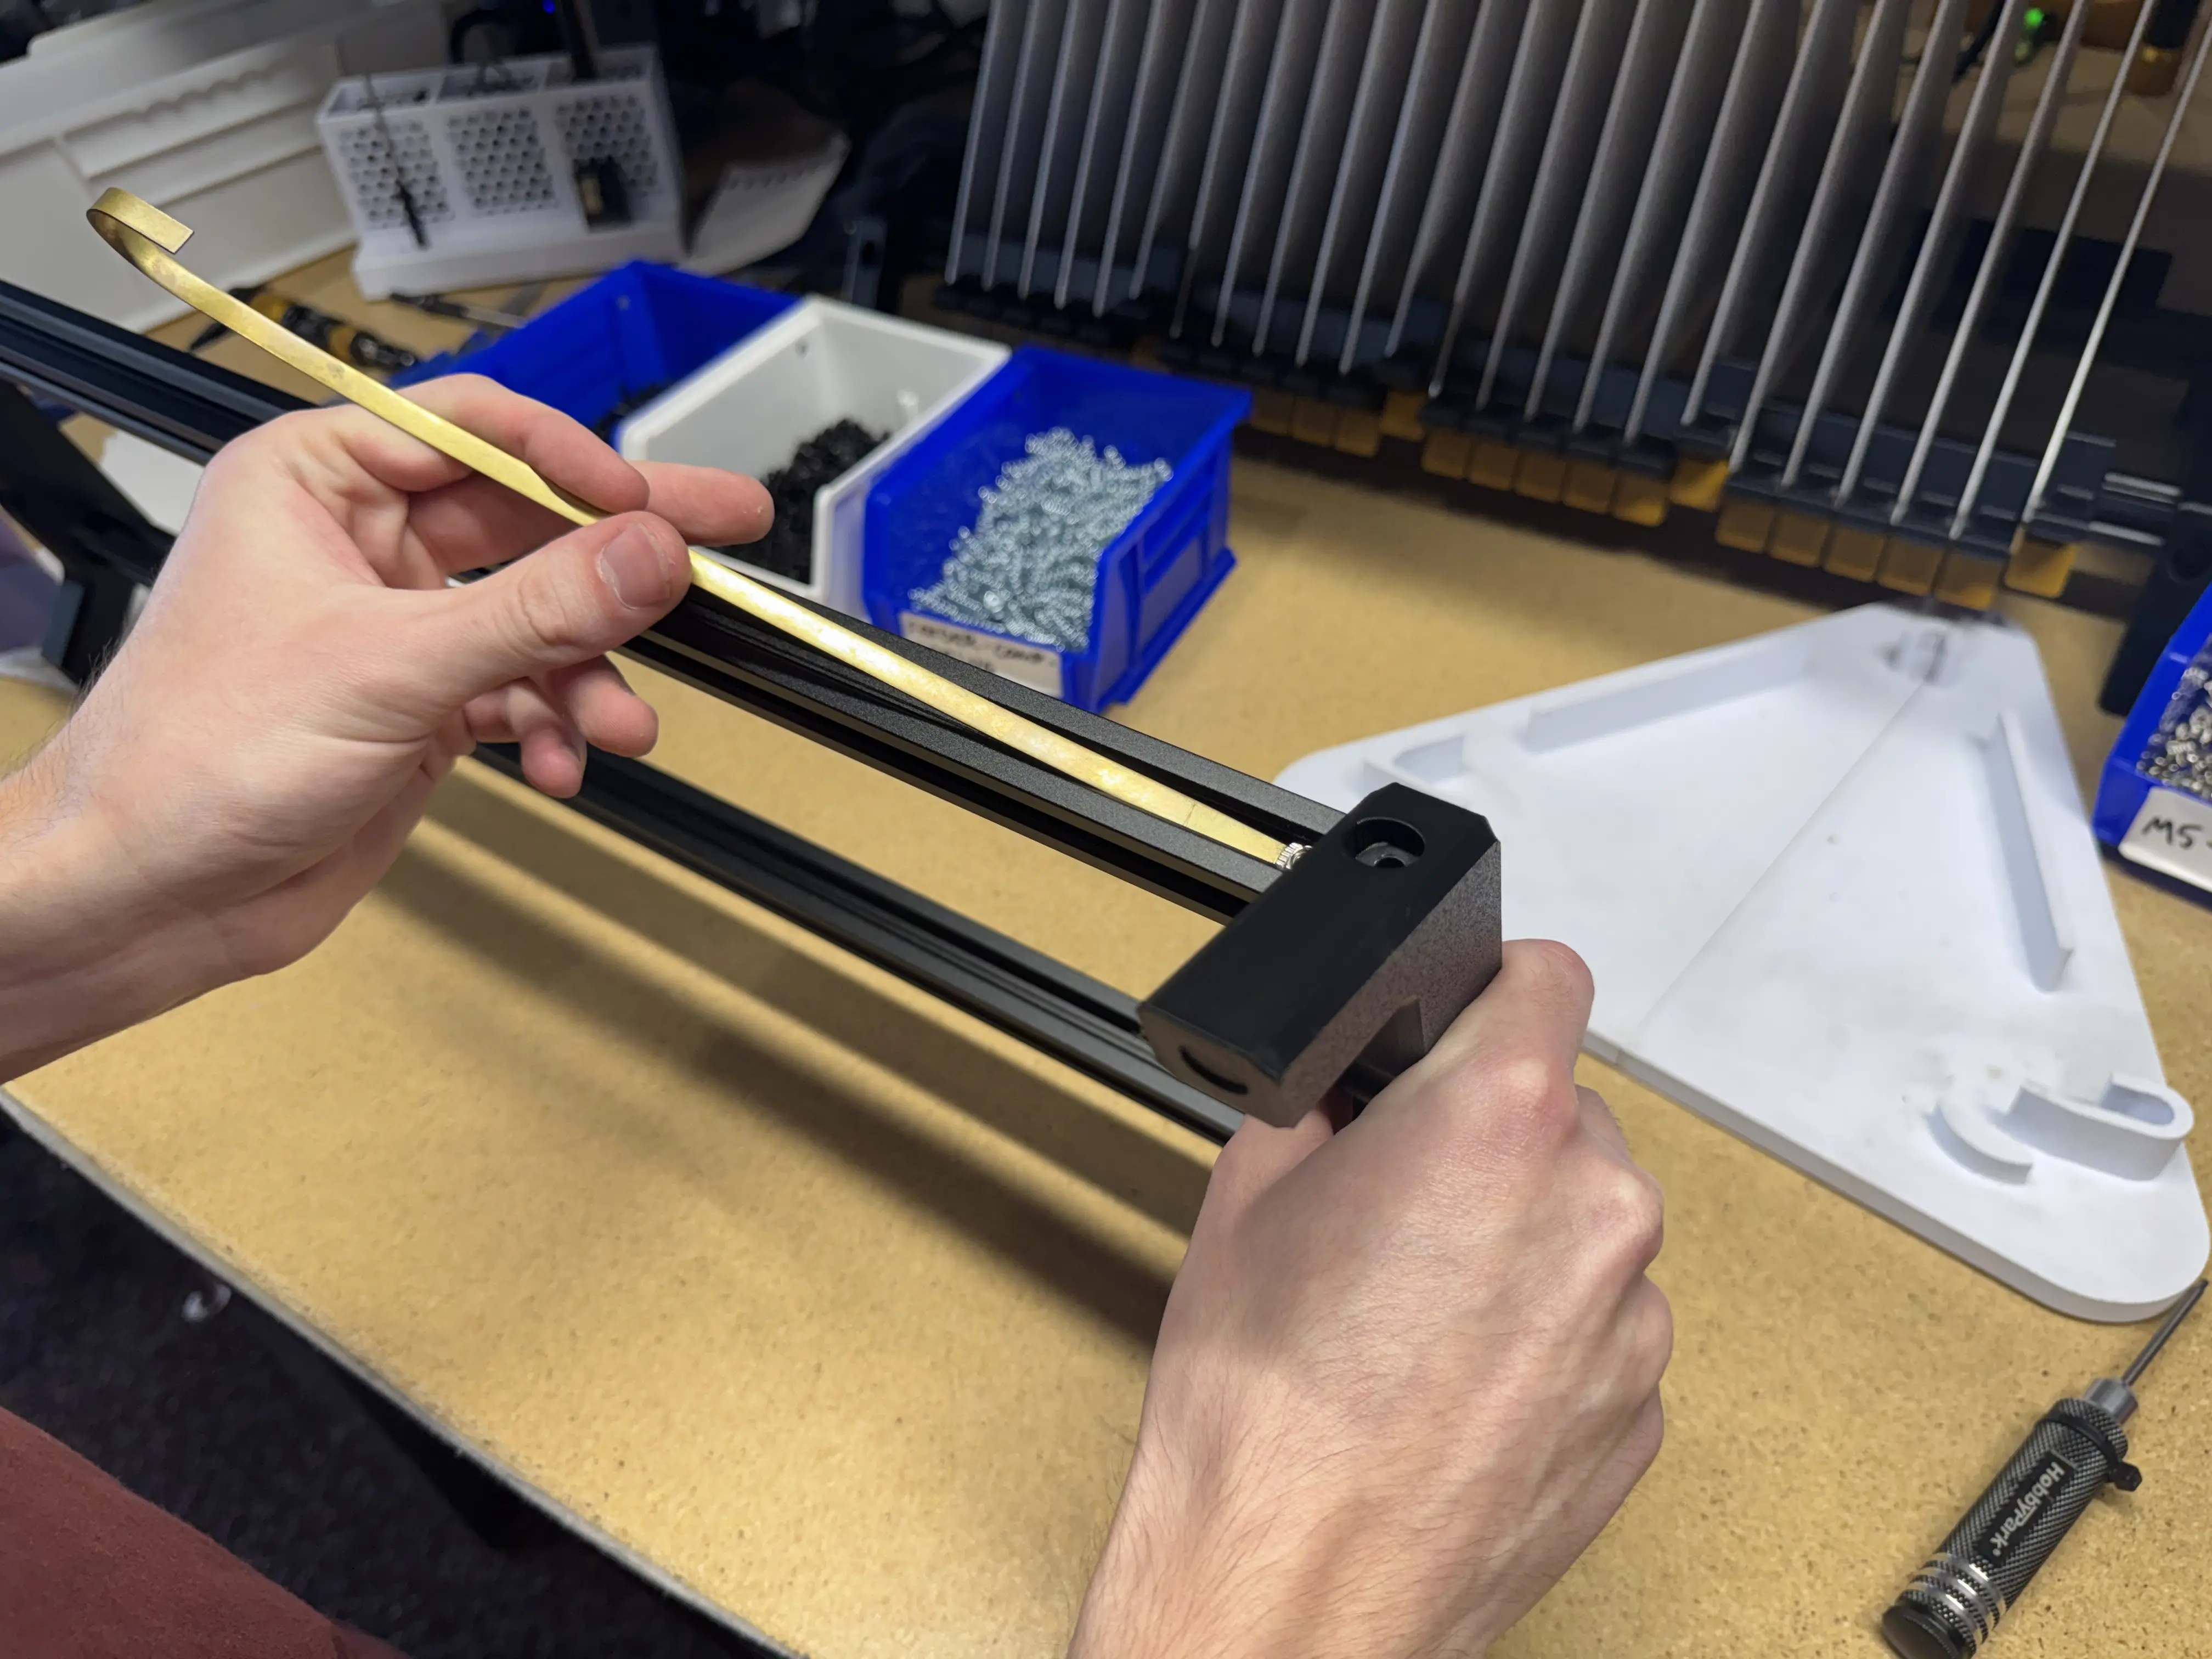
-
Insert
m5x10mm-socket-headinto each corner of the Reel Holder (4xm5x10mm-socket-headtotal) Ensure it threads throughm5-tslot-nut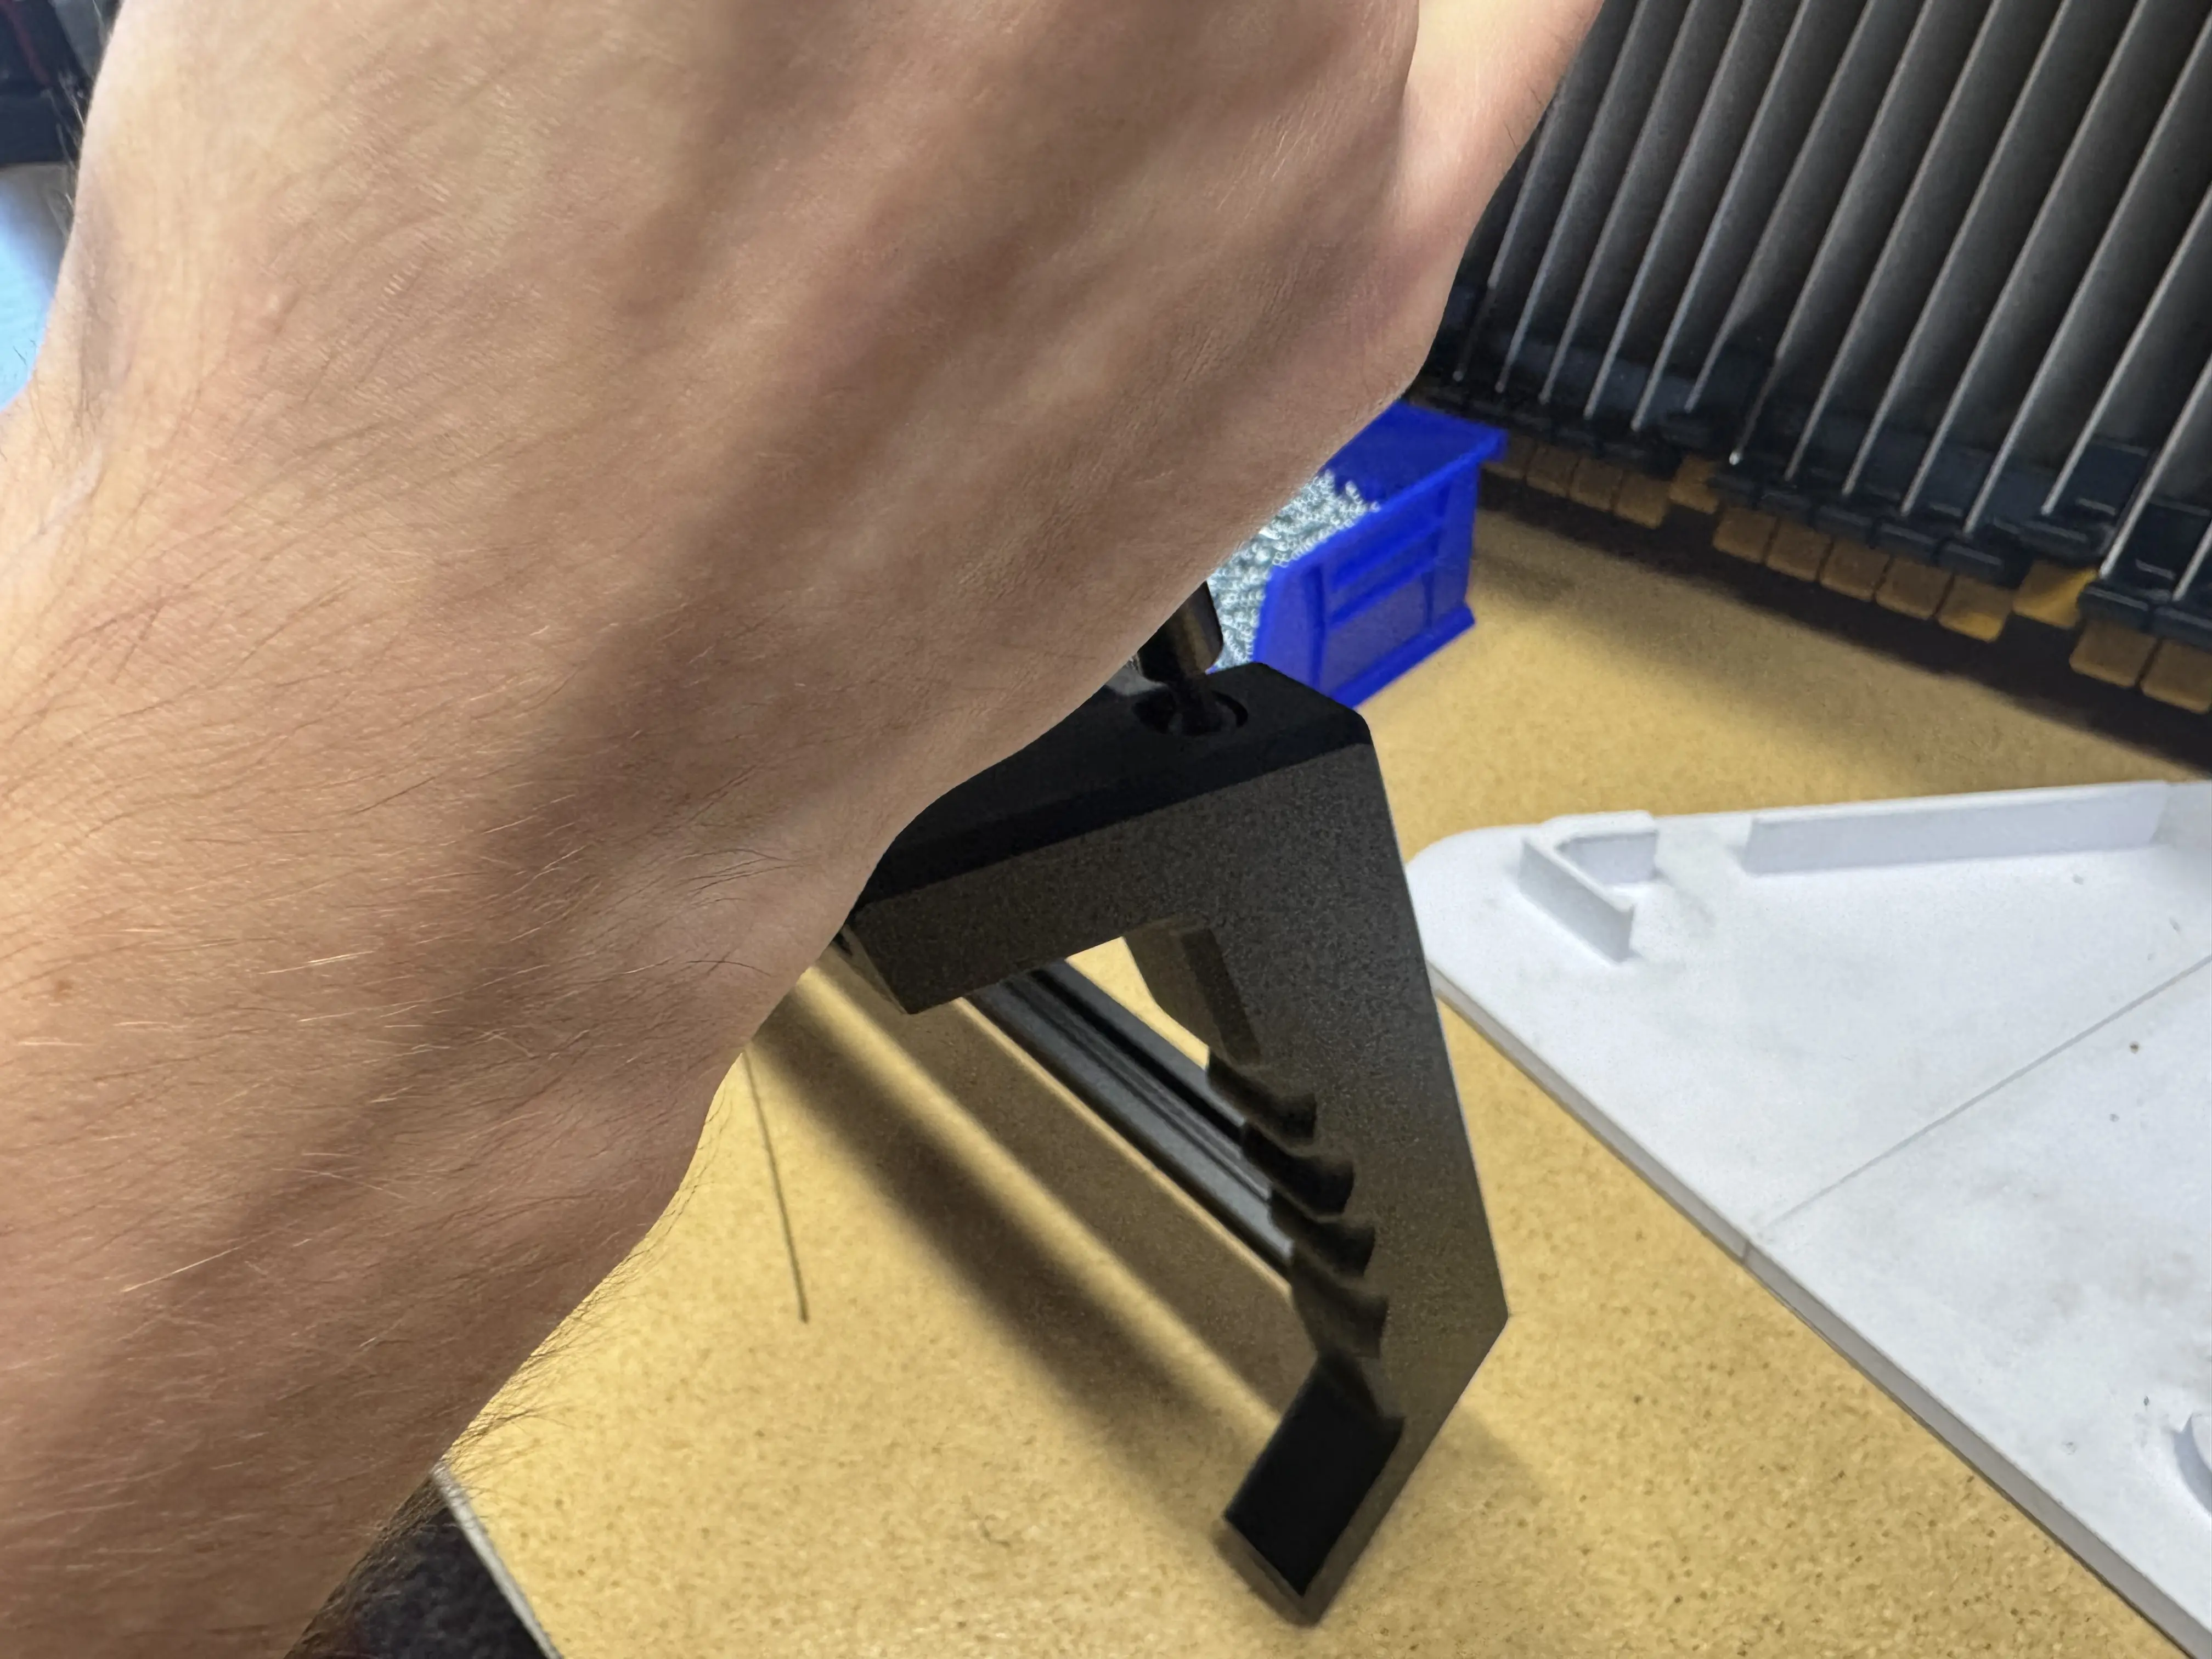
-
Add
rubber-footunder each leg of the Reel Holder (4xrubber-foottotal)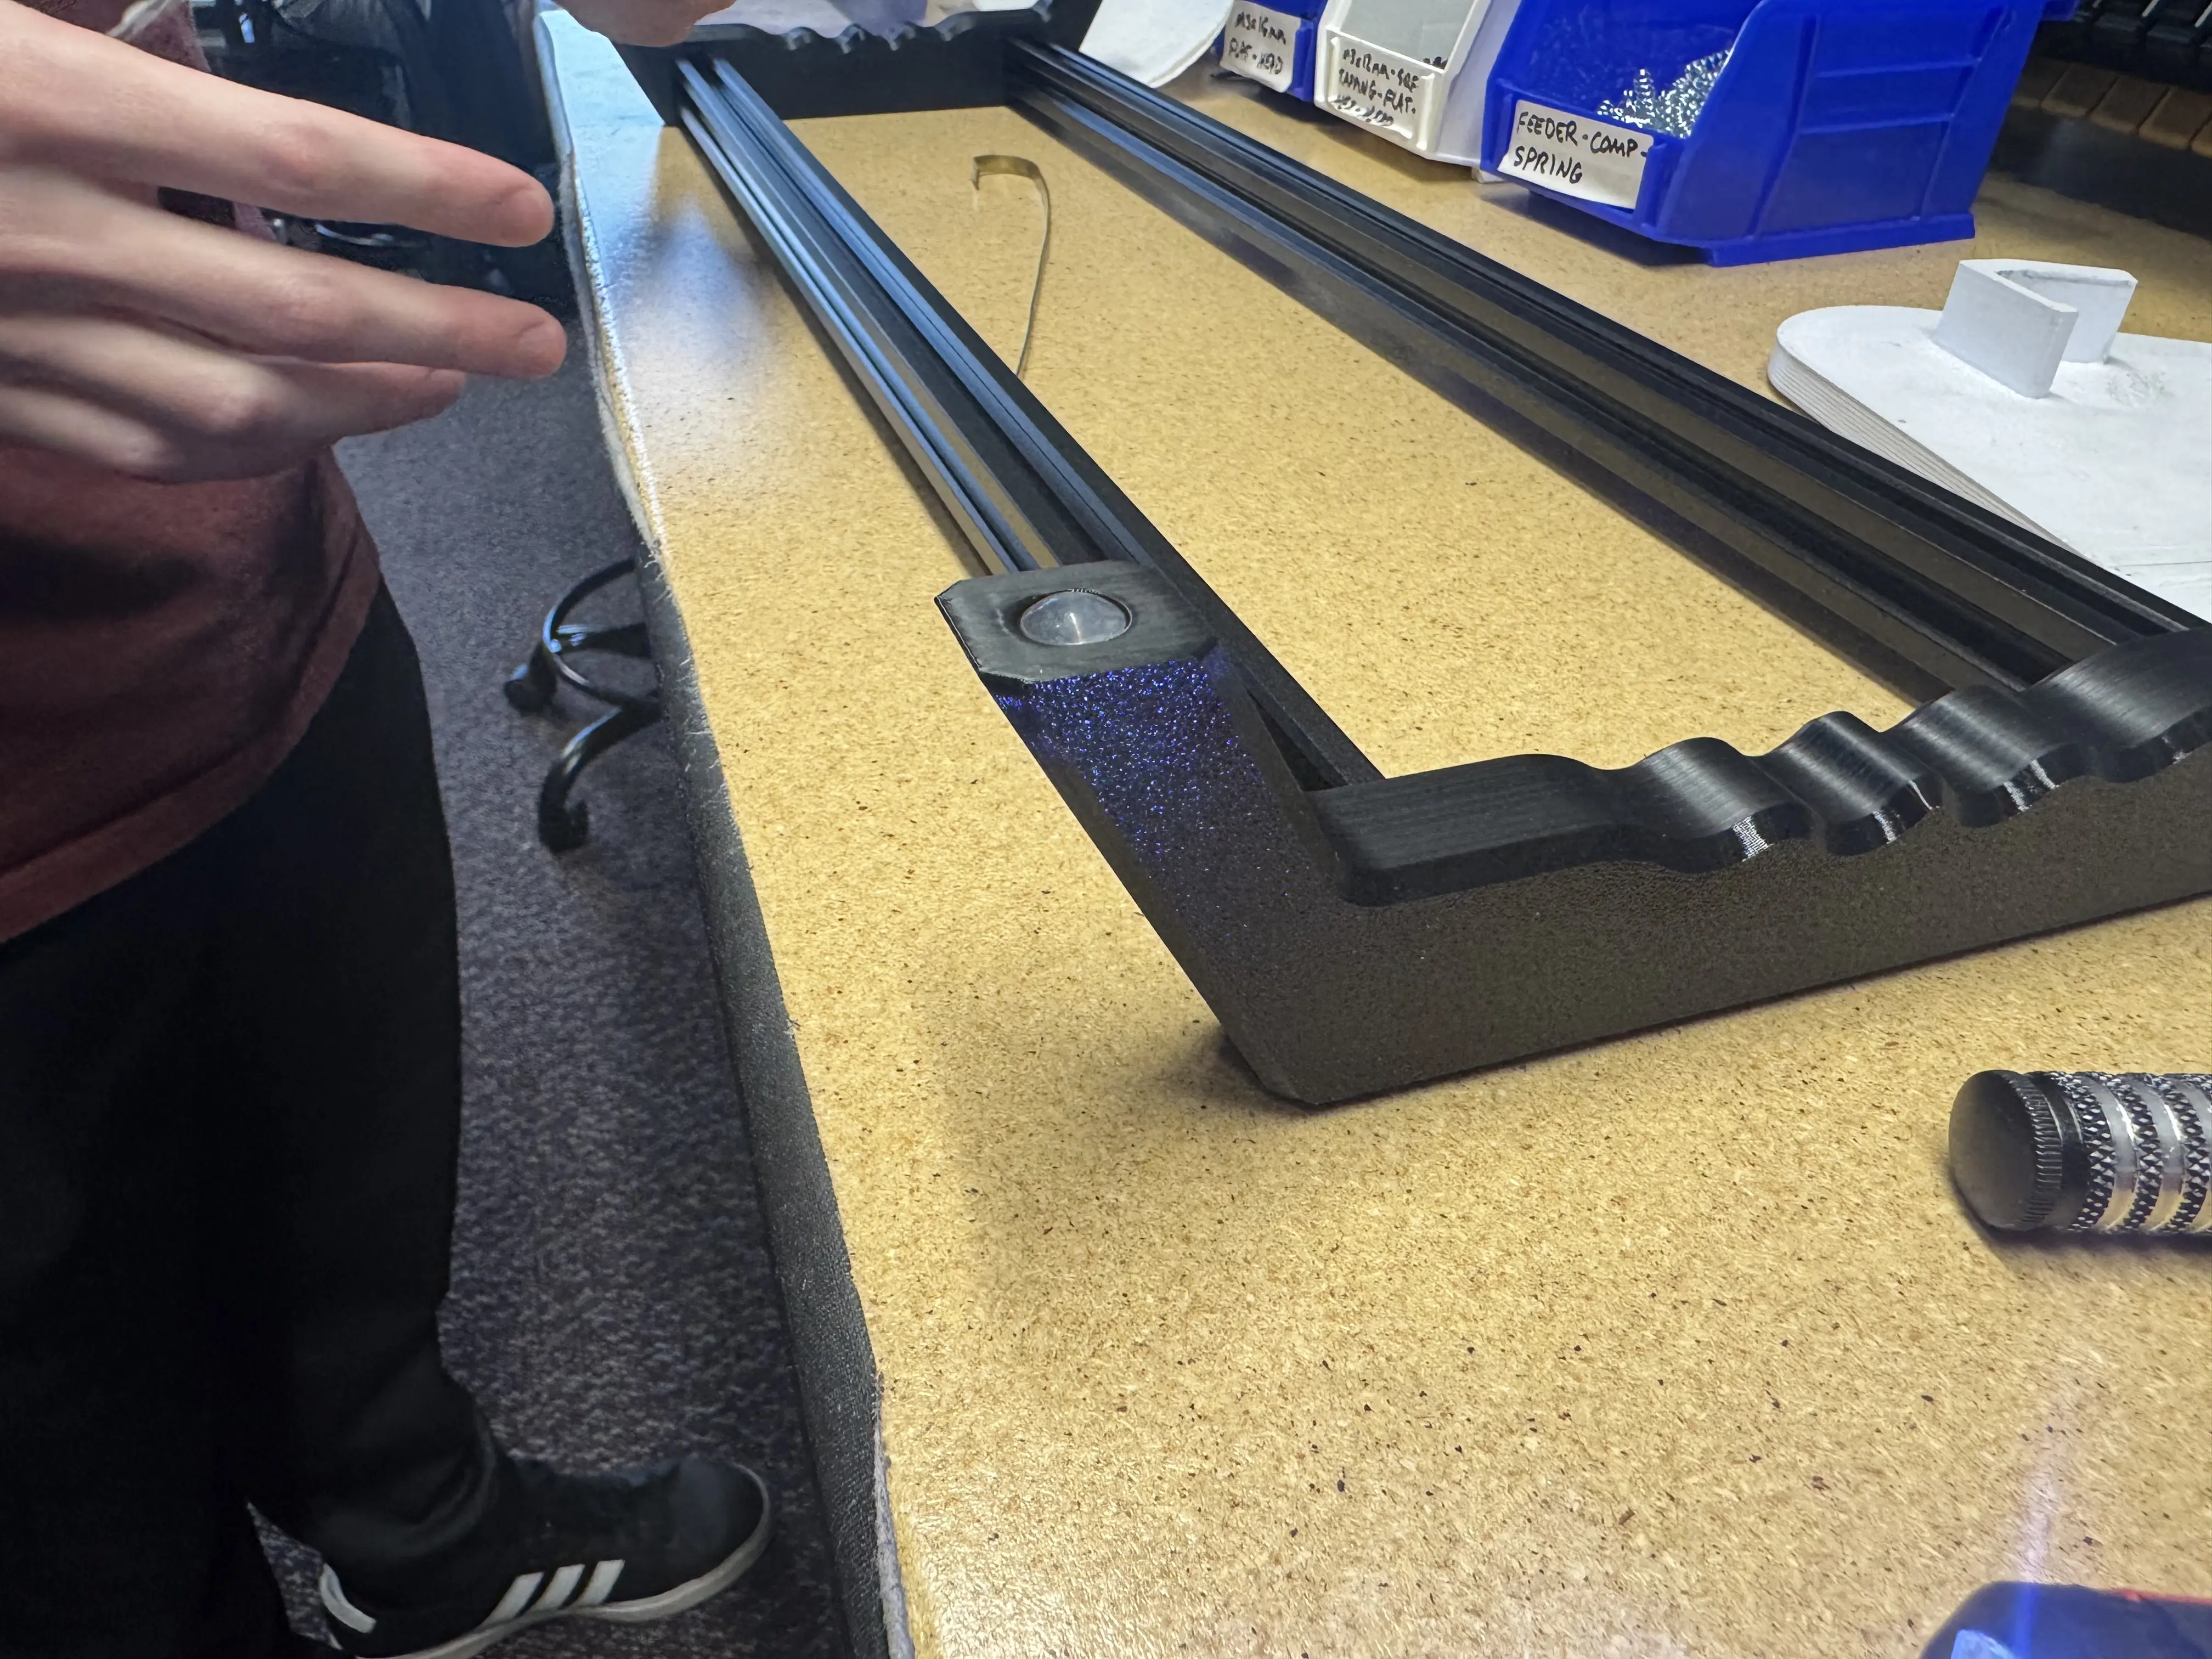
Base Assembly Complete
You may now start assembling 25x reel-holder-plate. It is beneficial to have the Reel Holder Base nearby during plate assembly so you can attach plates onto the base as you complete them.
Reel Holder Plate Assembly
-
Sand edges of
reel-holder-platewith 600-grit sandpaper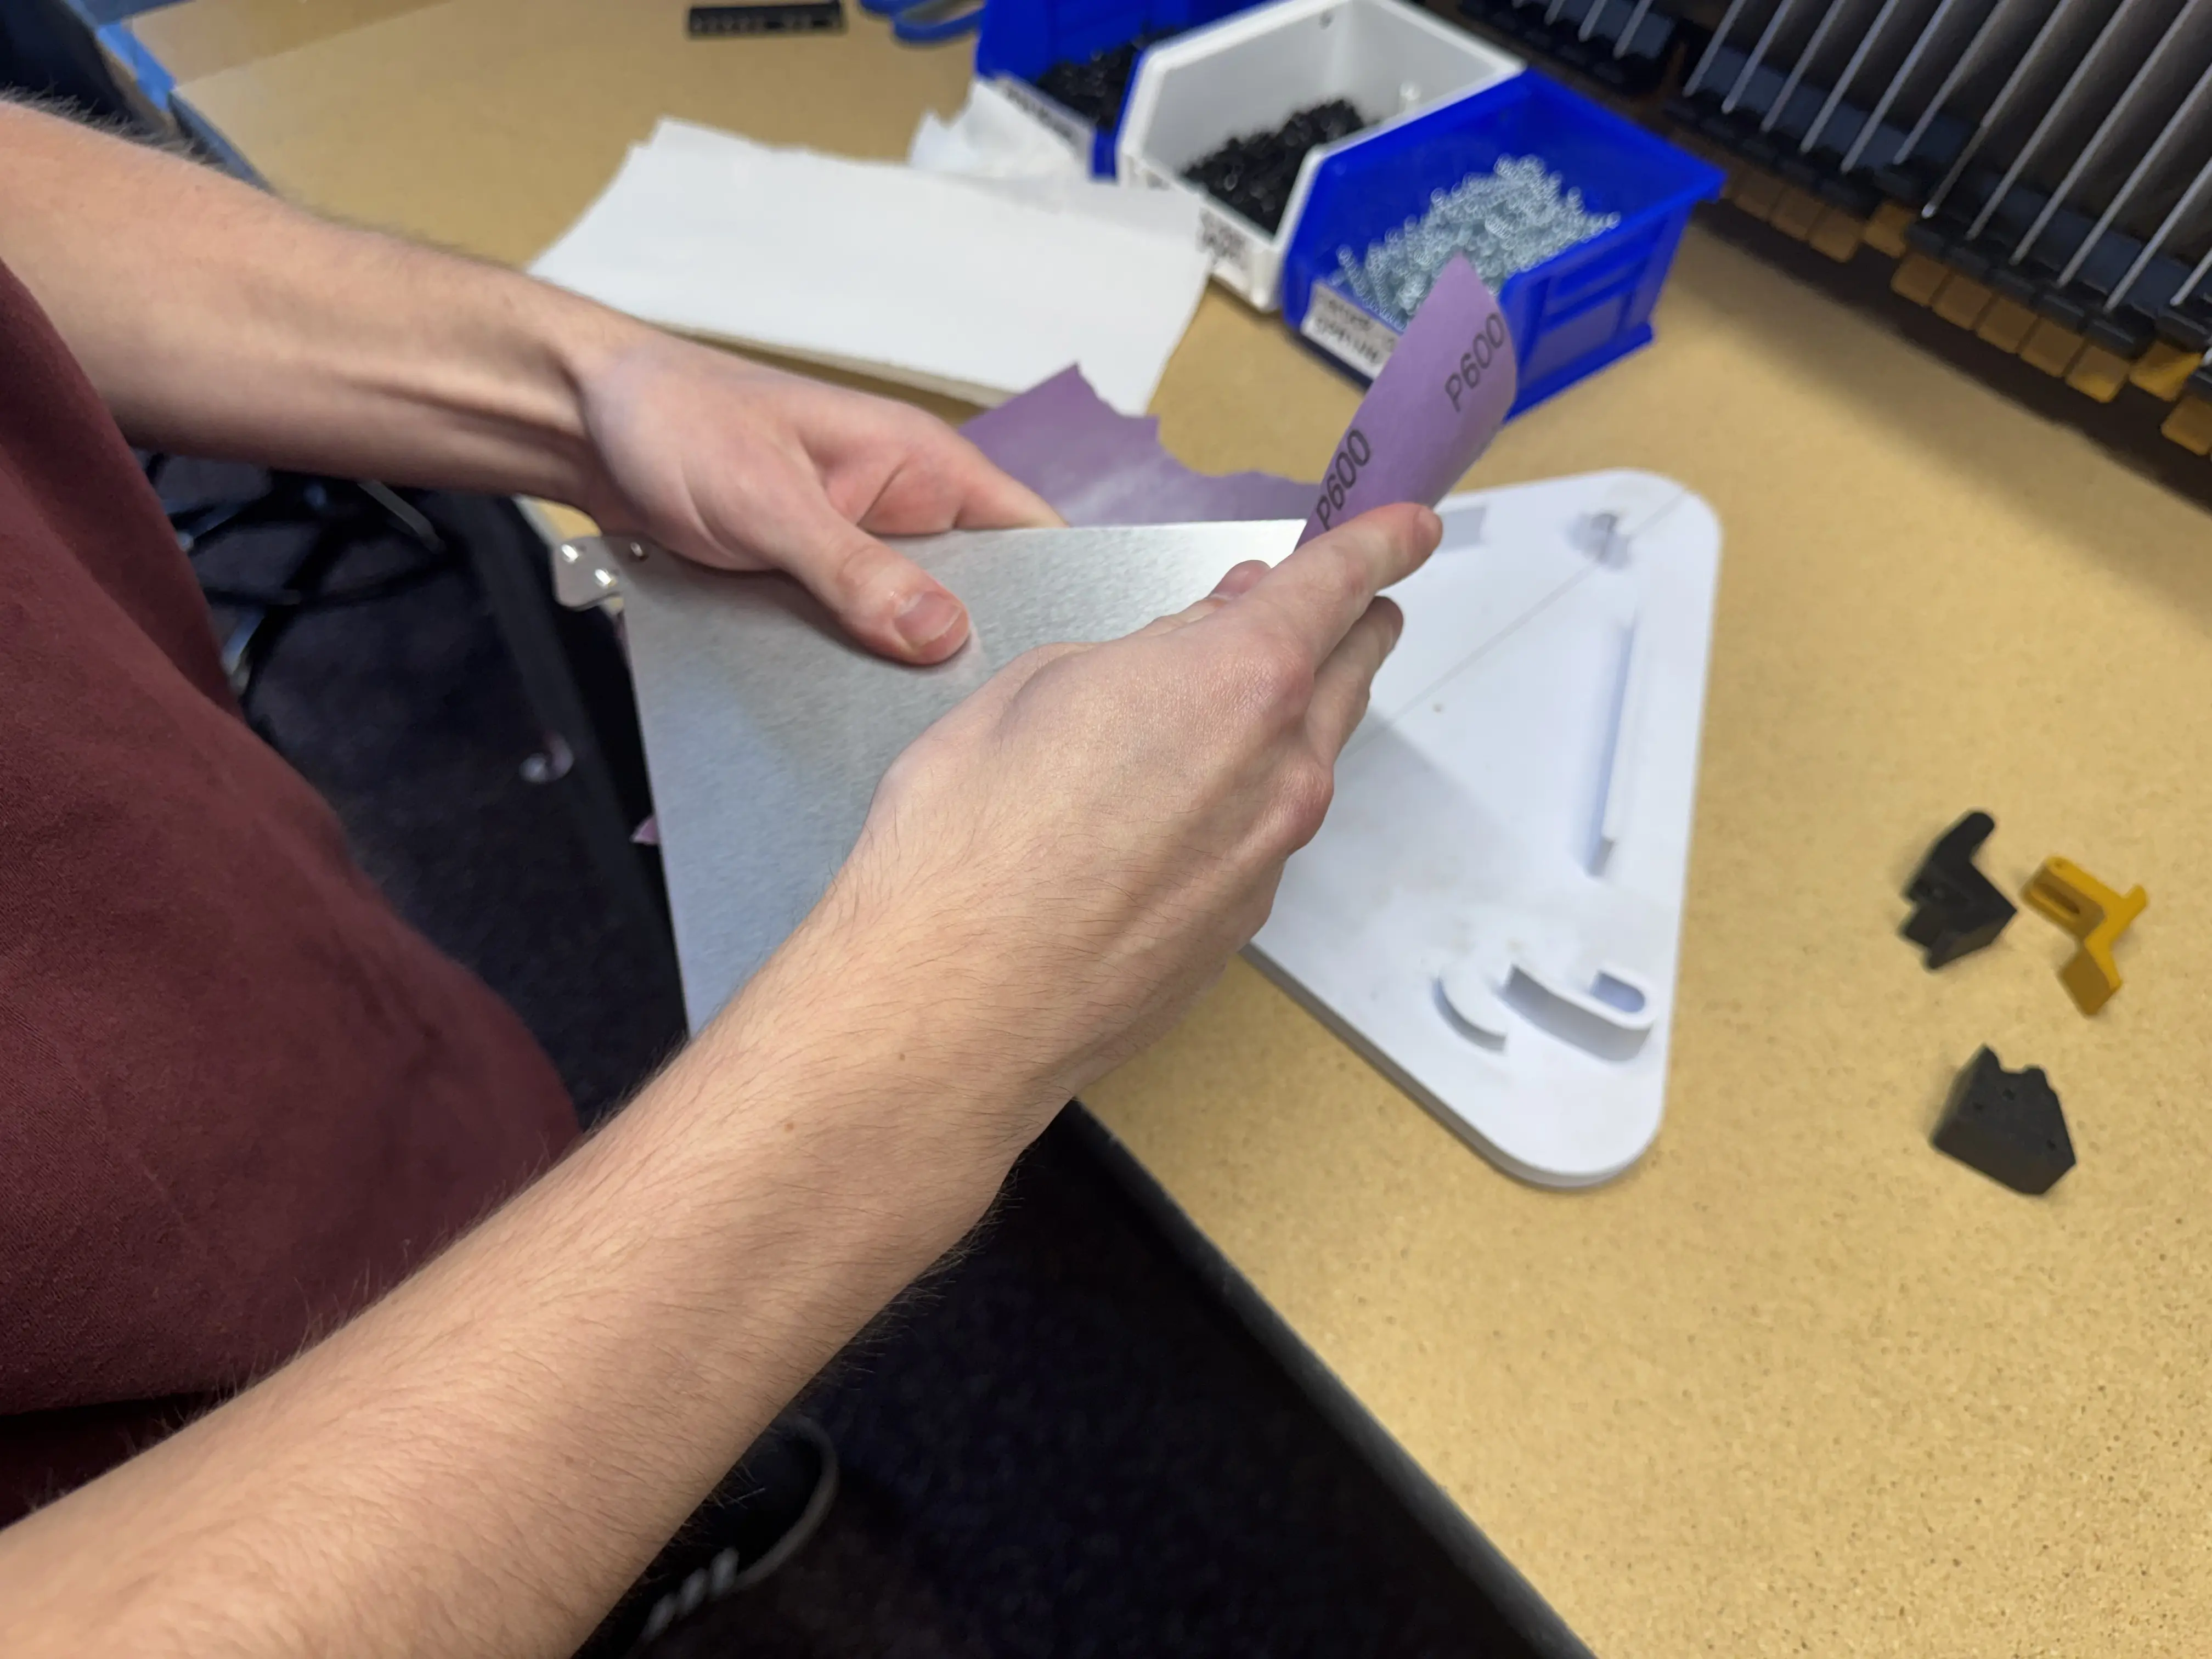
-
Ensure there are no sharp points anywhere along the edges. Once the surface is smooth, wipe the sanded area with a paper towel
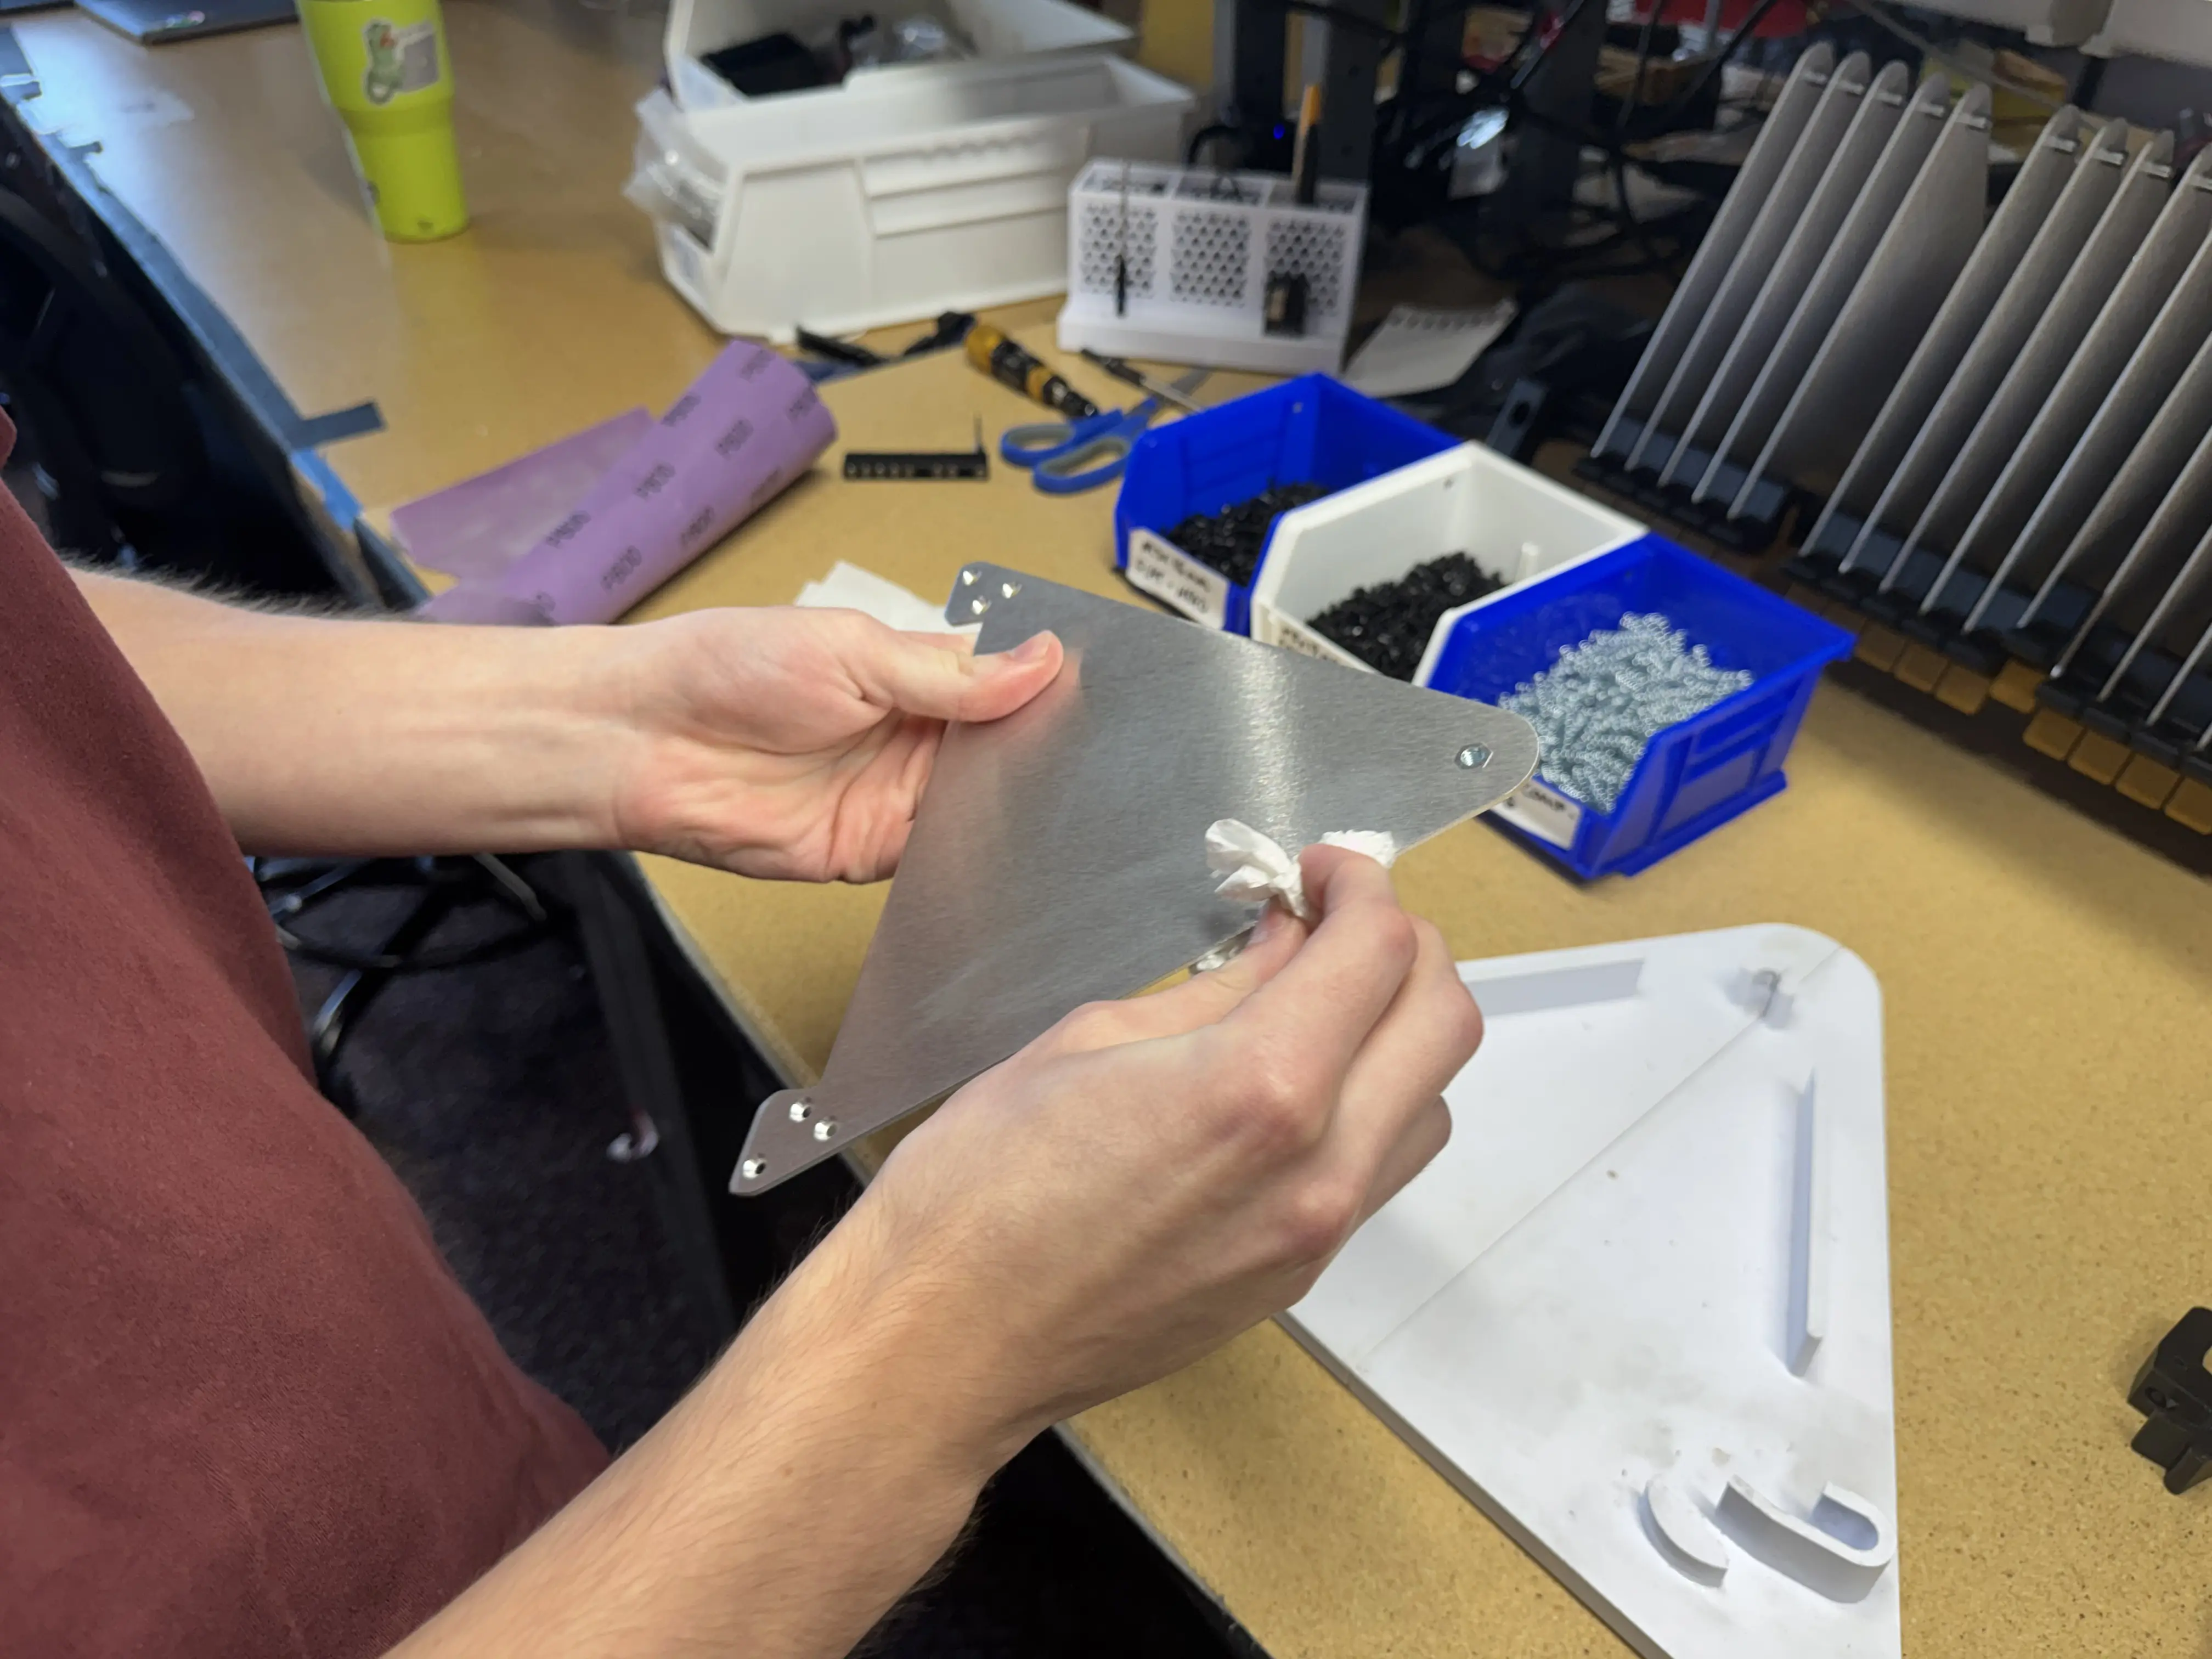
-
Insert
feeder-comp-springinto the cutout ondynamic-frame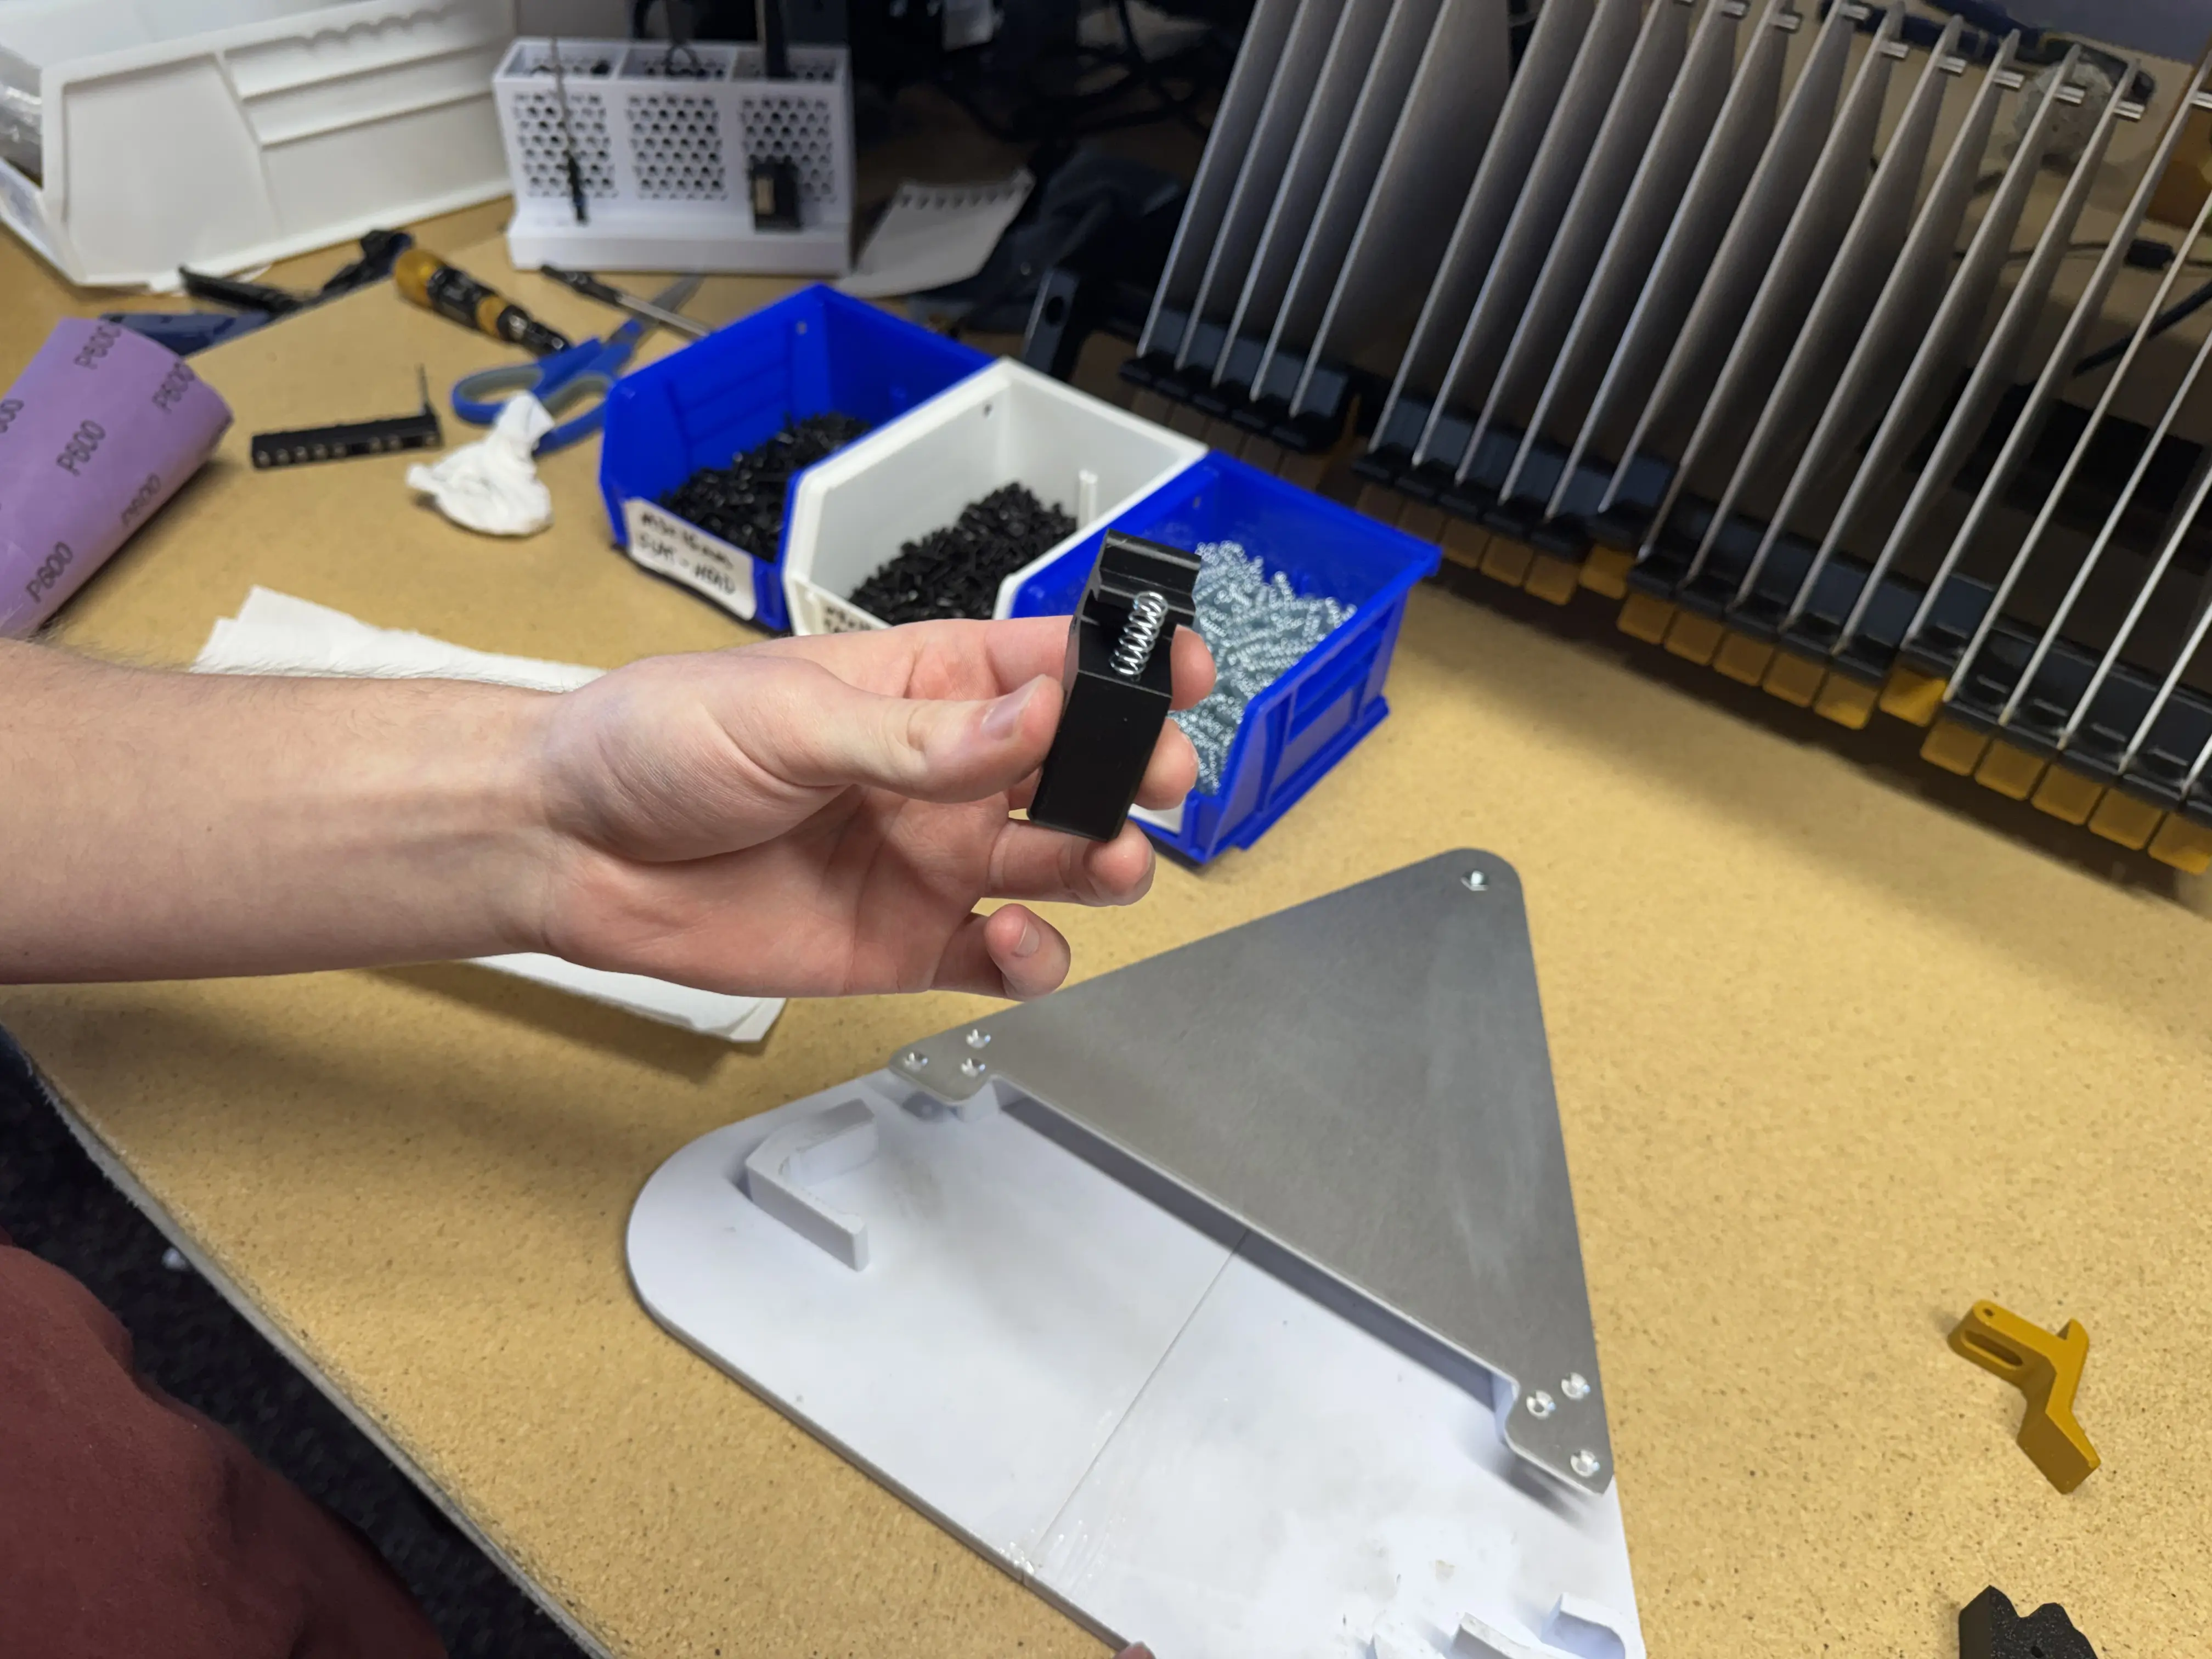
-
Align
retention-clipso that spring sits at the start of the pill-shaped cutout on the print. Slideretention-clipup to compress the spring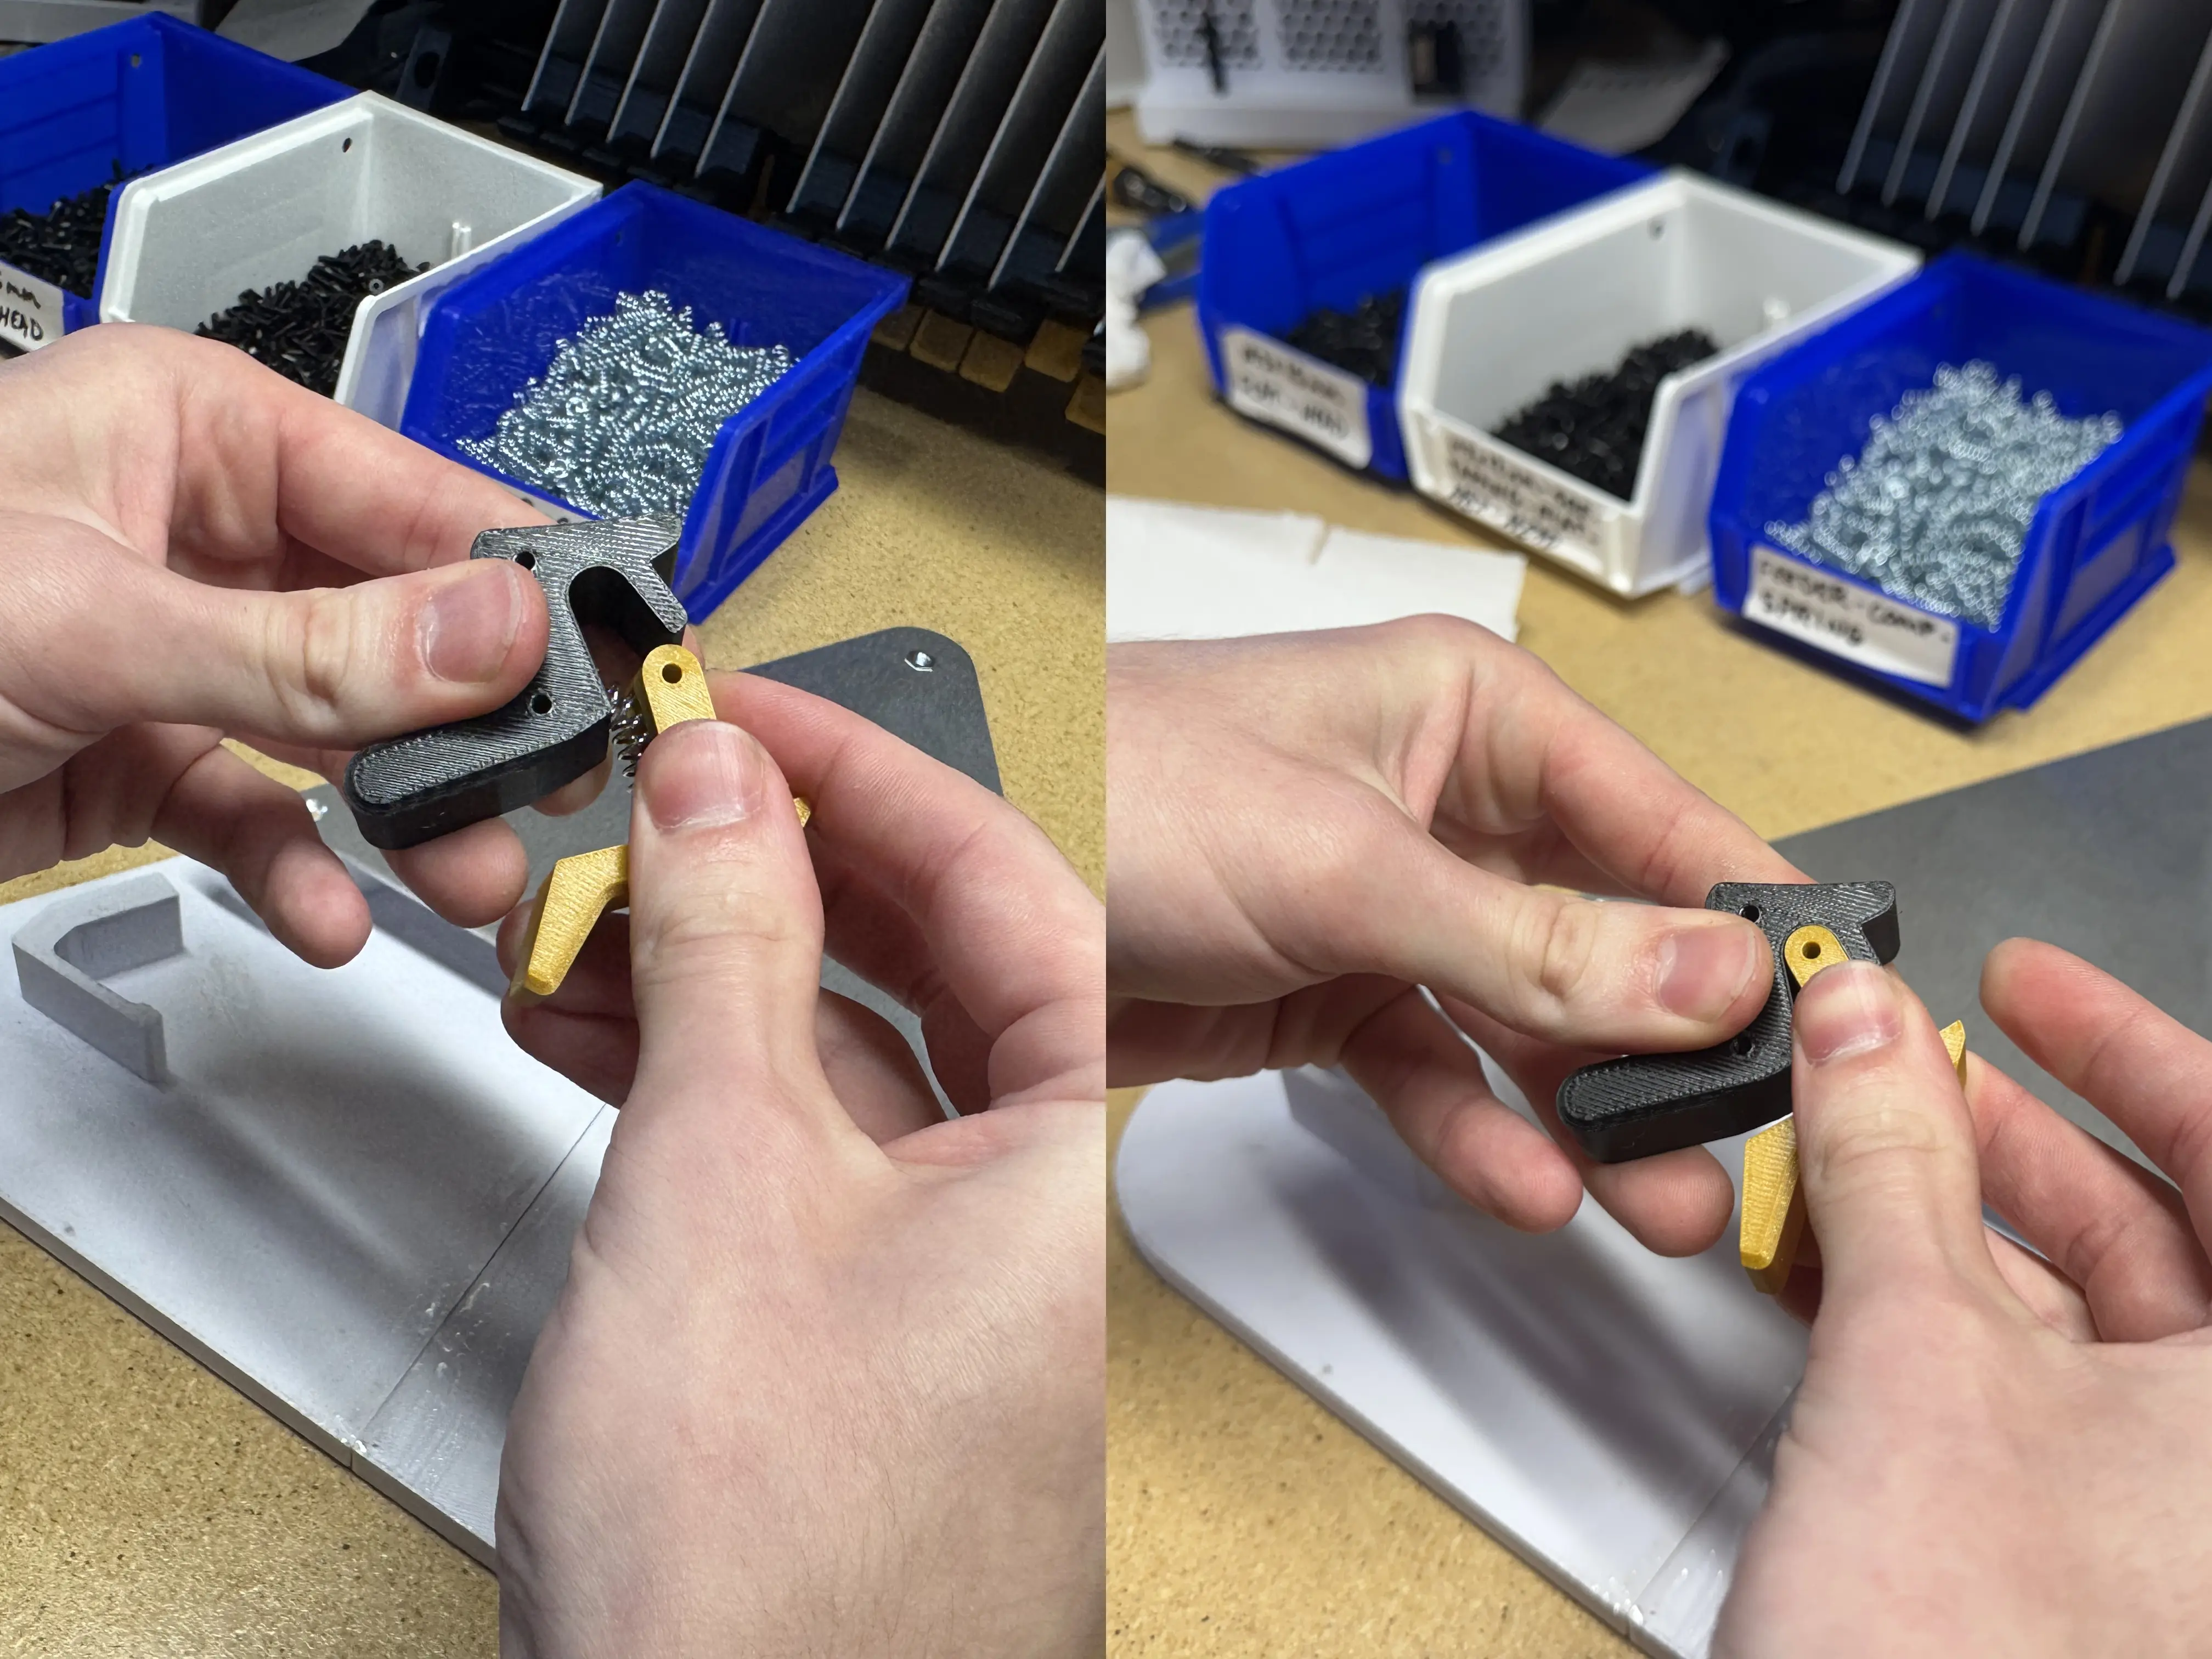
-
Load
static-frameand assembleddynamic-frameintoreel-holder-plate-jig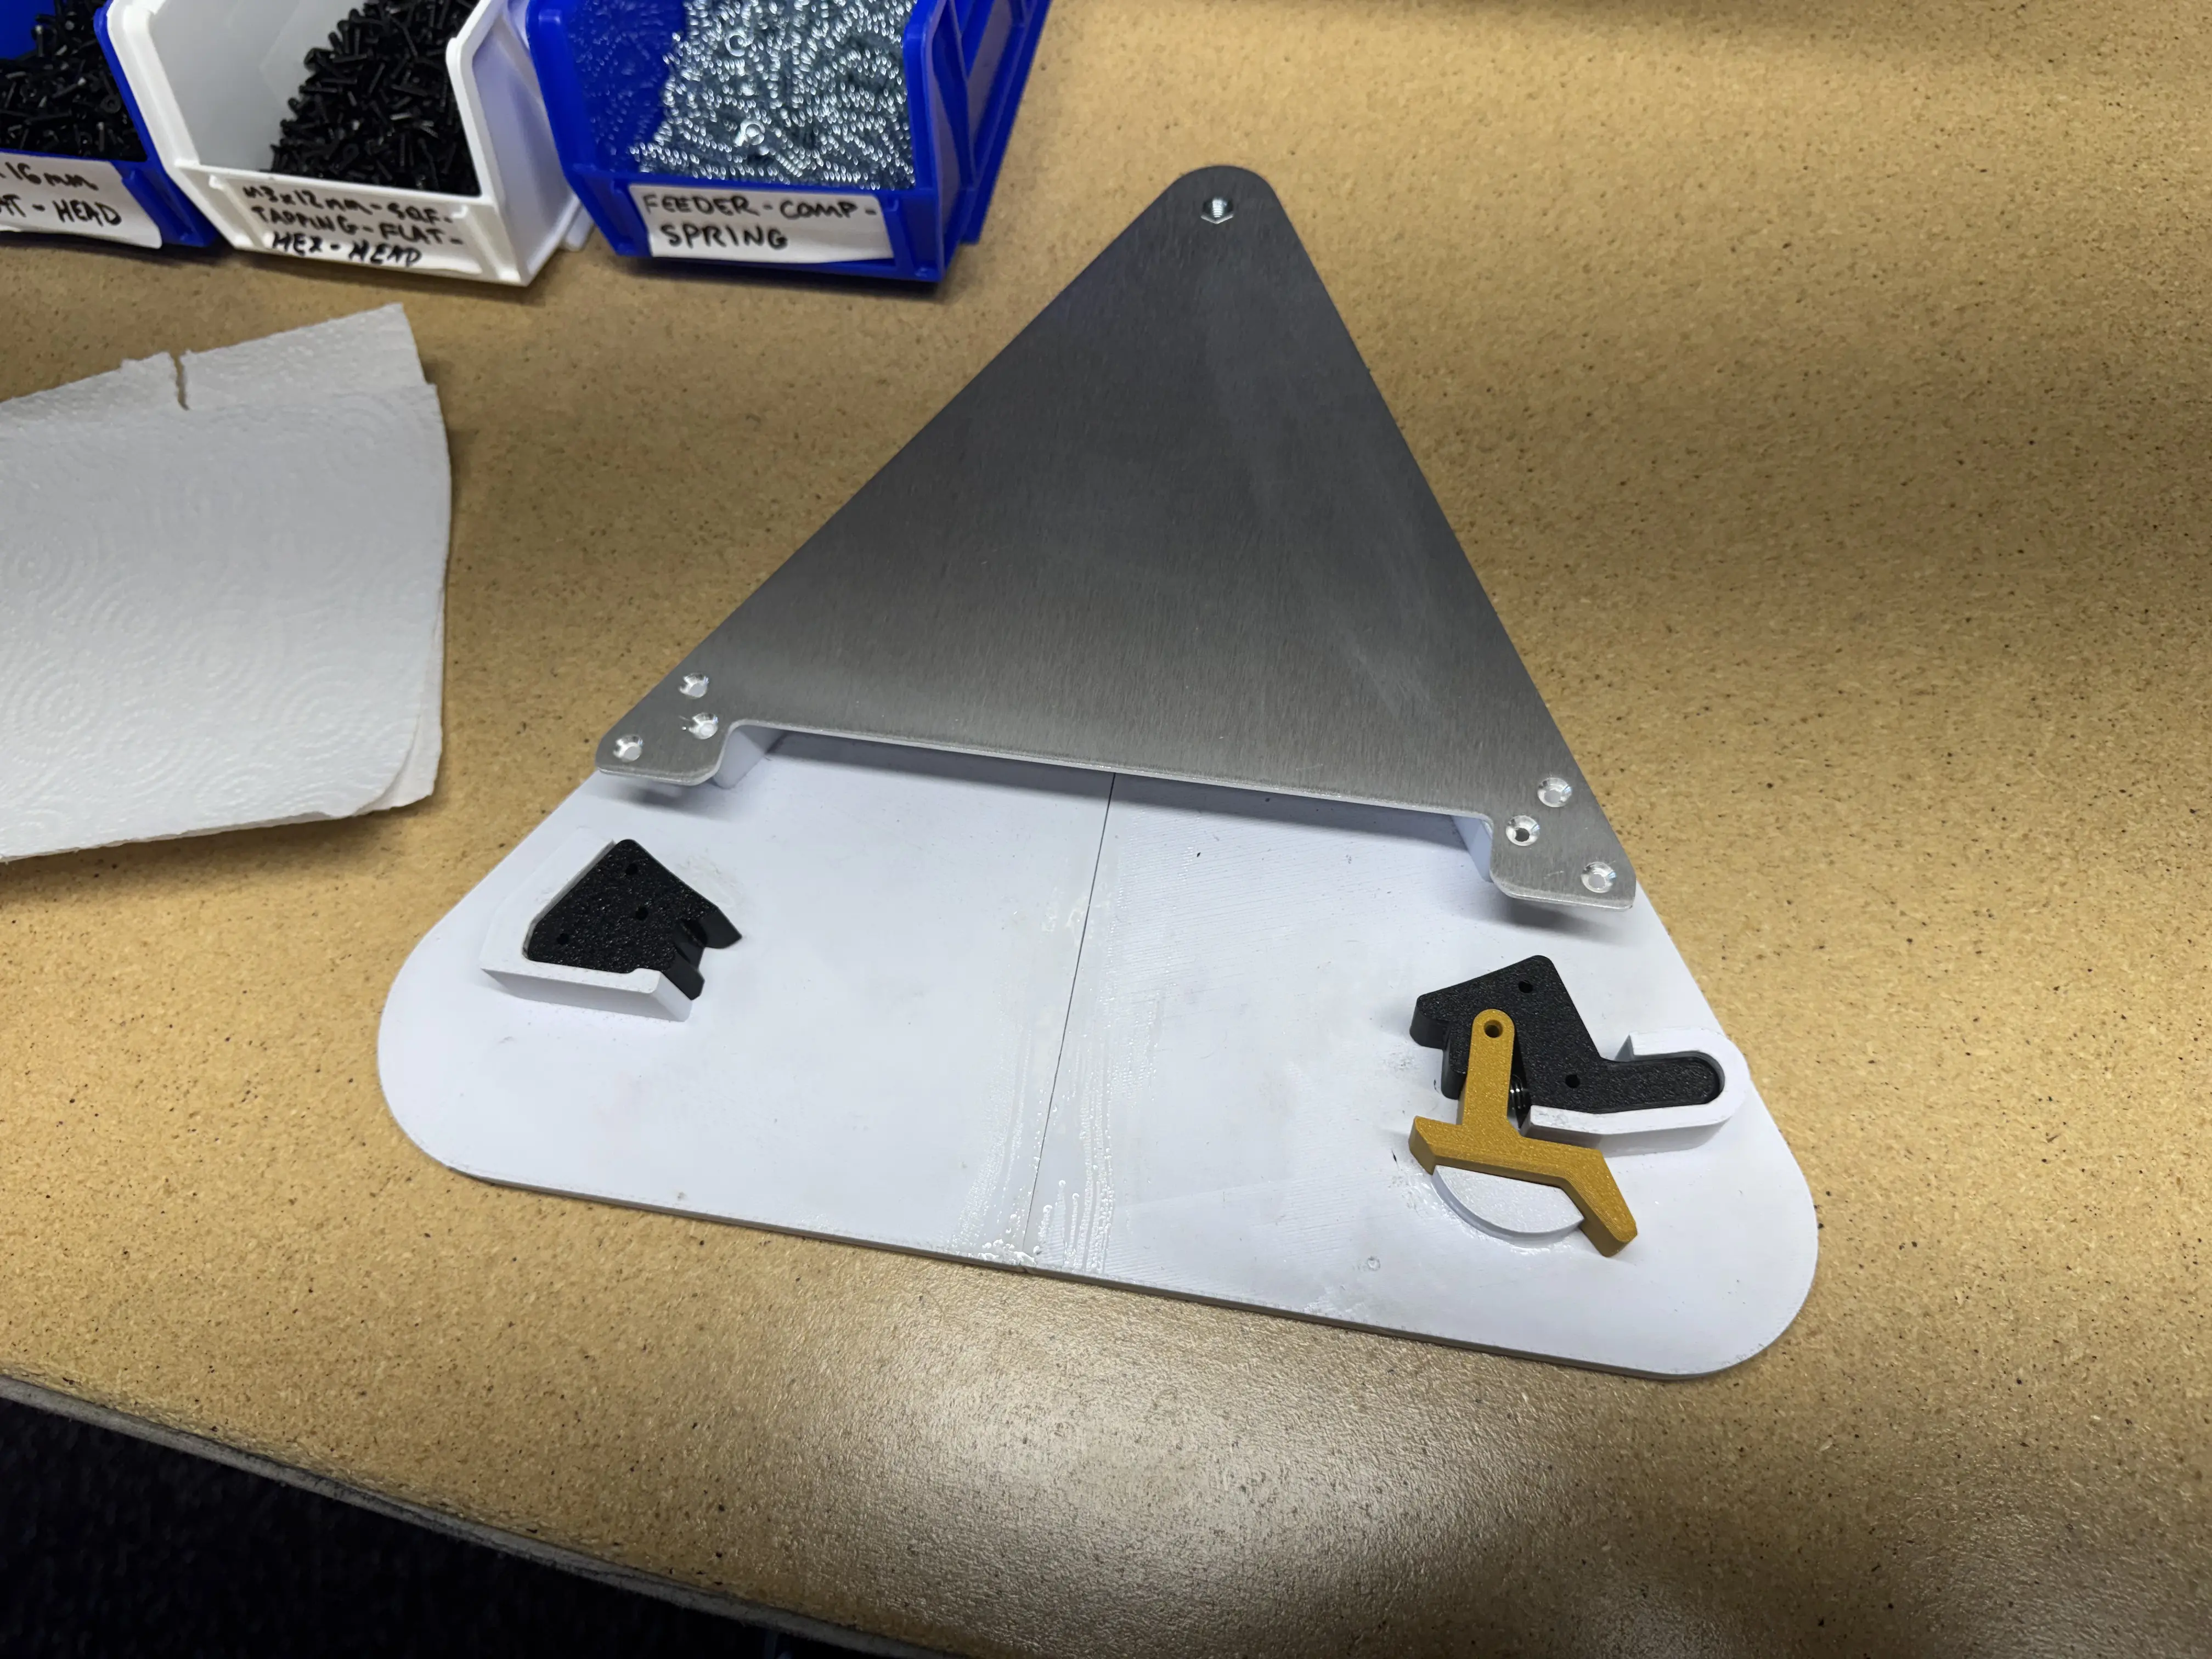
-
Place
reel-holder-plateonto jig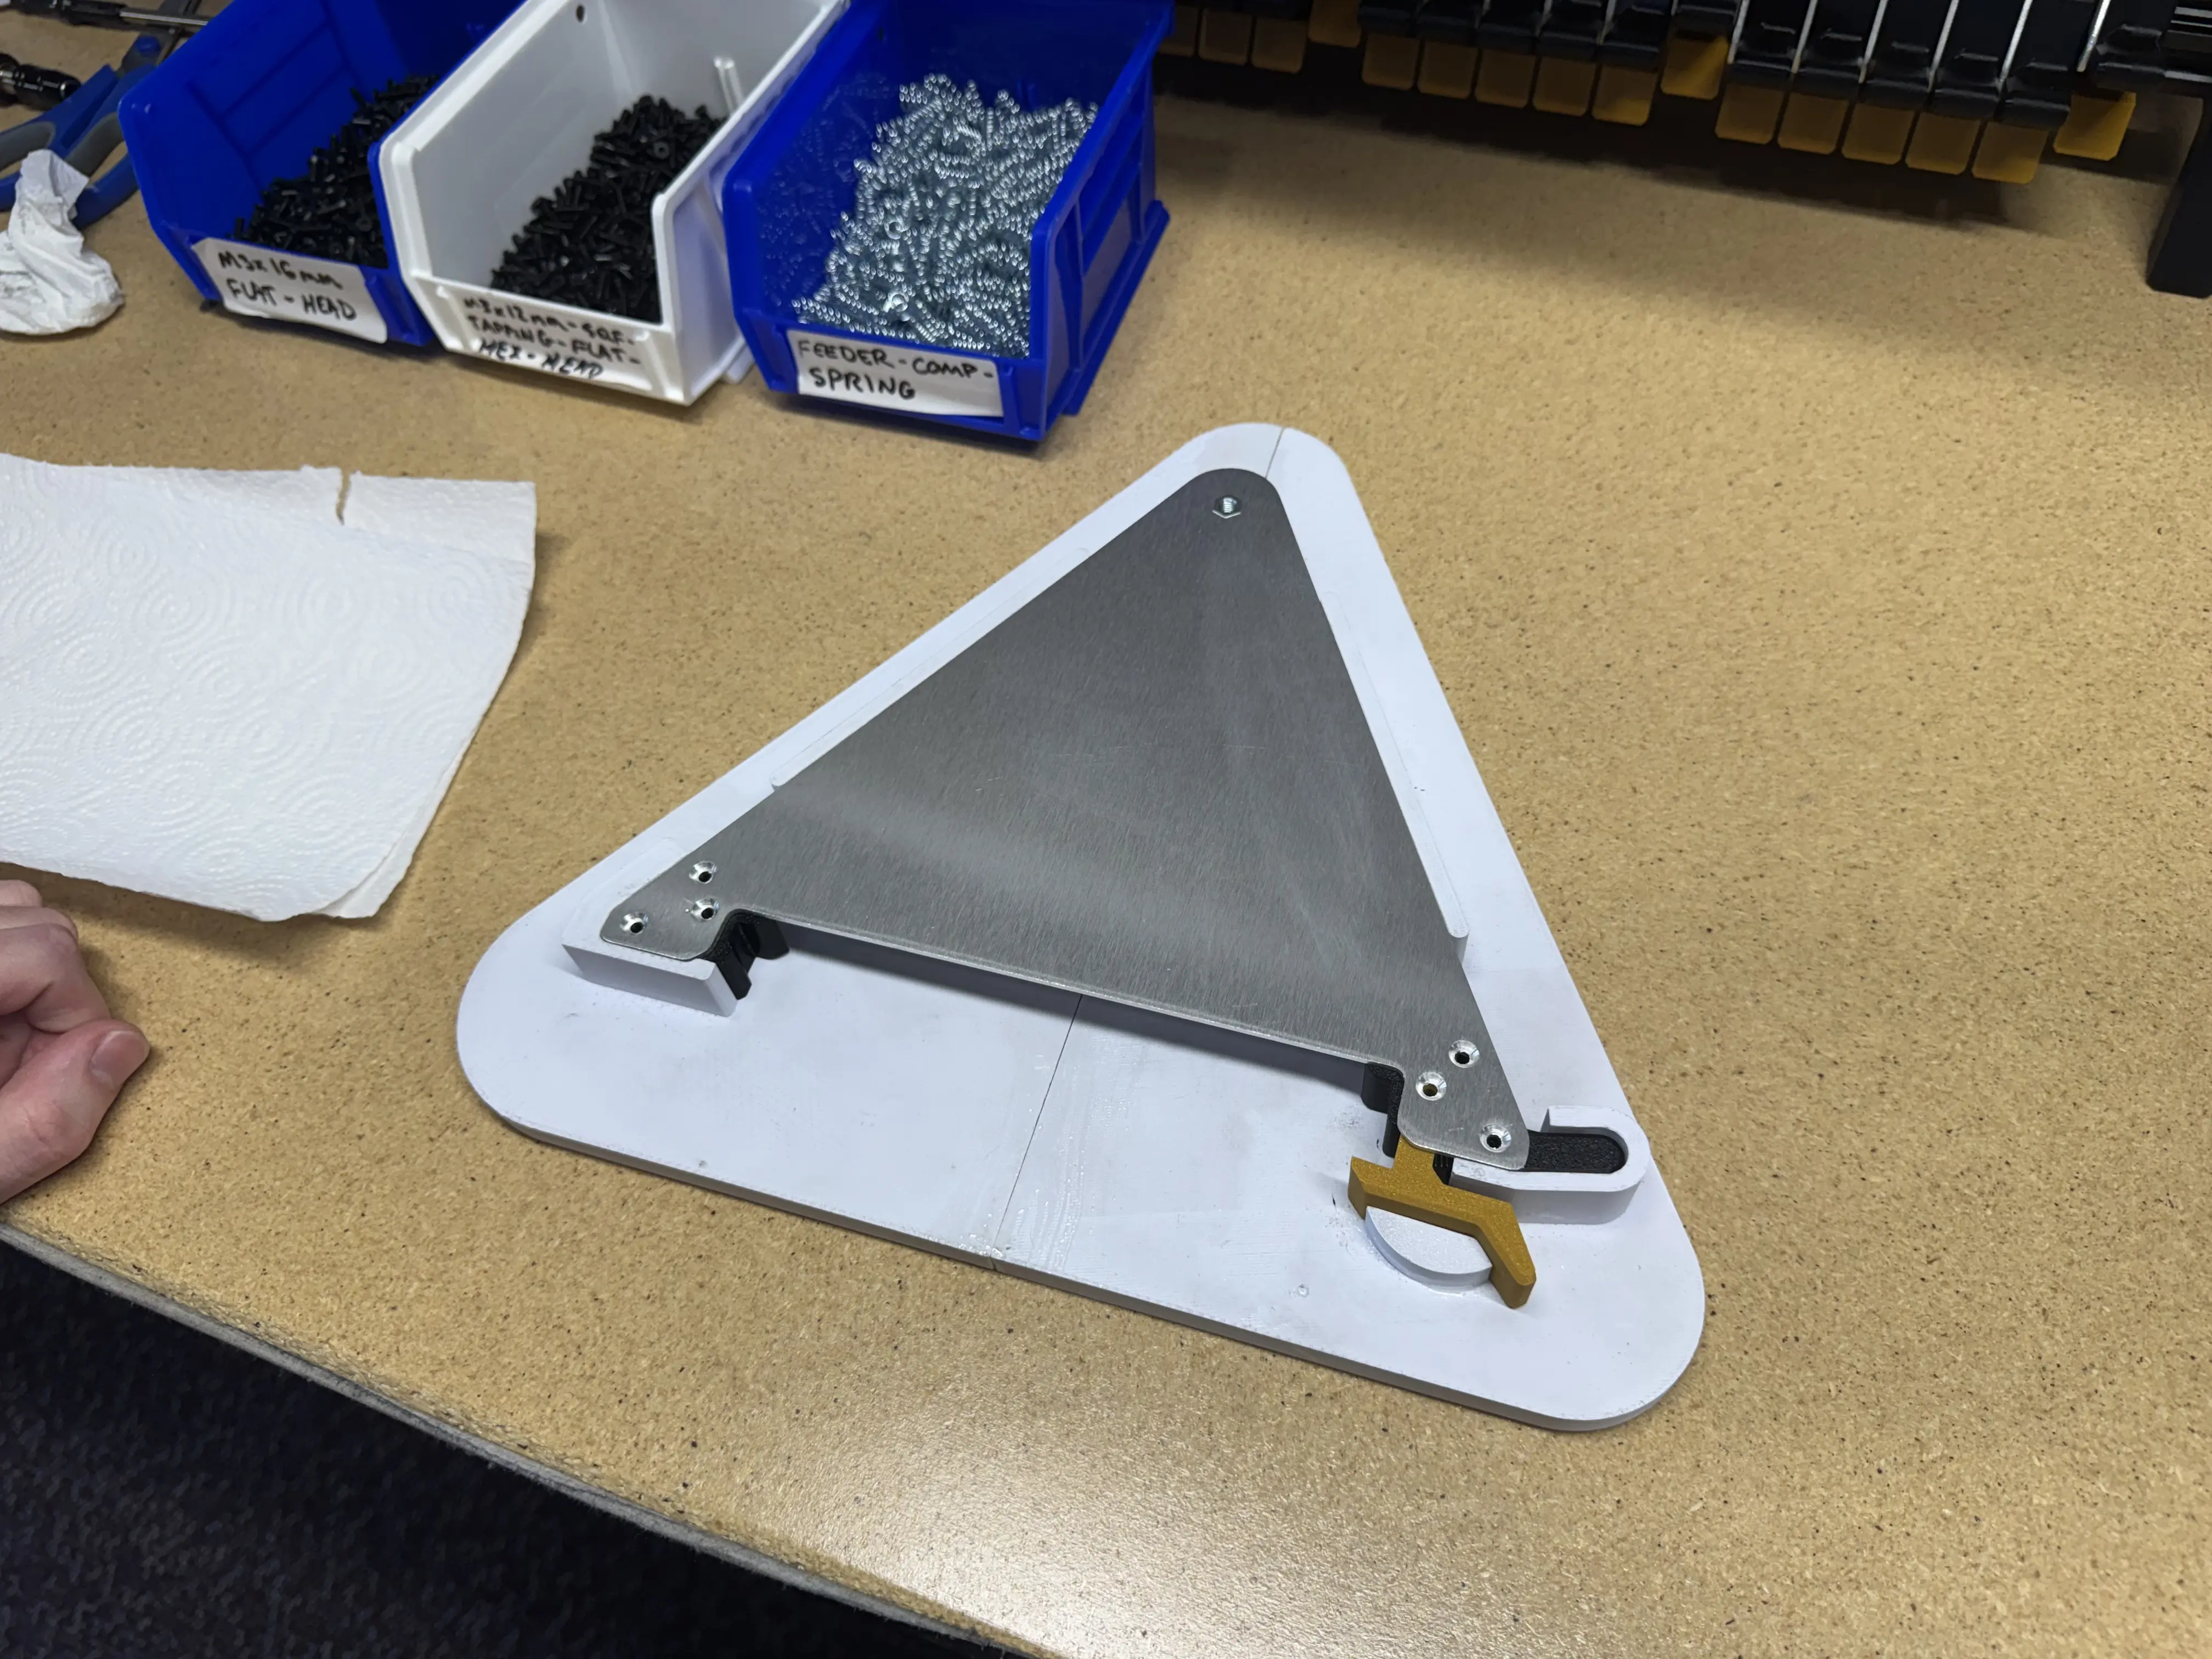
-
Insert 5x
m3x12mm-self-tapping-flat-hex-headto secure the prints. Please note that the hole circled in red does not getm3x12mm-self-tapping-flat-hex-headand another screw will be inserted the next step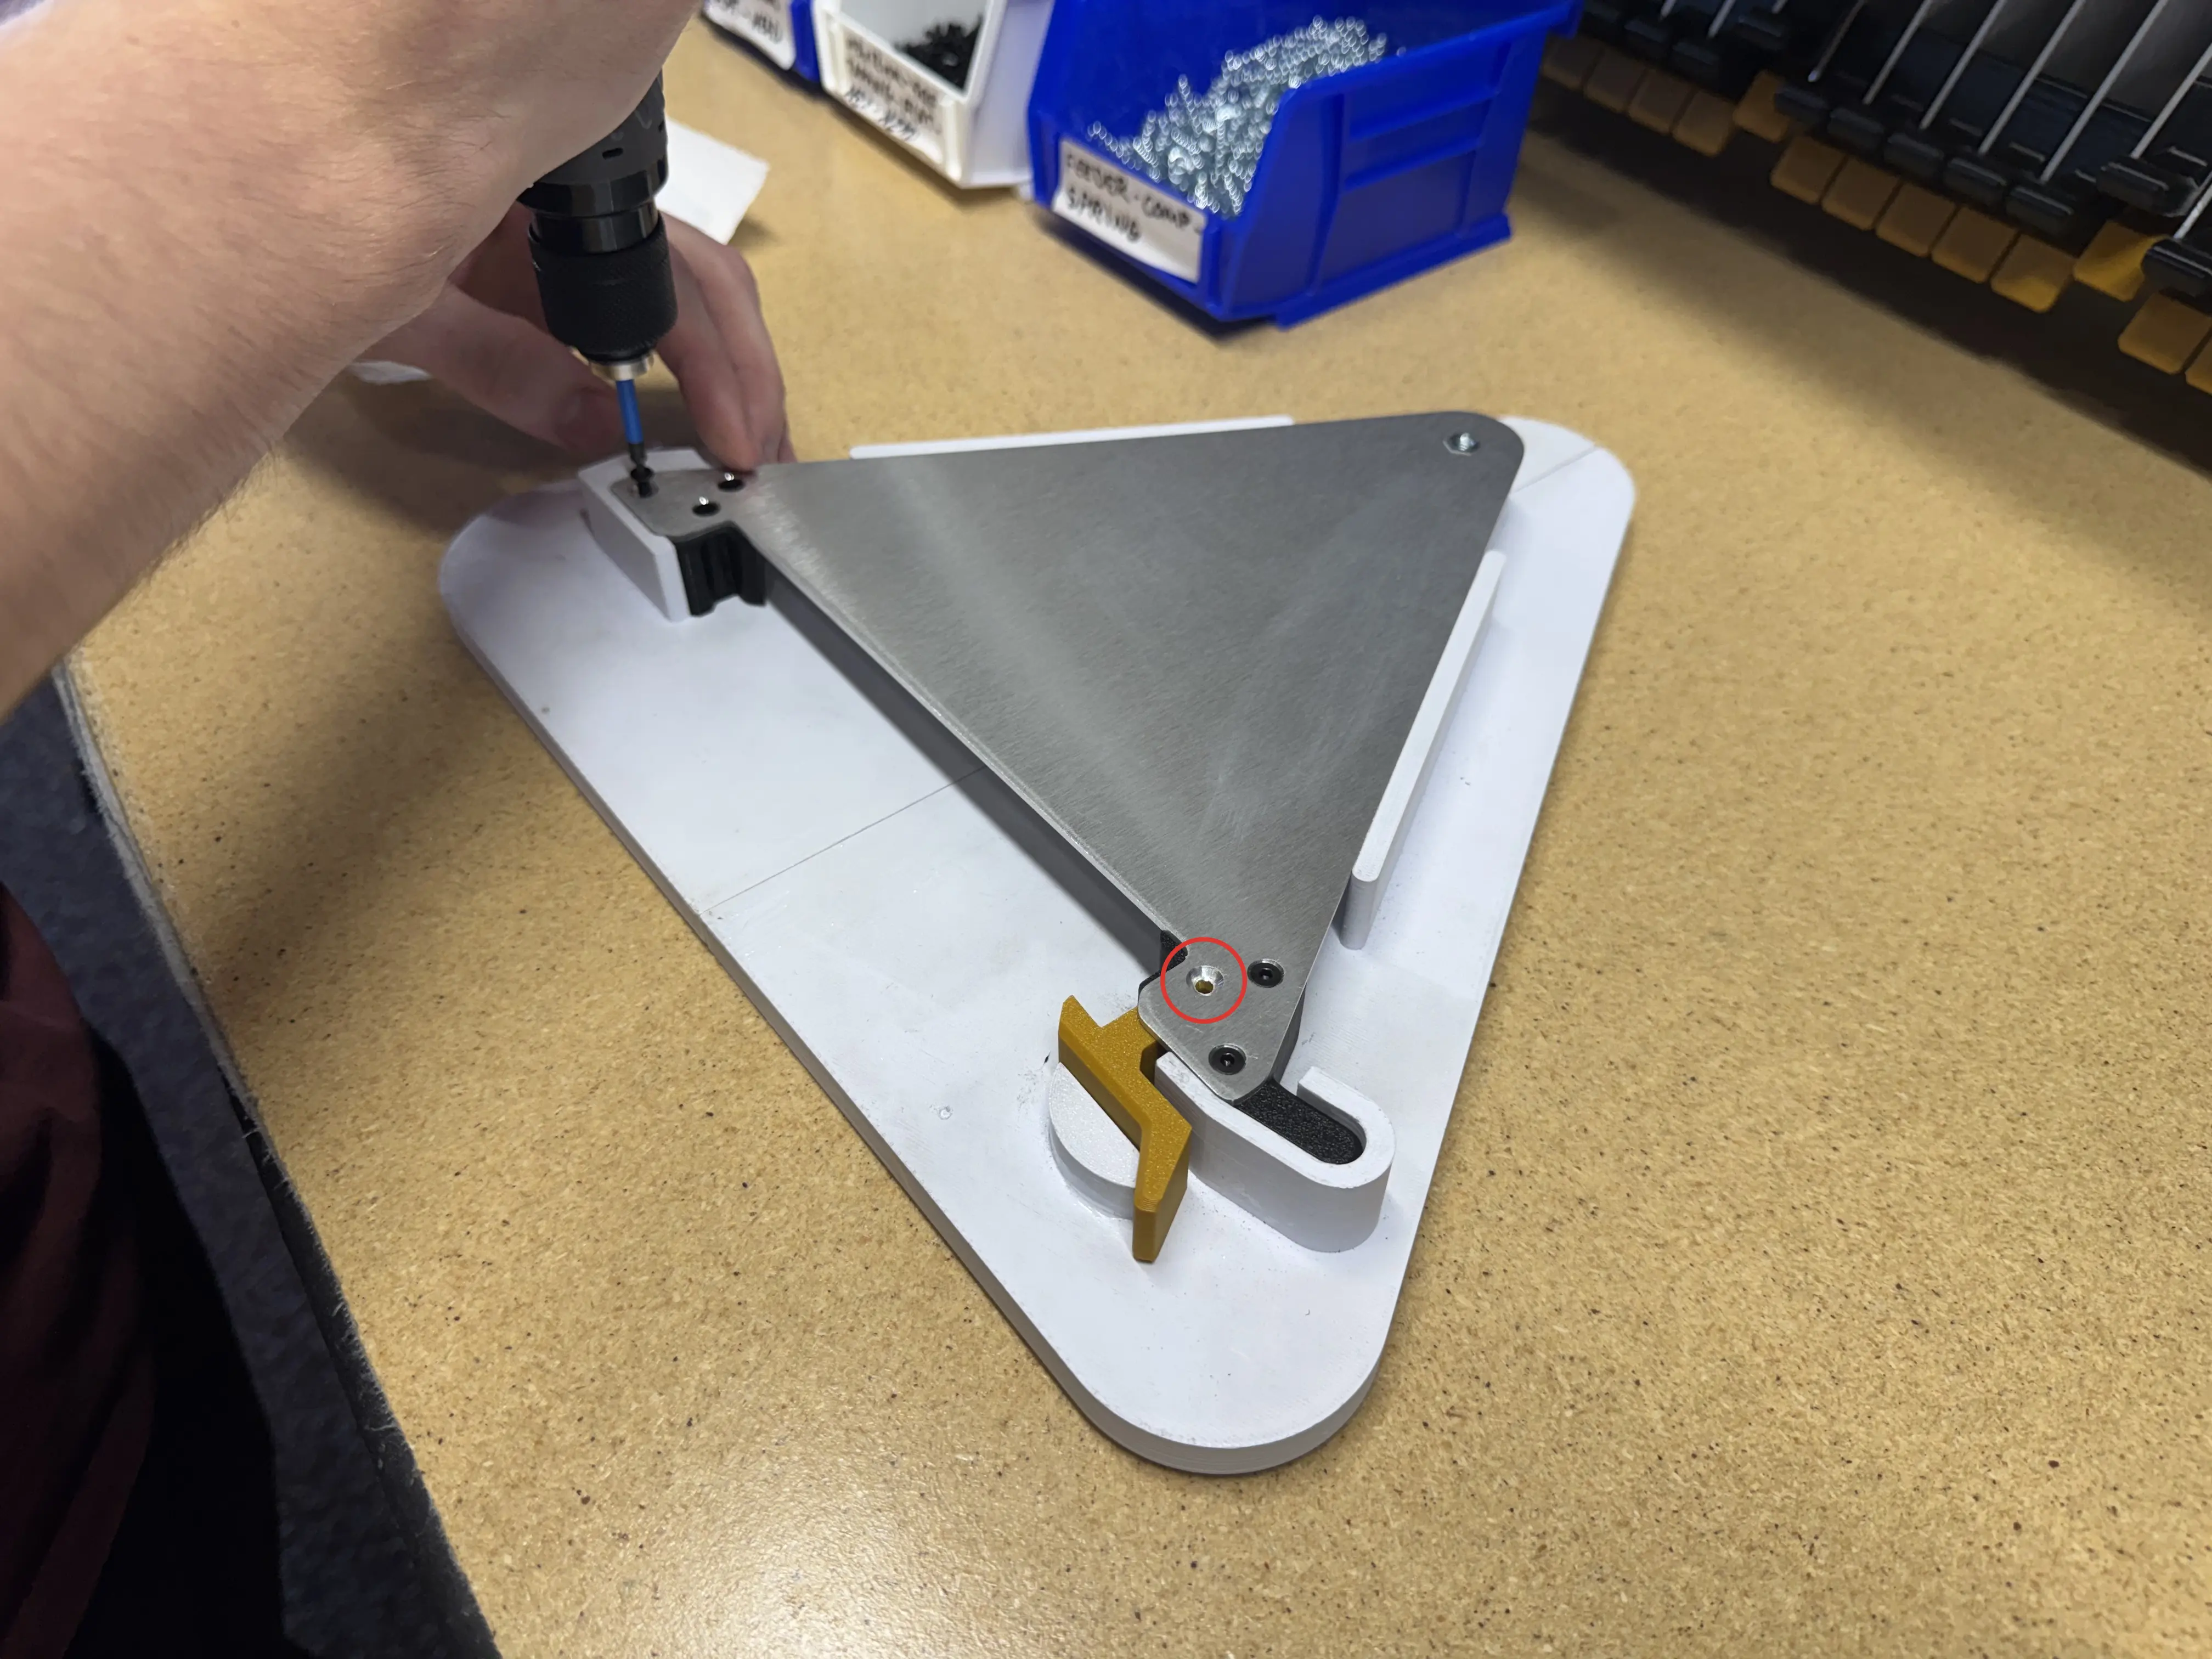
-
Insert 1x
m3x16mm-flat-headin the final hole aboveretention-clip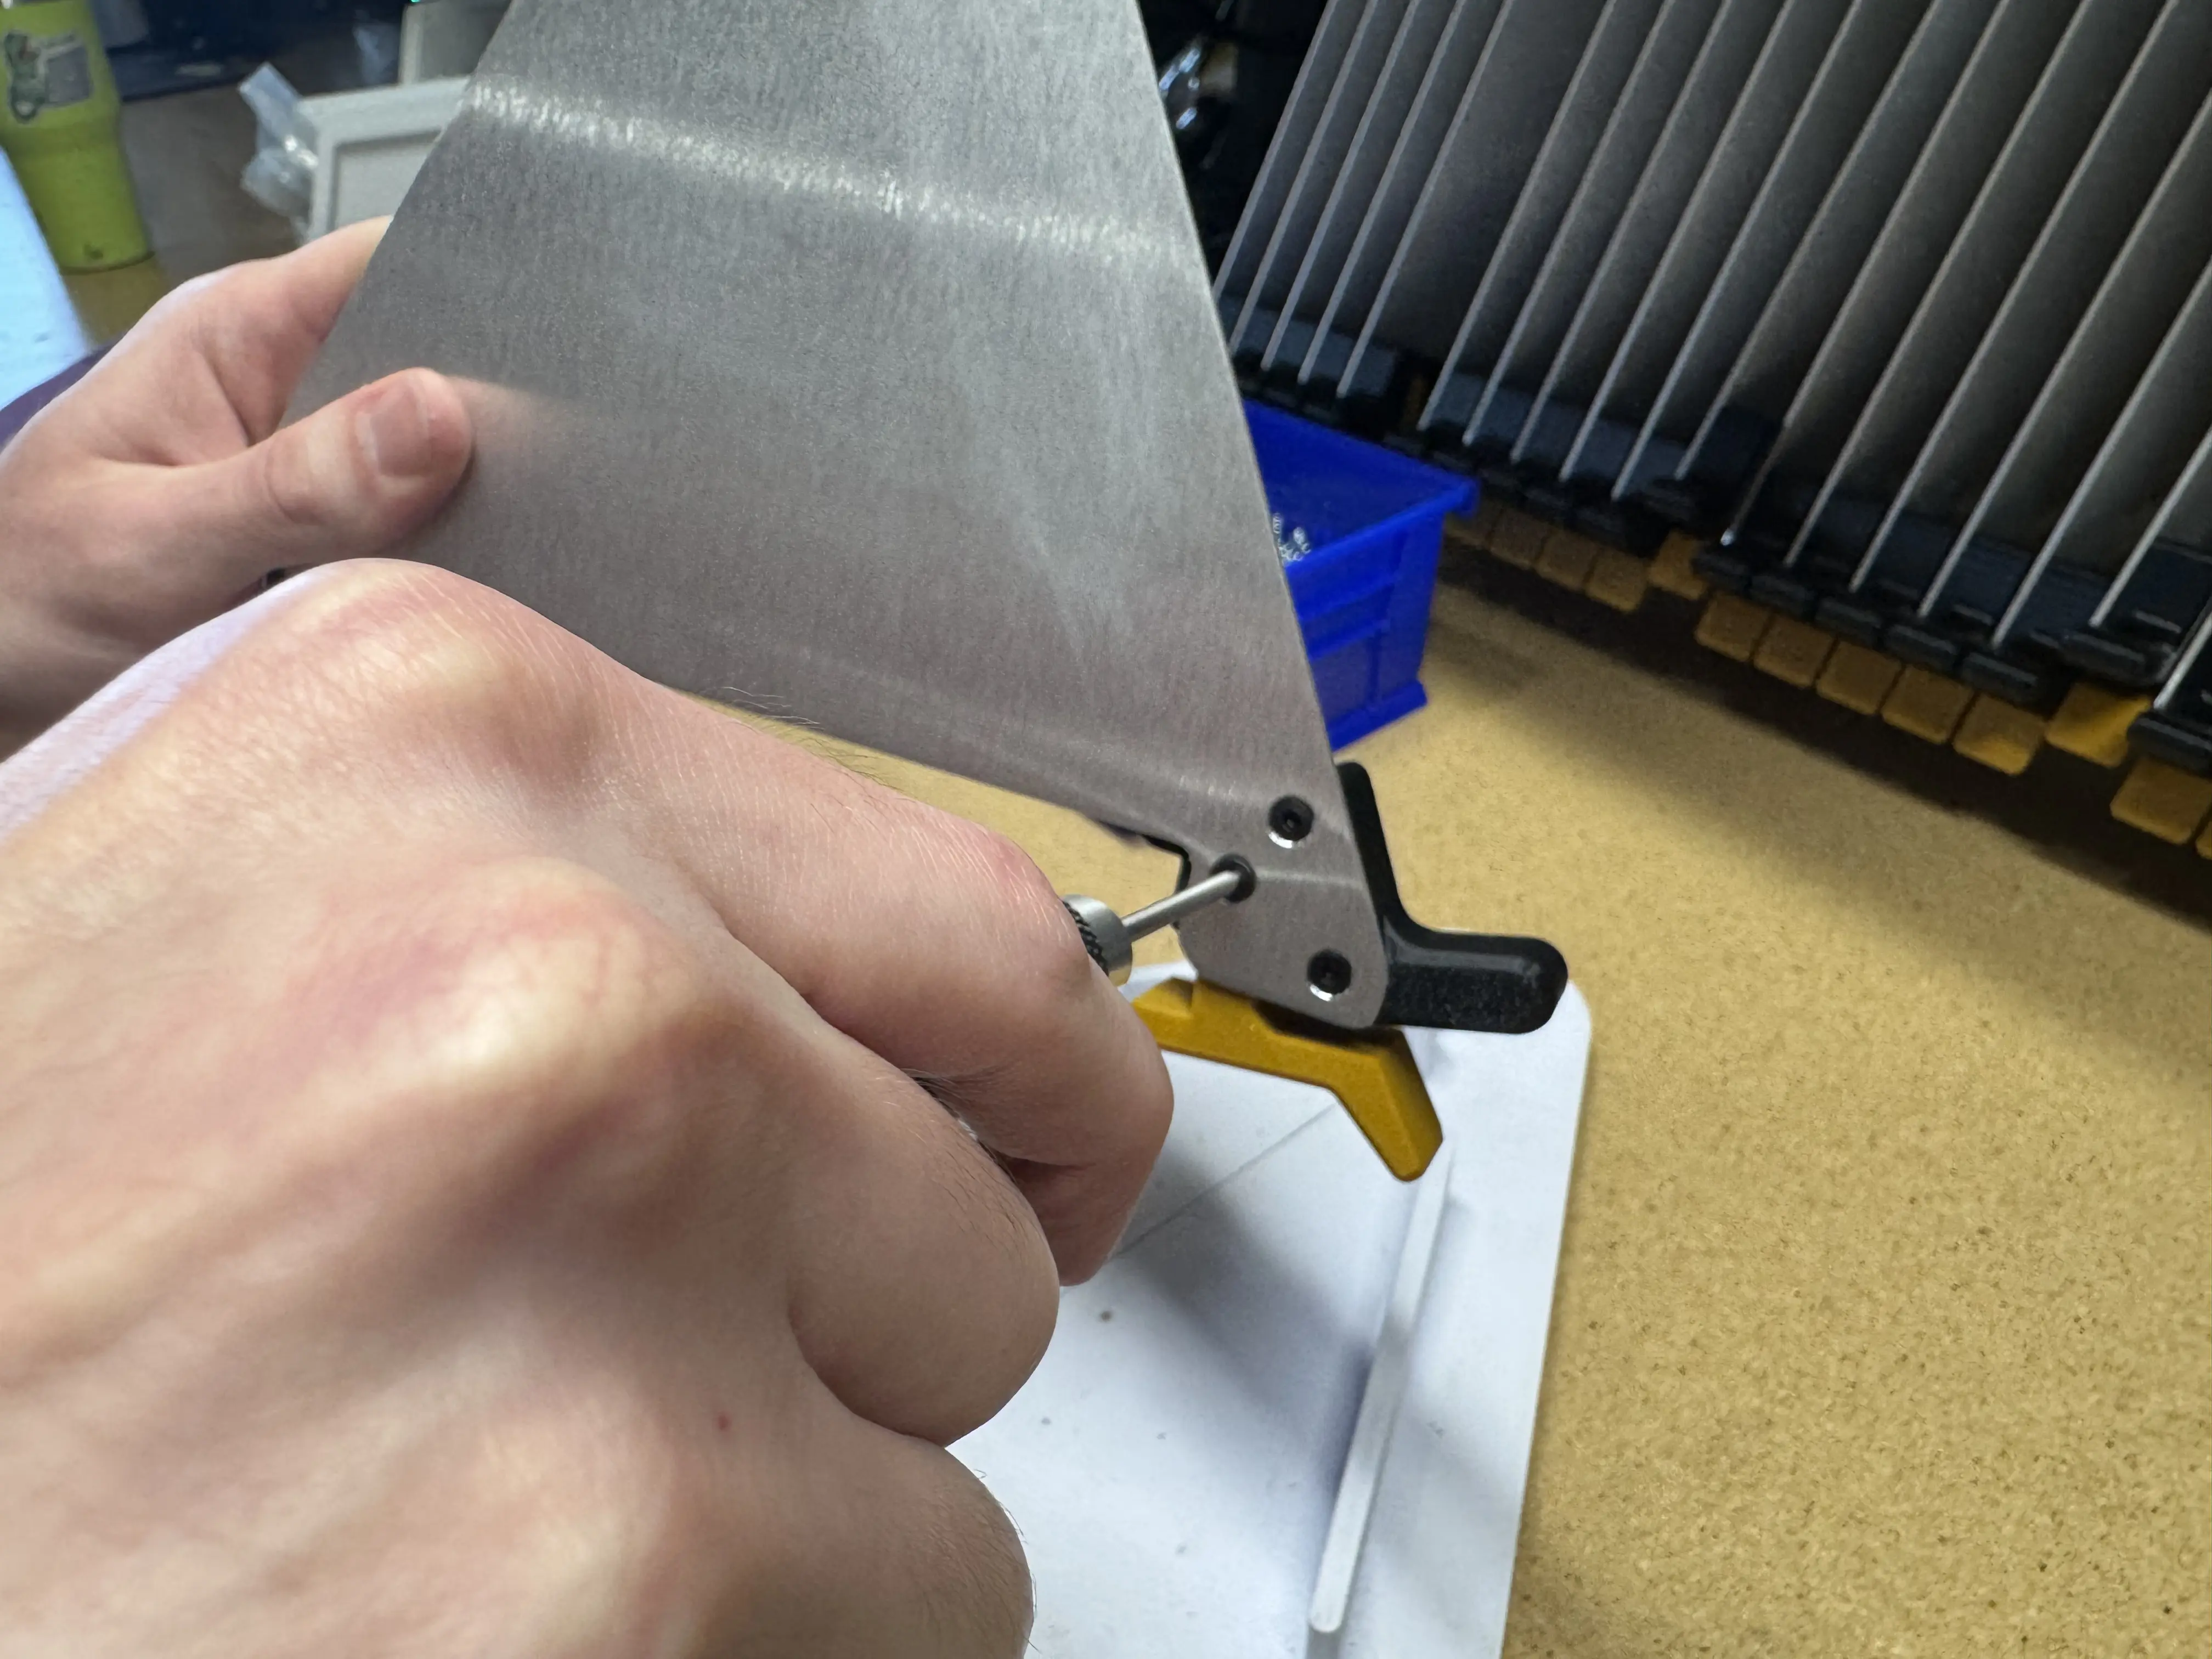
-
If the 1x
m3x16mm-flat-headis fully tightened, theretention-clipwill get stuck when compressed. The image below shows theretention-clipstuck in the compressed position because the screw is too tight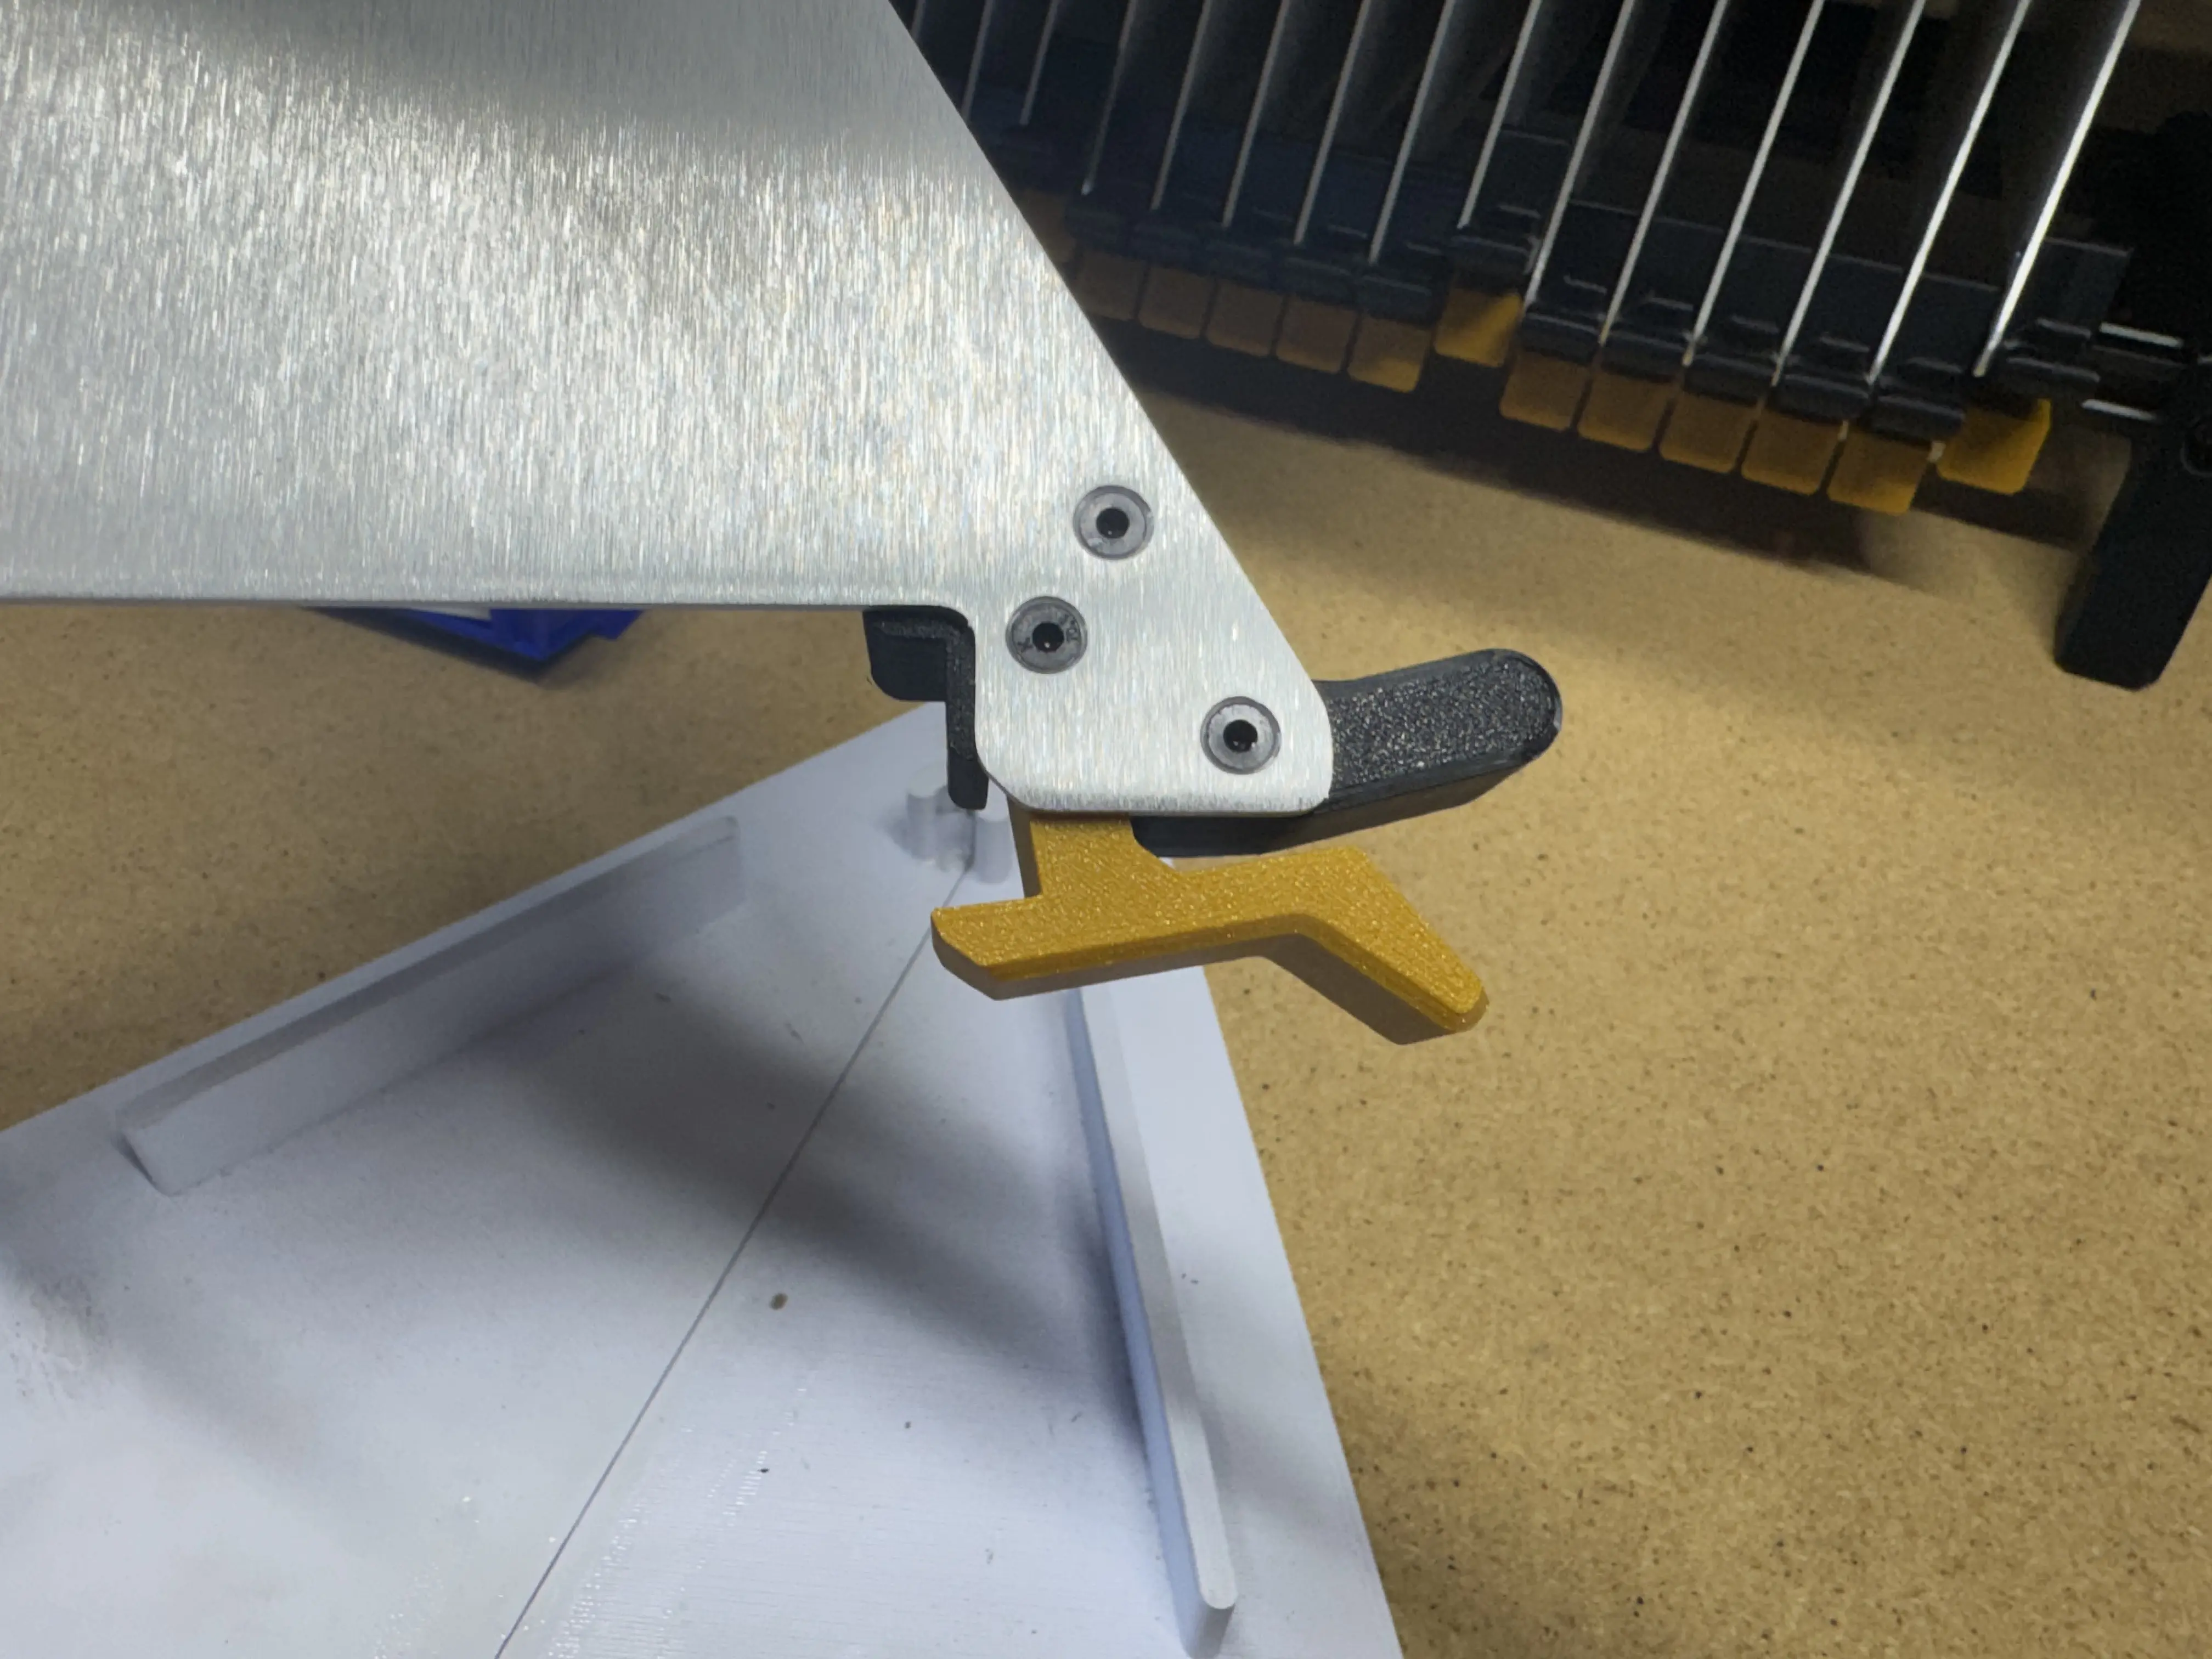
-
Slowly loosen
m3x16mm-flat-headwhile testing theretention-clipuntil it functions as intended
Important Note
Each Reel Holder ships with 25x reel-holder-plate. Repeat steps 1-10 until you have 25 assembled plates.
Knob Assembly
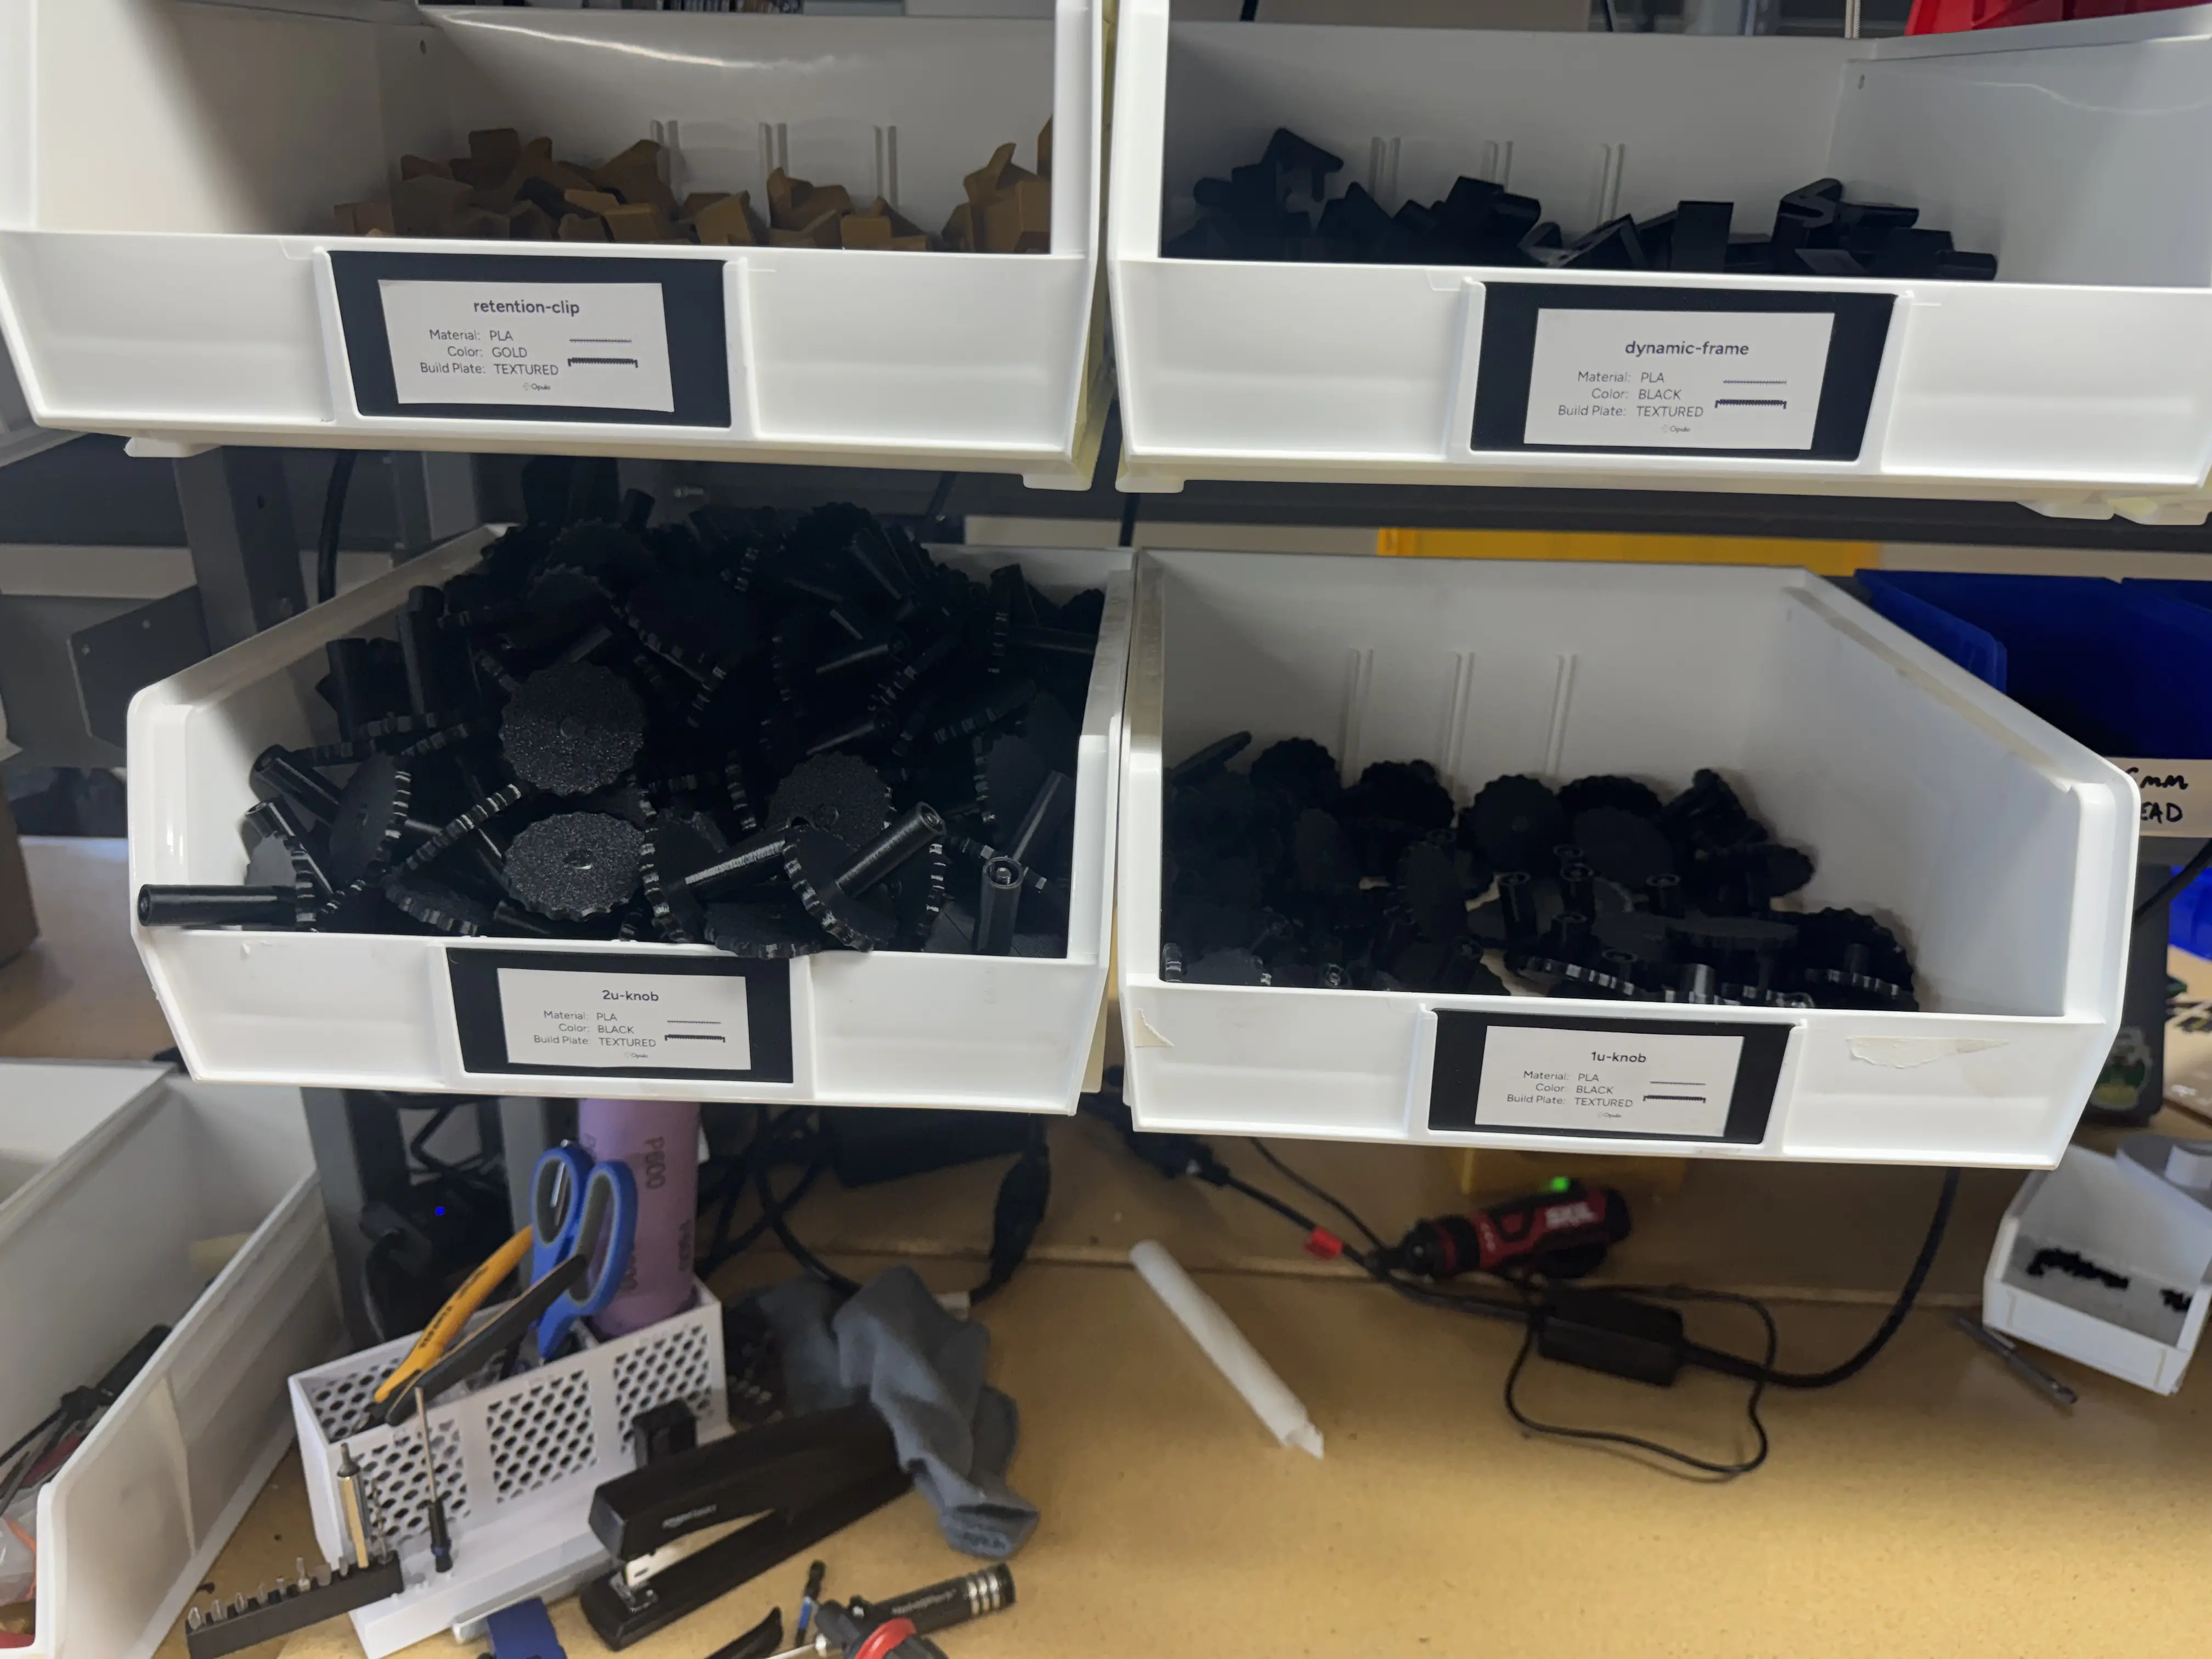
Knobs are often assembled in large batches, so there may be some that are already assembled and ready to go. They would be in marked white bins at the workbench.
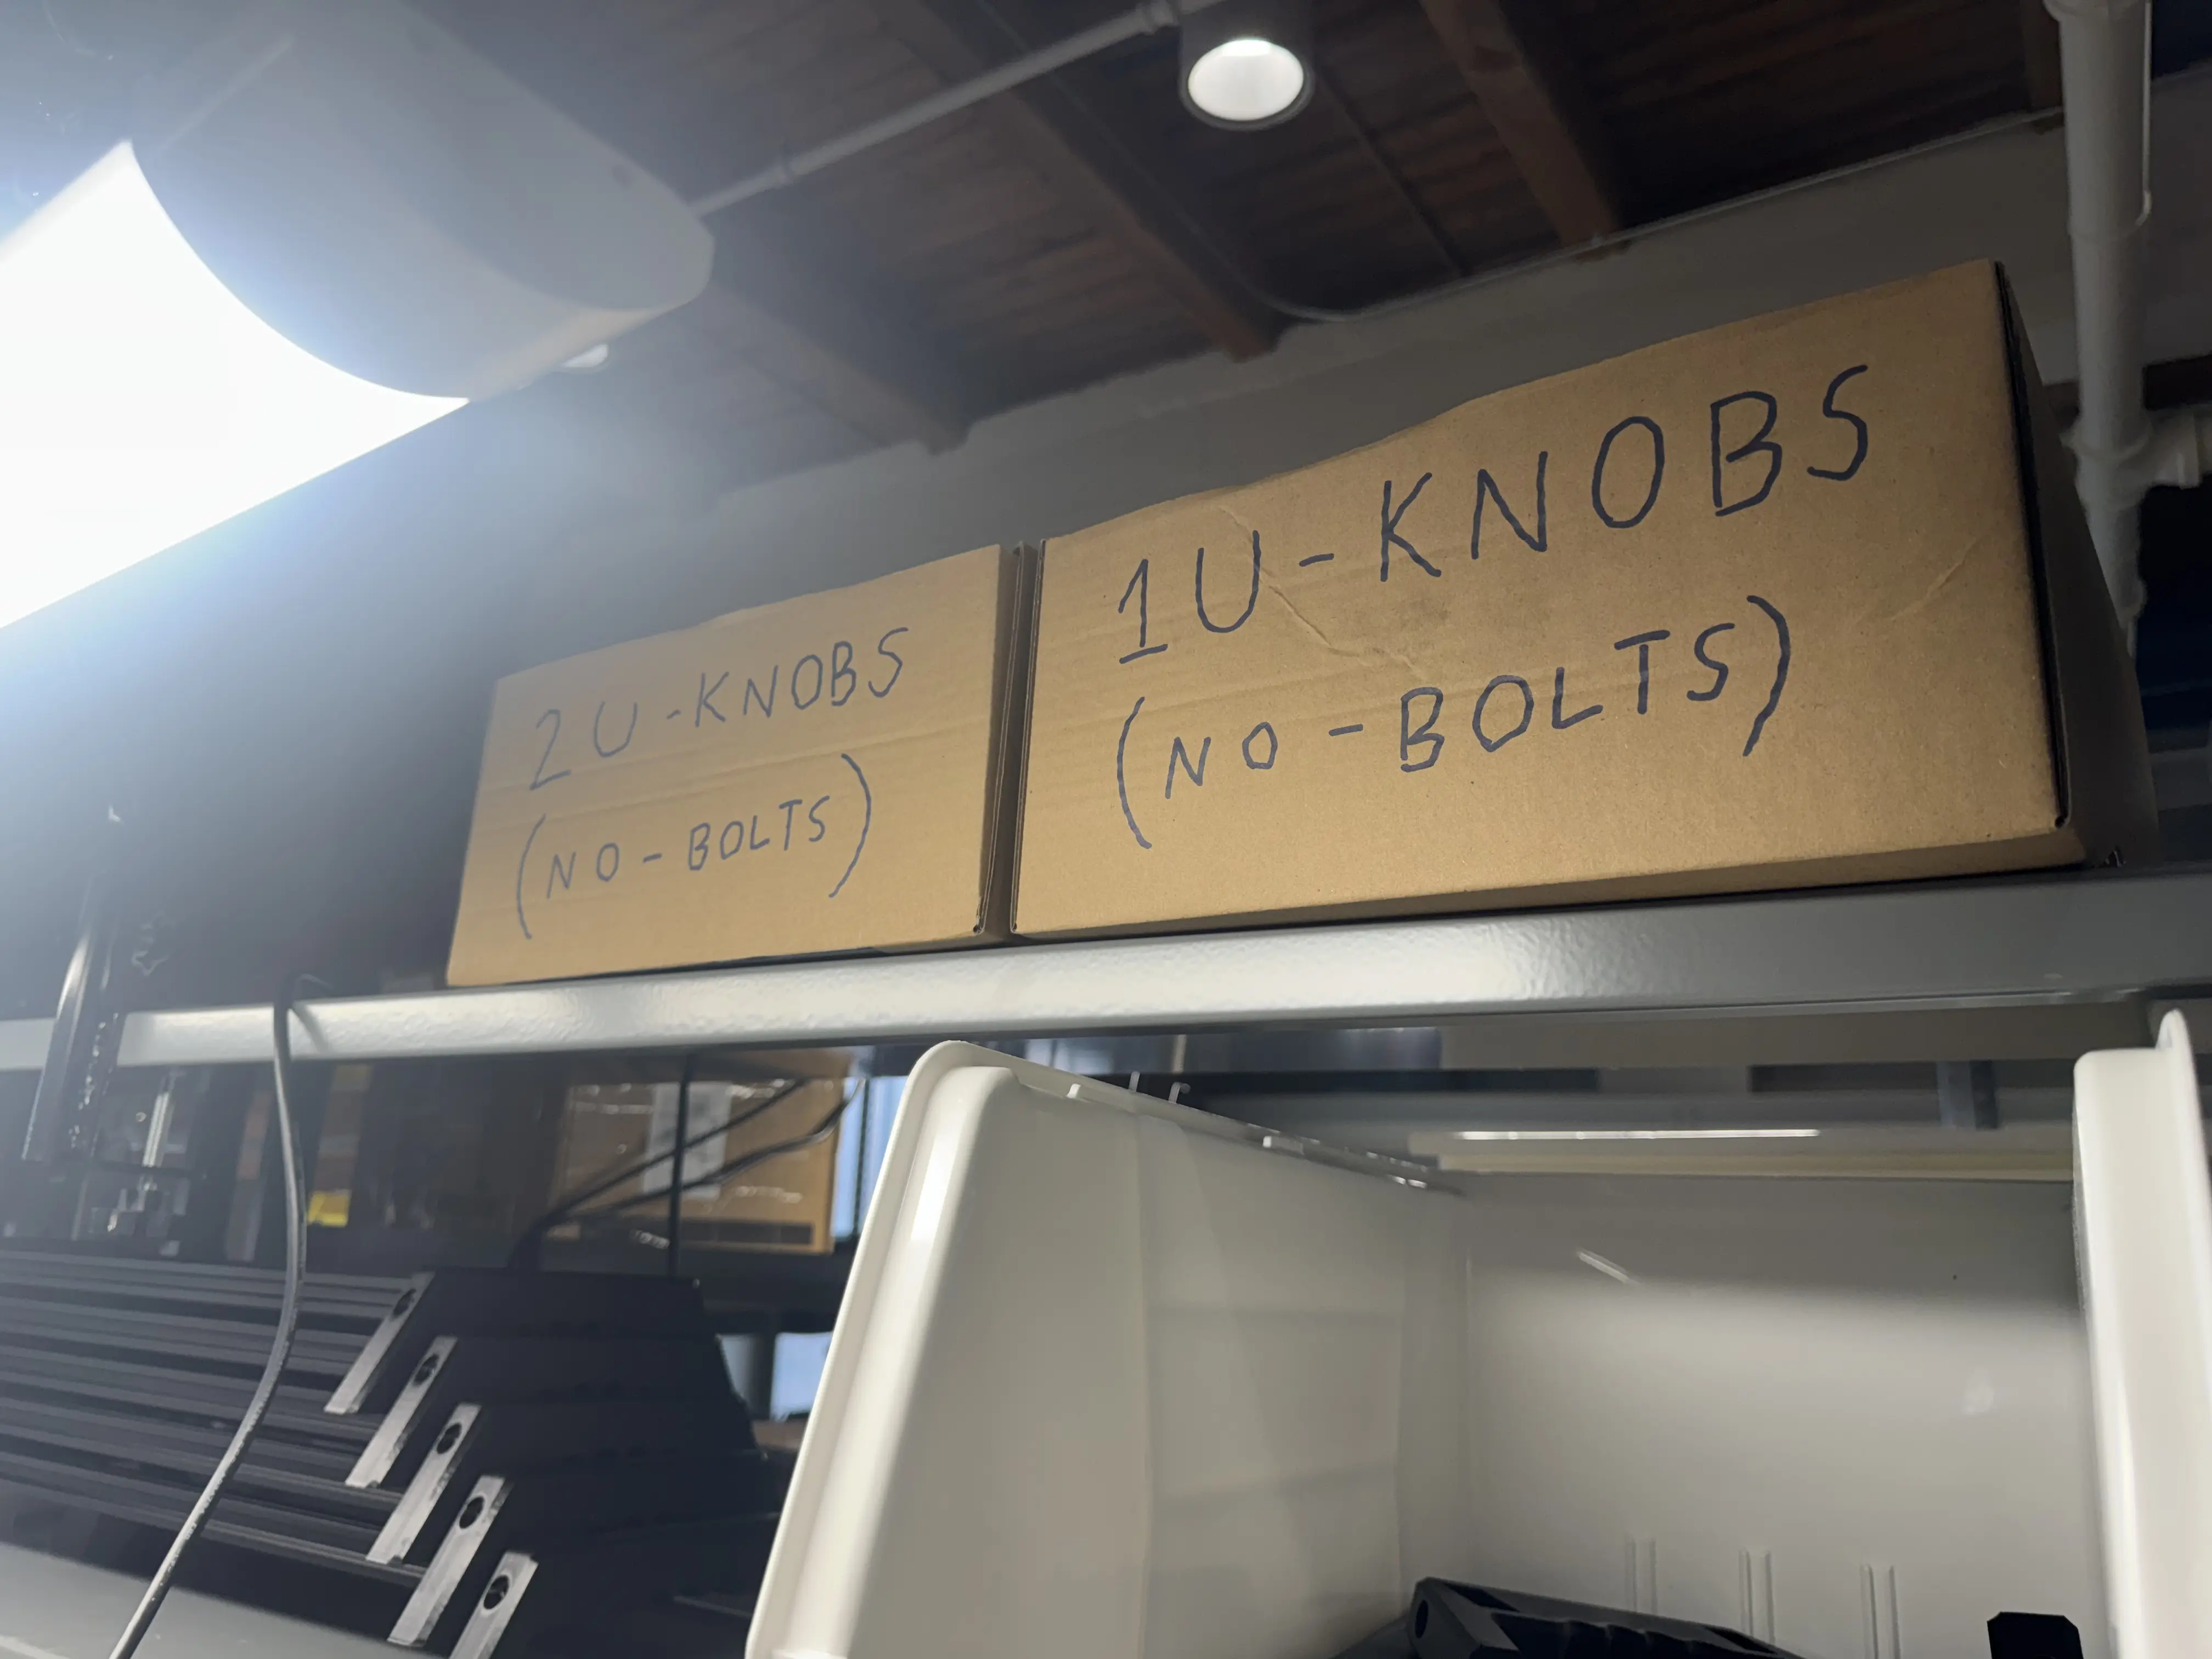
If there are no knobs already assembled, prints will be in the boxes above the workbench.
-
For
1u-knob, insertm5x16mm-hex-headinto the stem of the knob print. Ensure the hex profile of the bolt is aligned with the hex profile of the print and push the bolt into place. Use a mallet to make flush if necessary.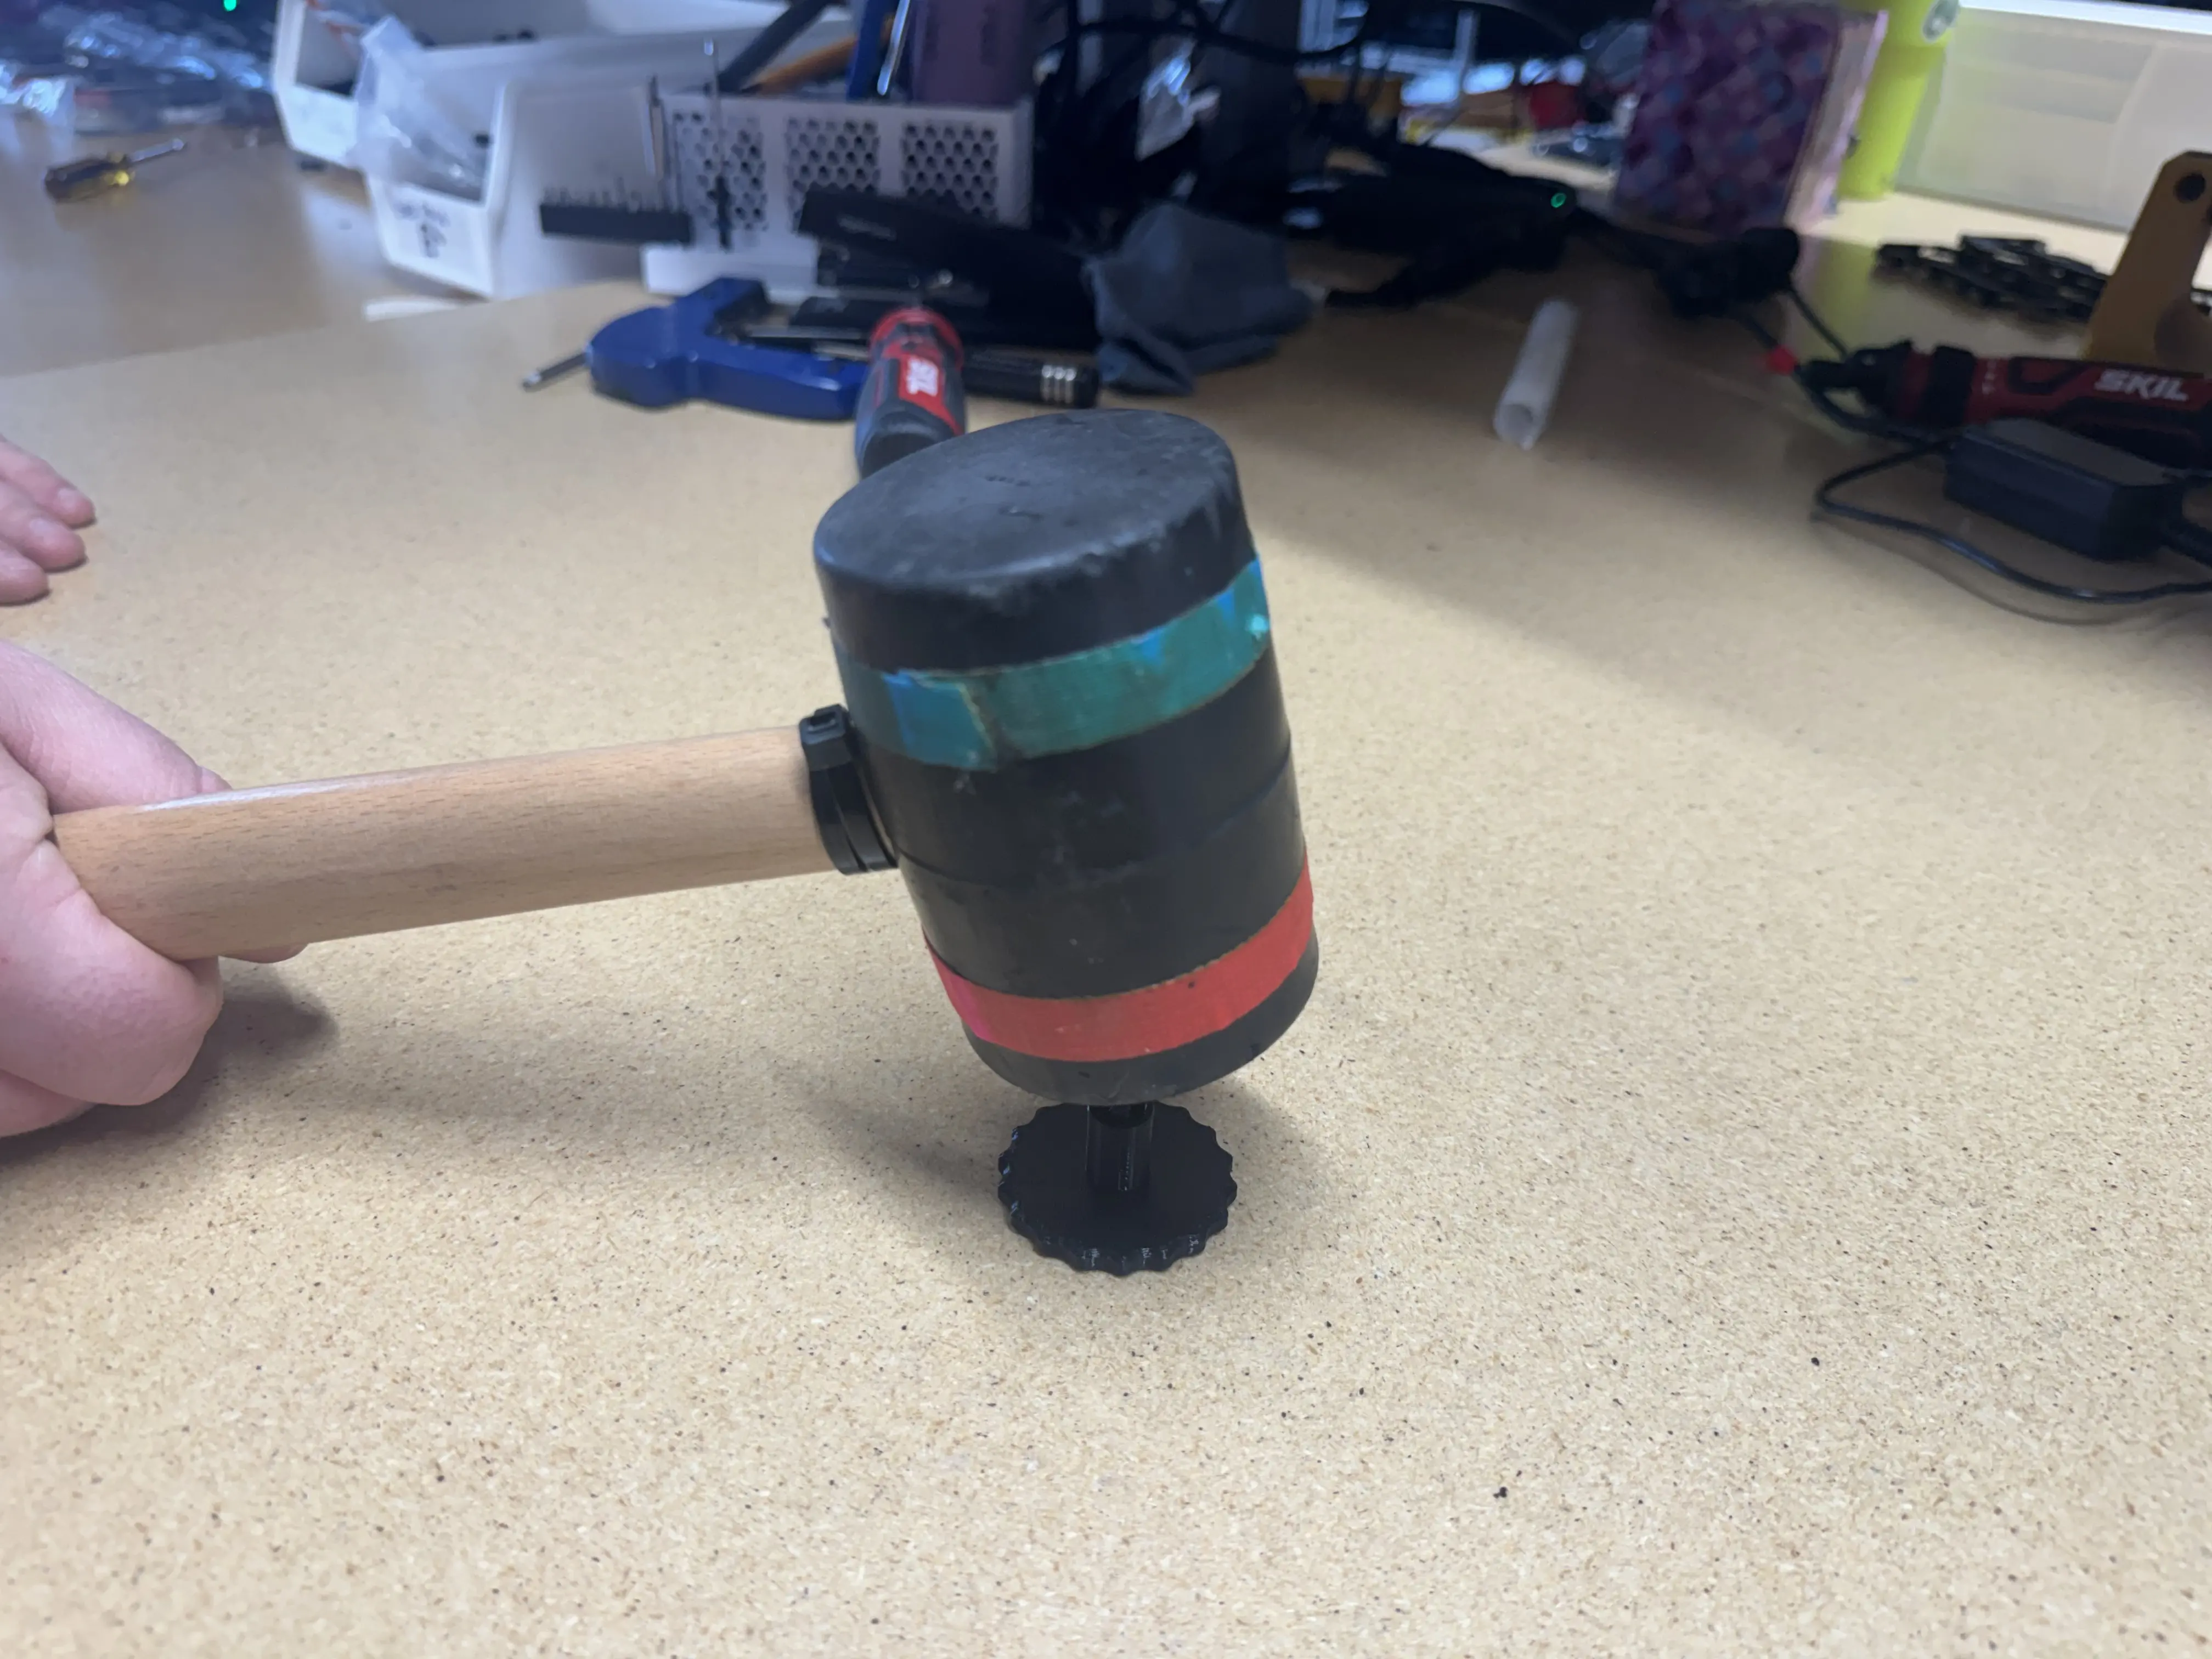
-
For
2u-knob, follow the same instructions but usem5x35mm-hex-head.
Important Note
Each Reel Holder ships with 25x 1u-knob and 10x '2u-knob`. Repeat steps until you have the required amount of assembled knobs.
Prepare for Packout
-
Attach 25x assembled
reel-holder-plateonto the base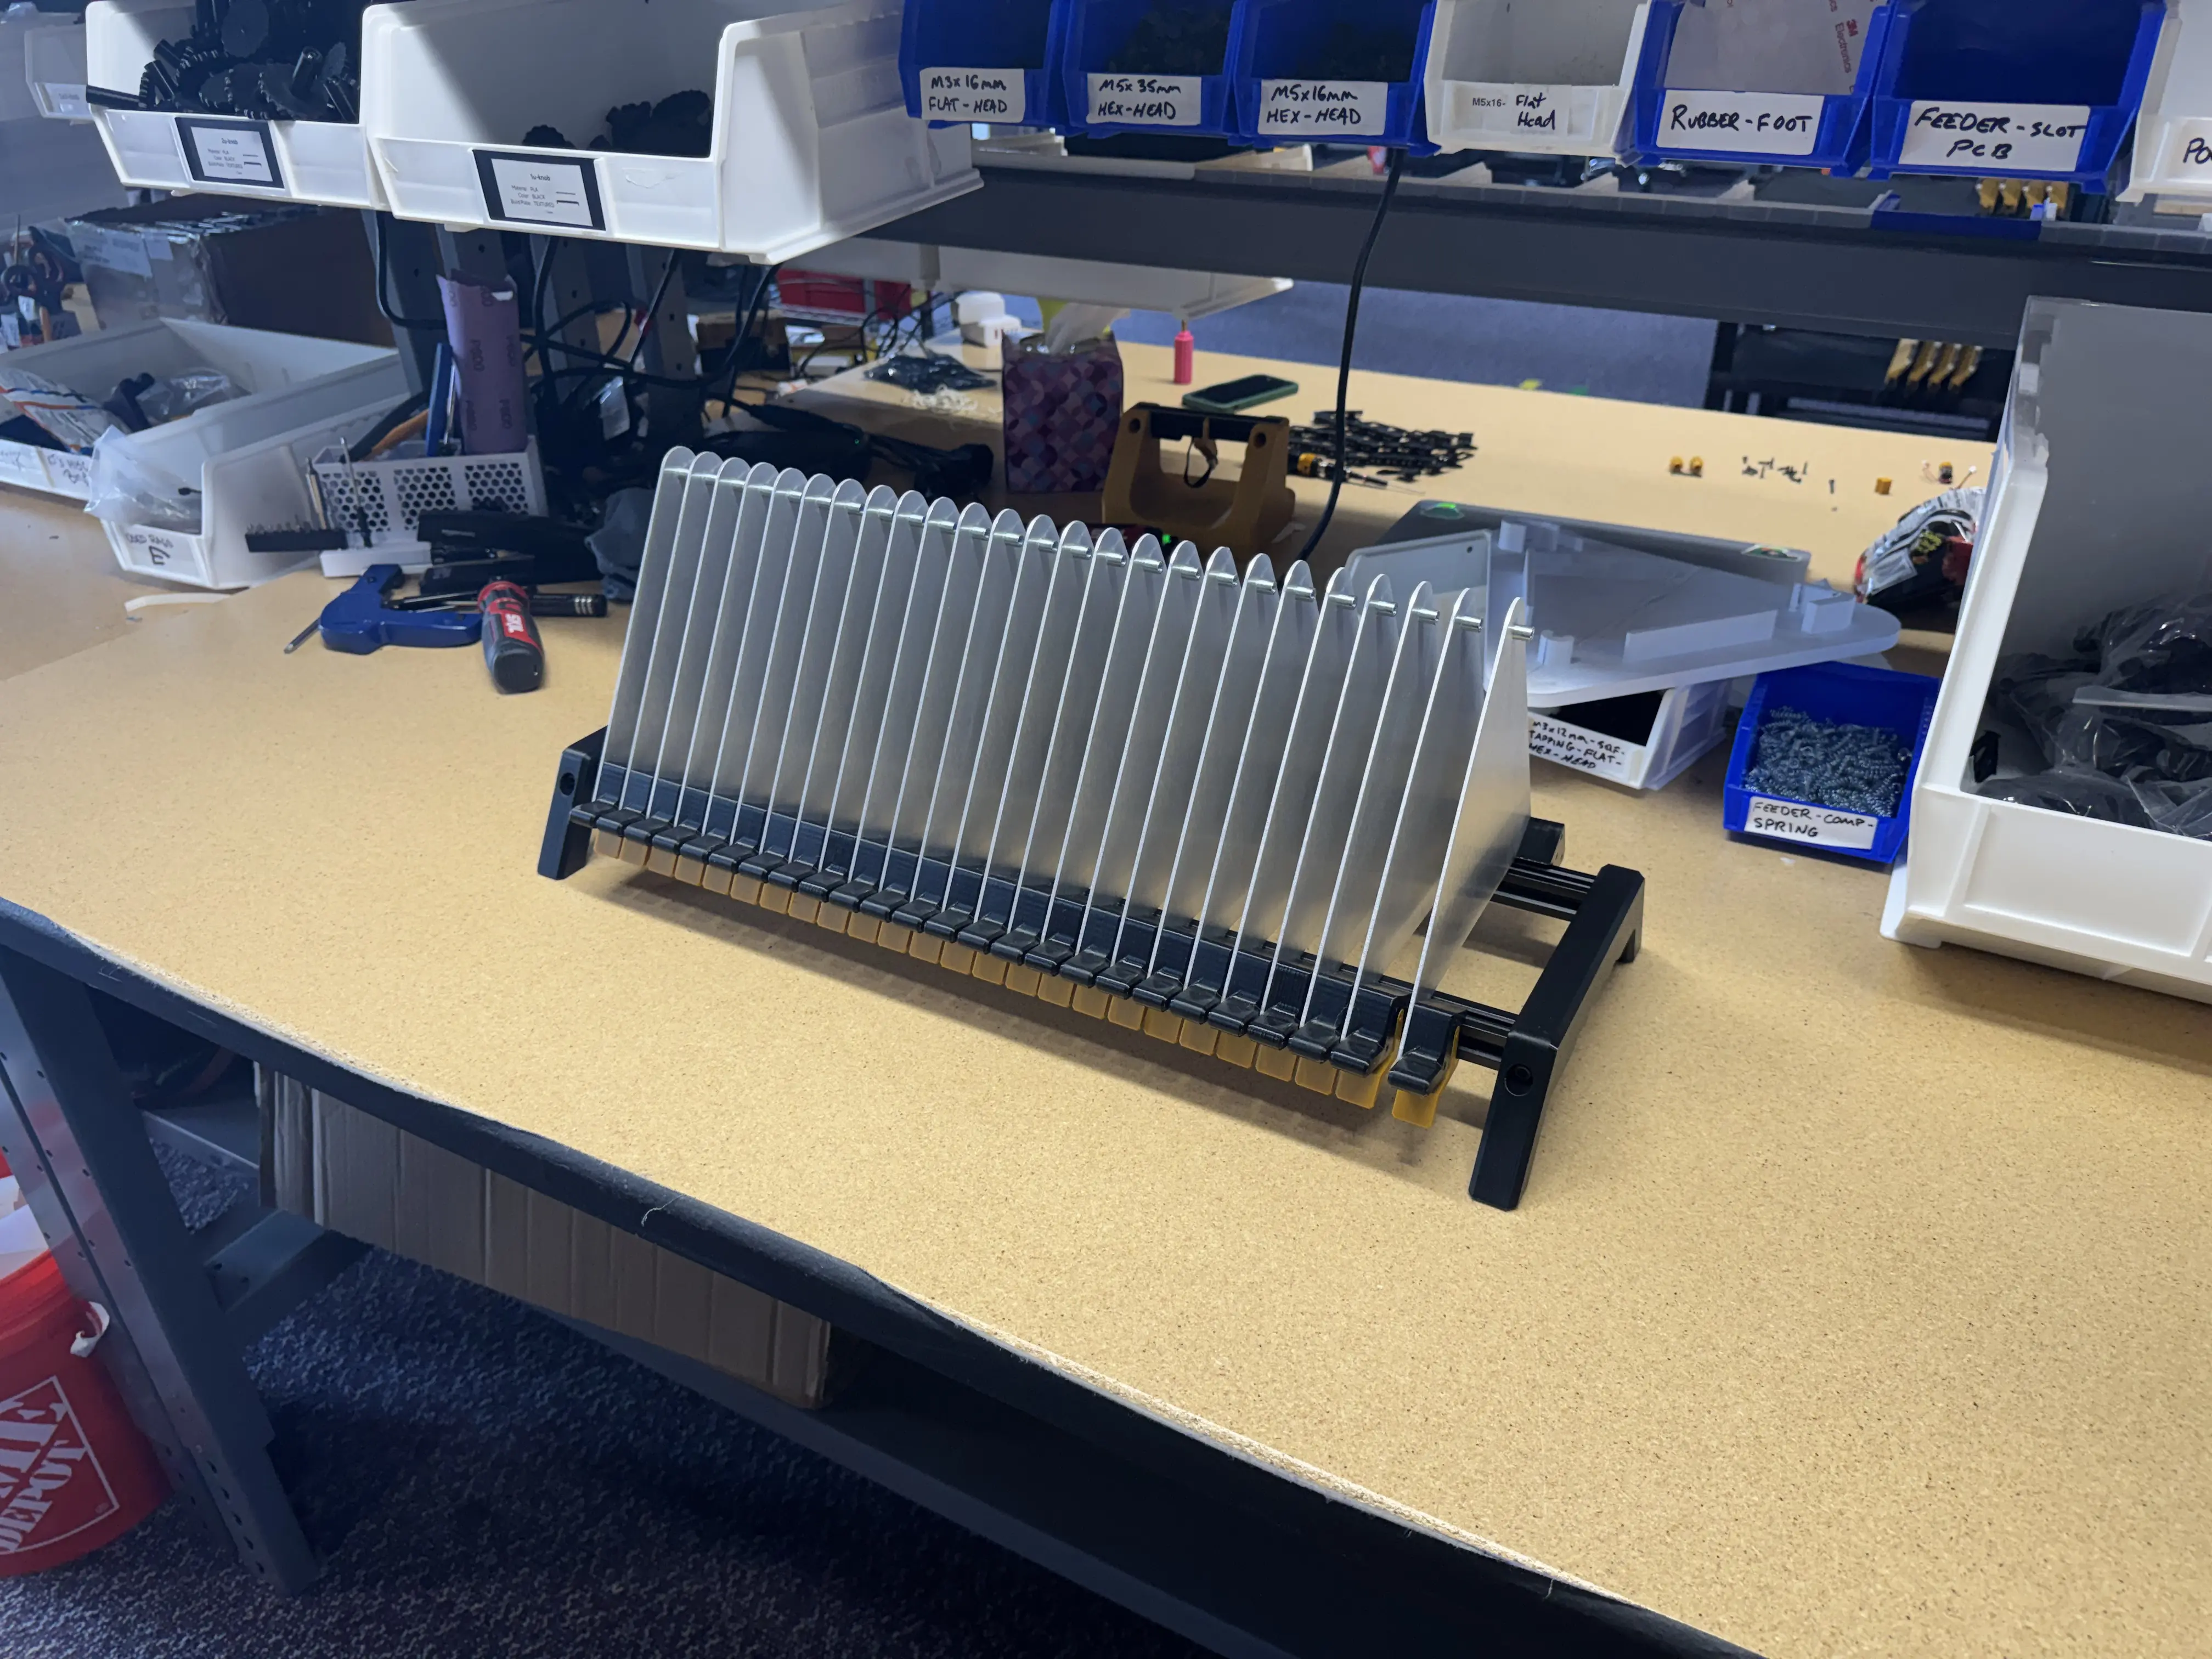
-
Add 25x
1u-knobprints into a6x9-bag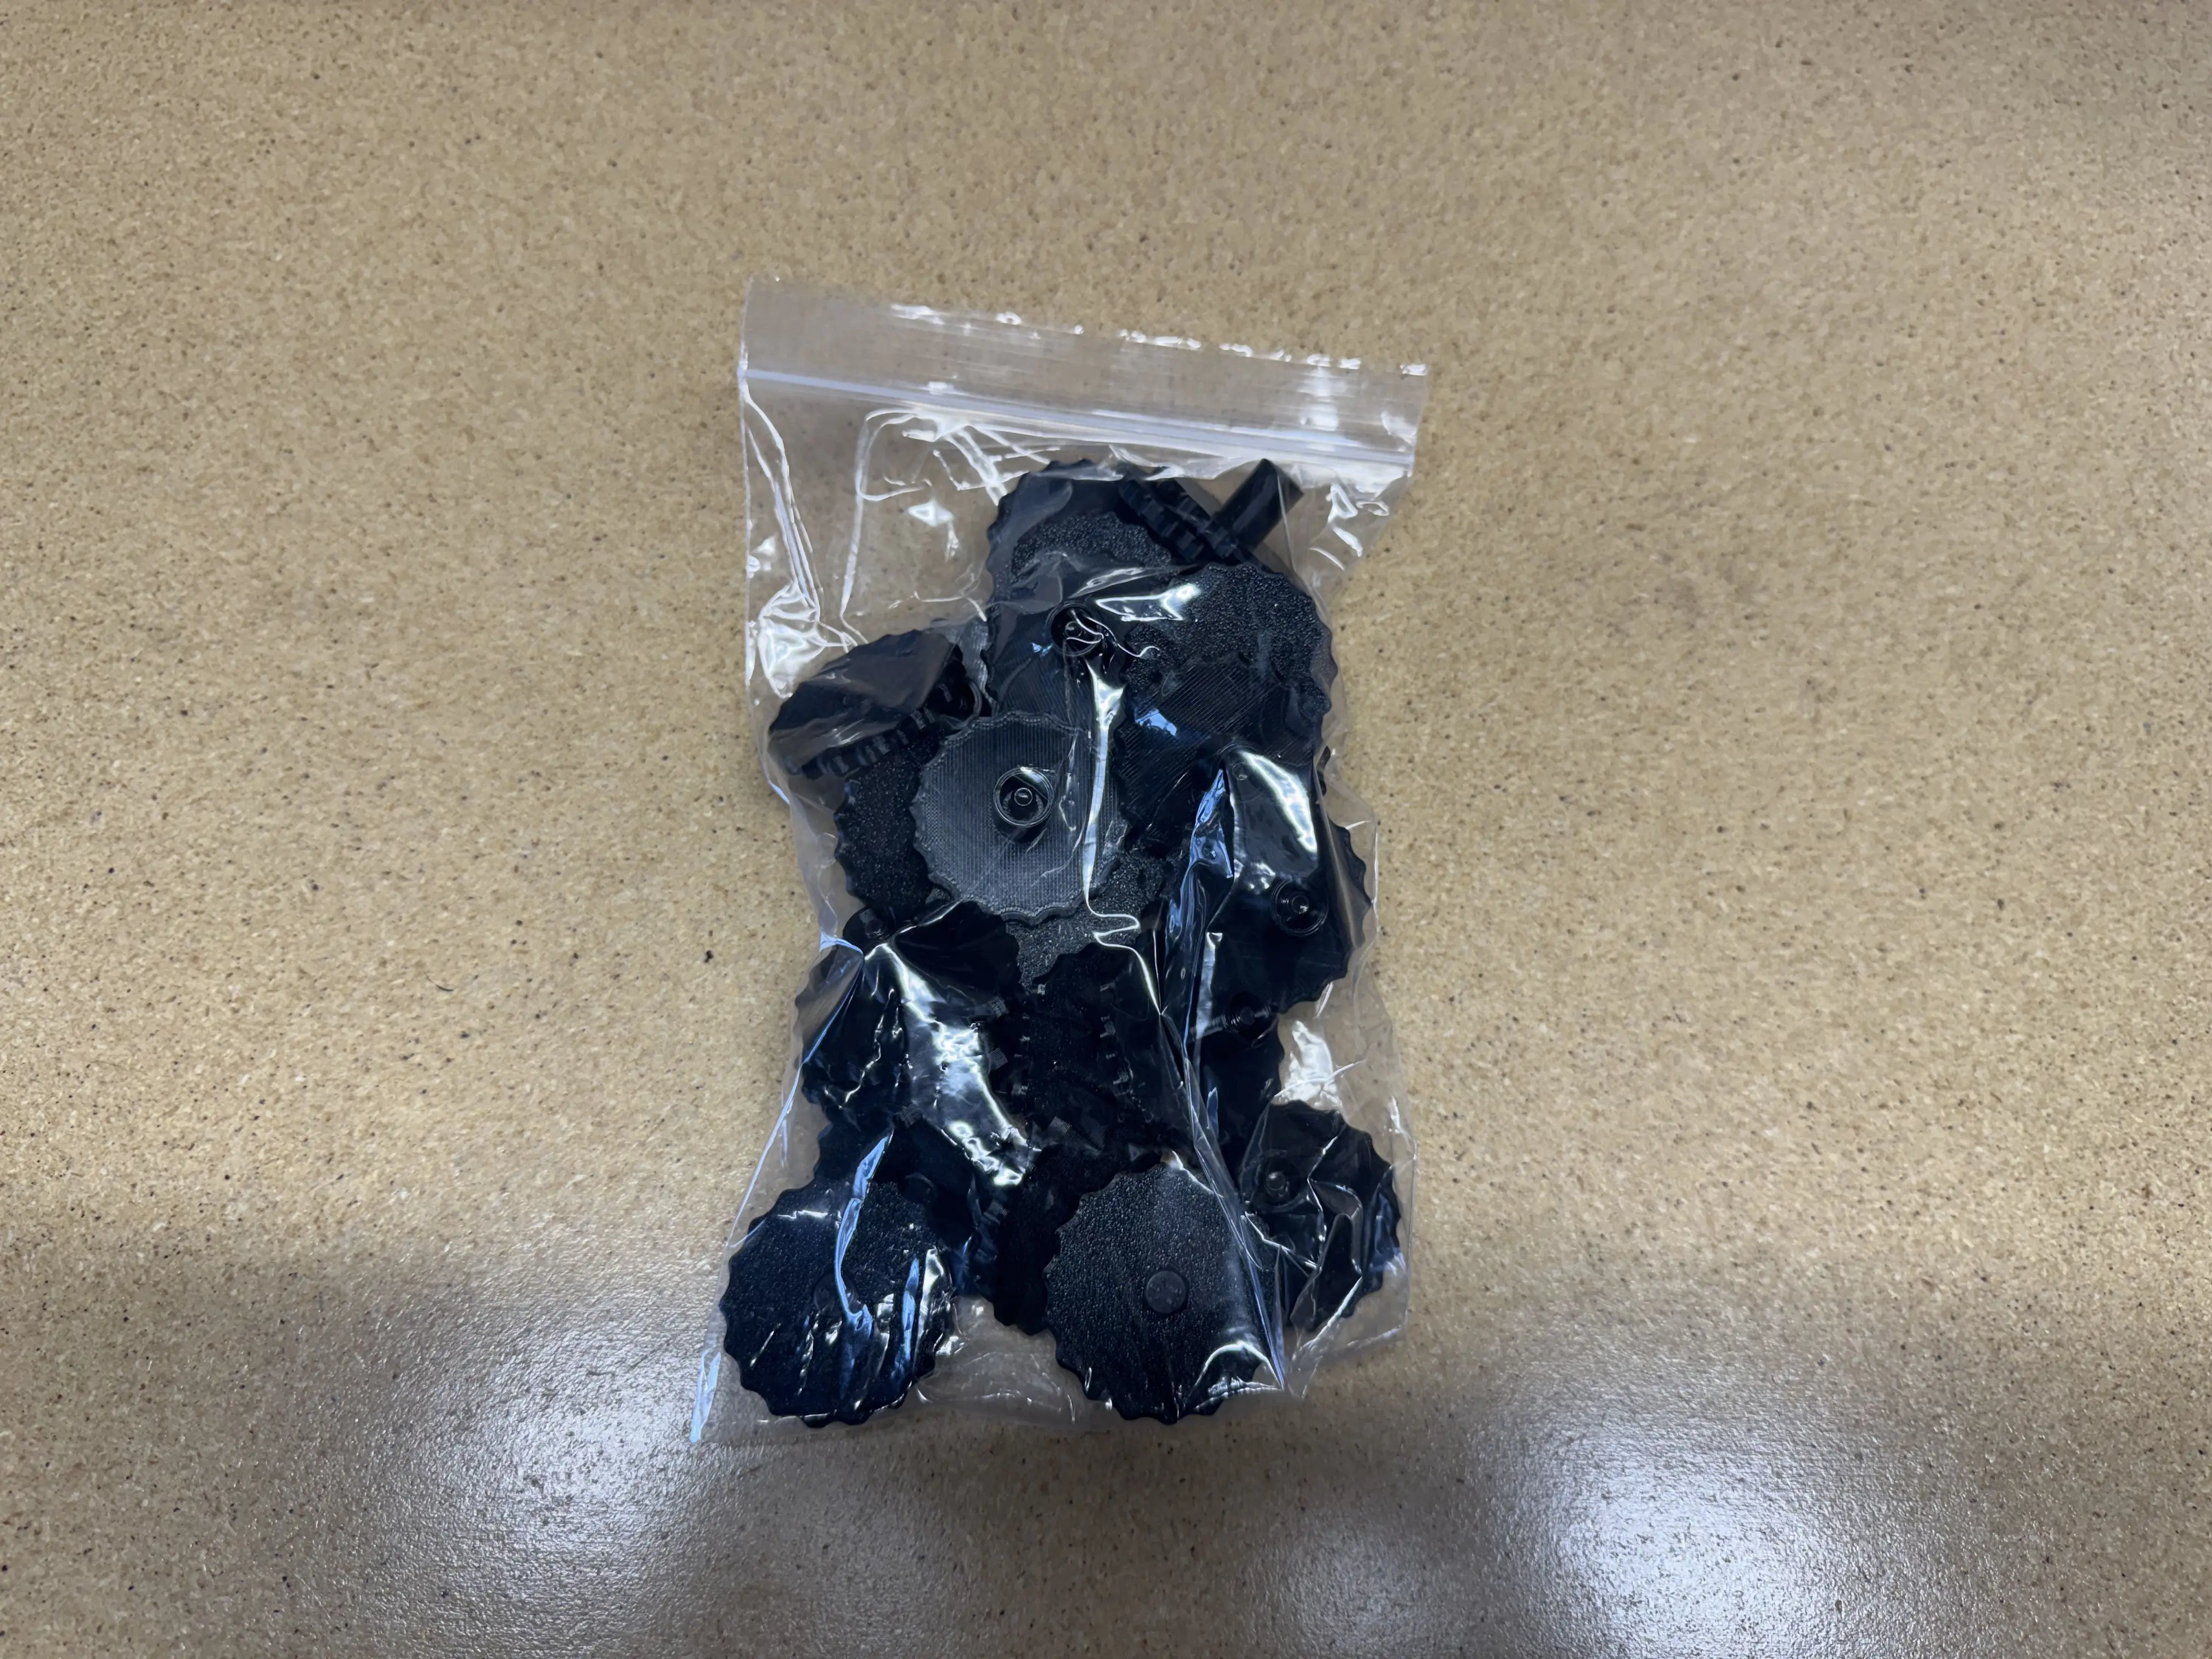
-
Add 10x
2u-knobprints into a6x9-bag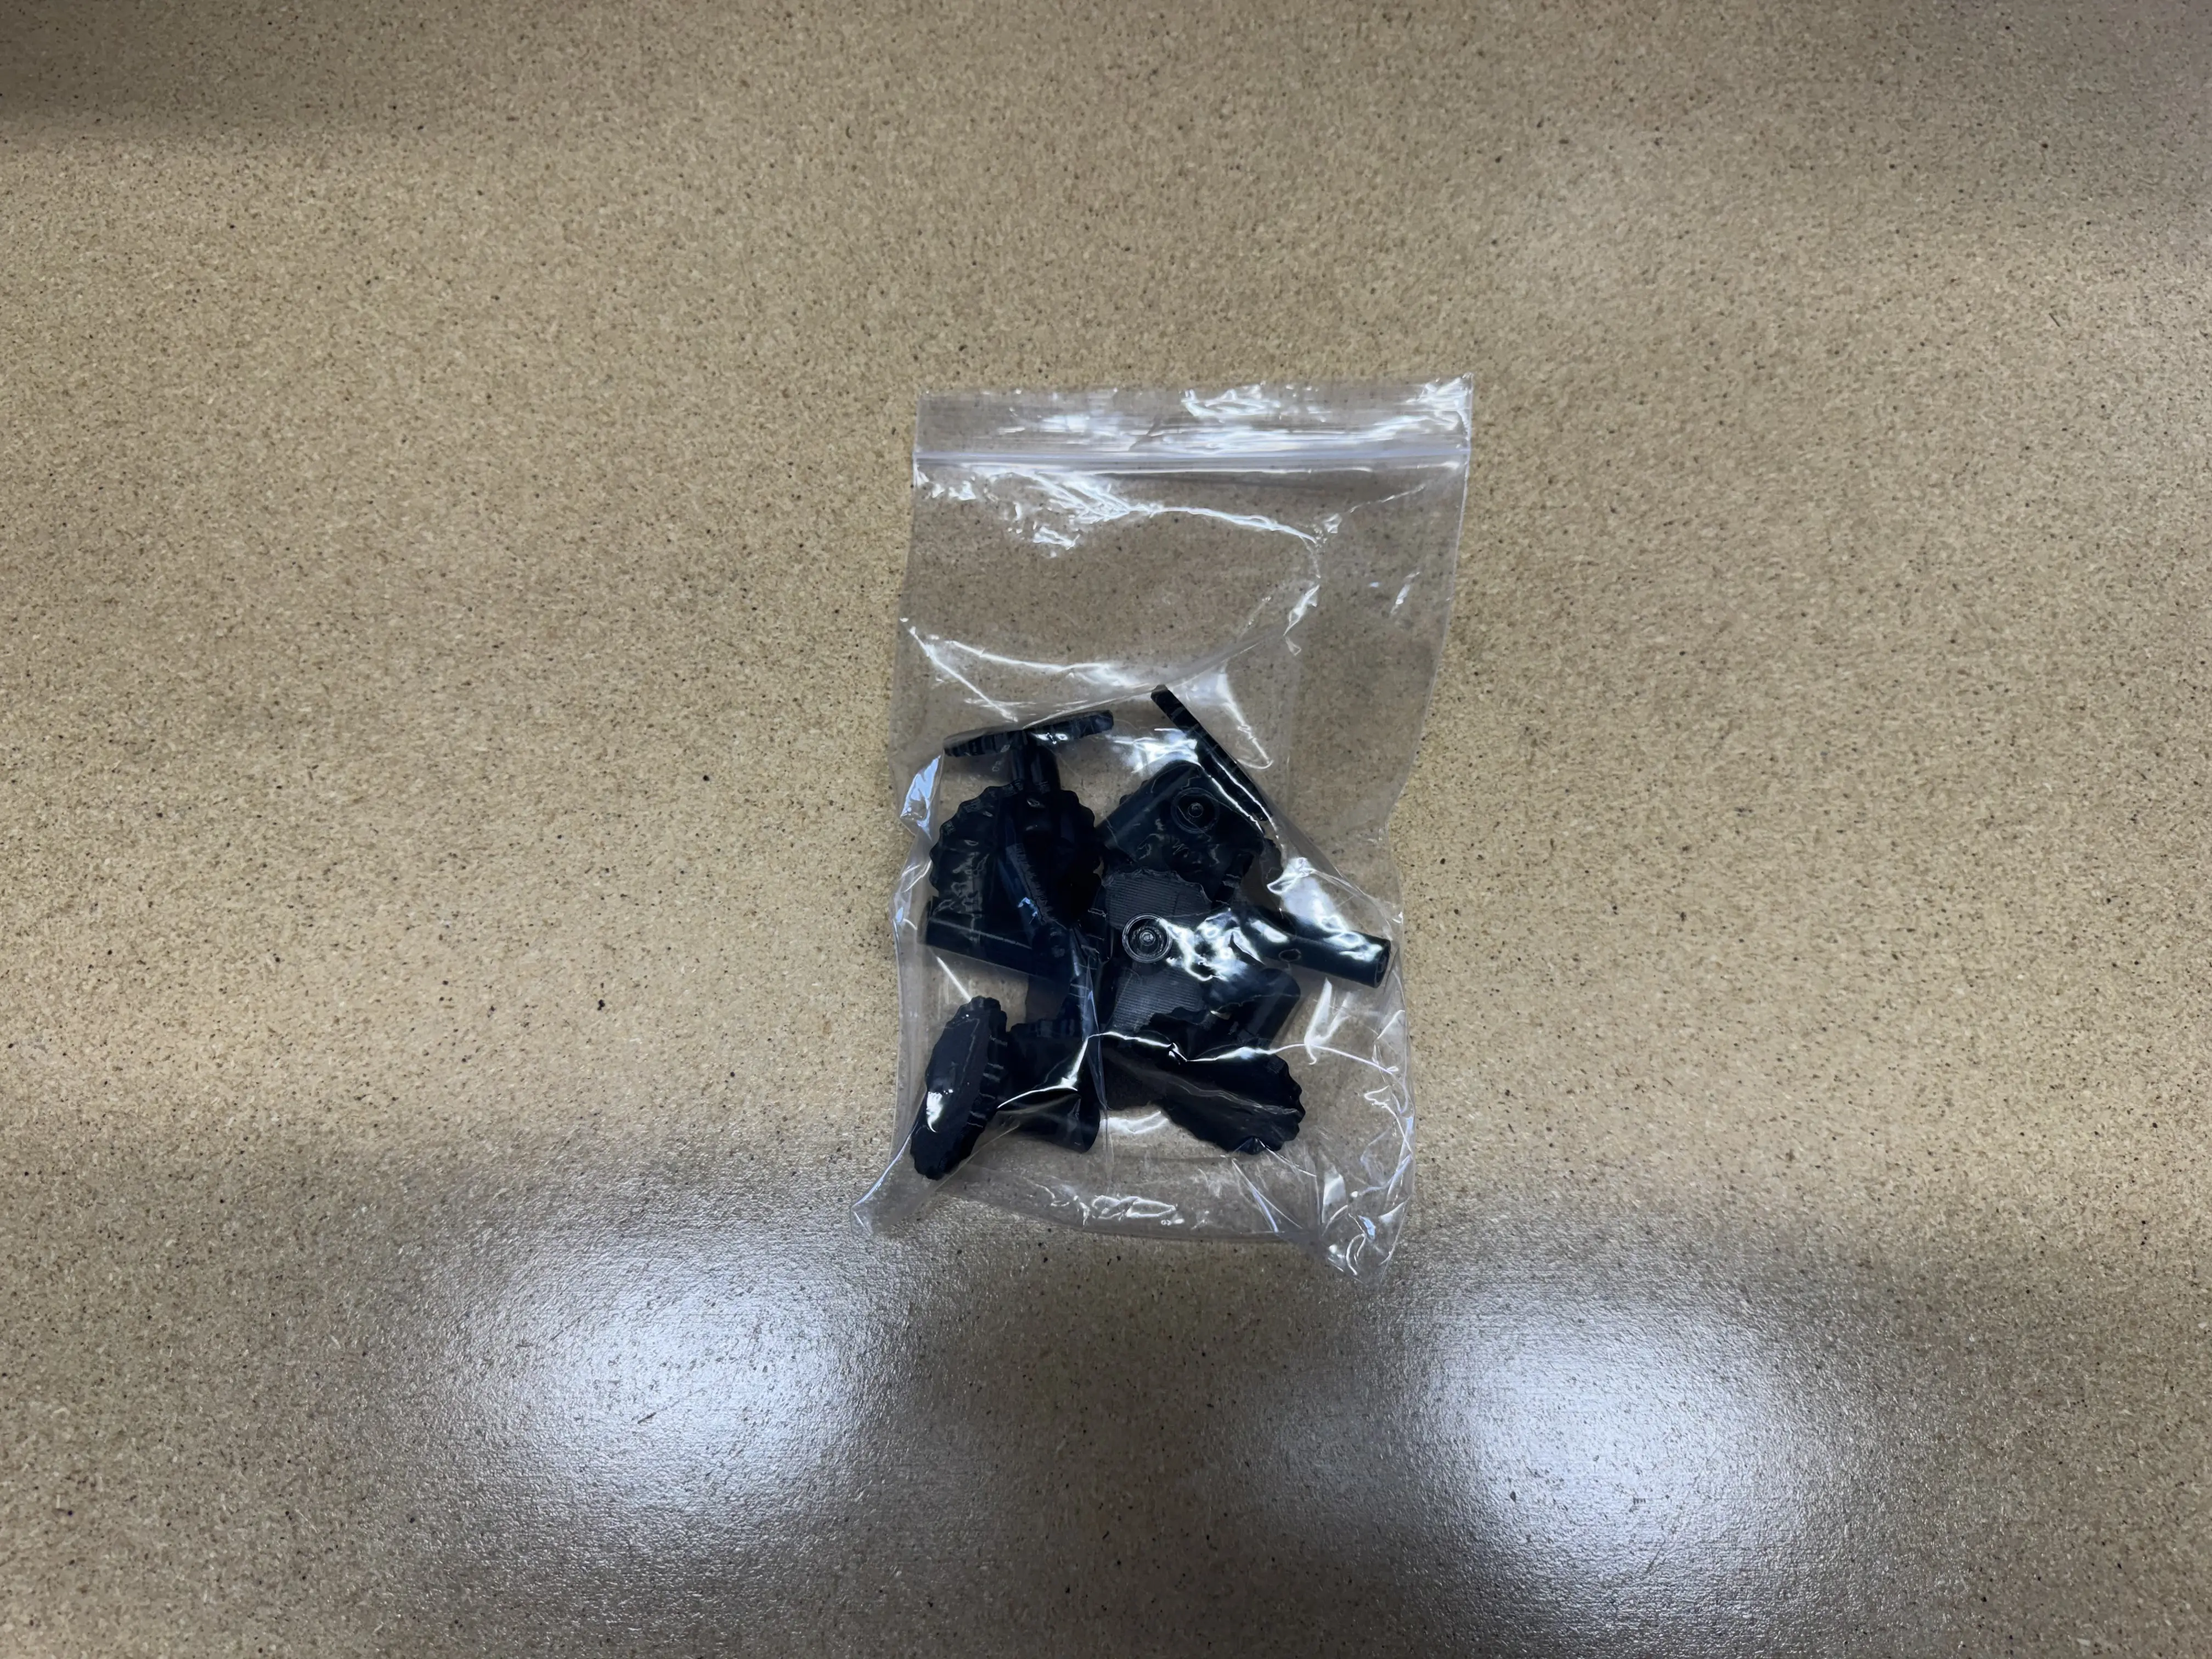
-
Bundle both assembled bags into a final
6x9-bag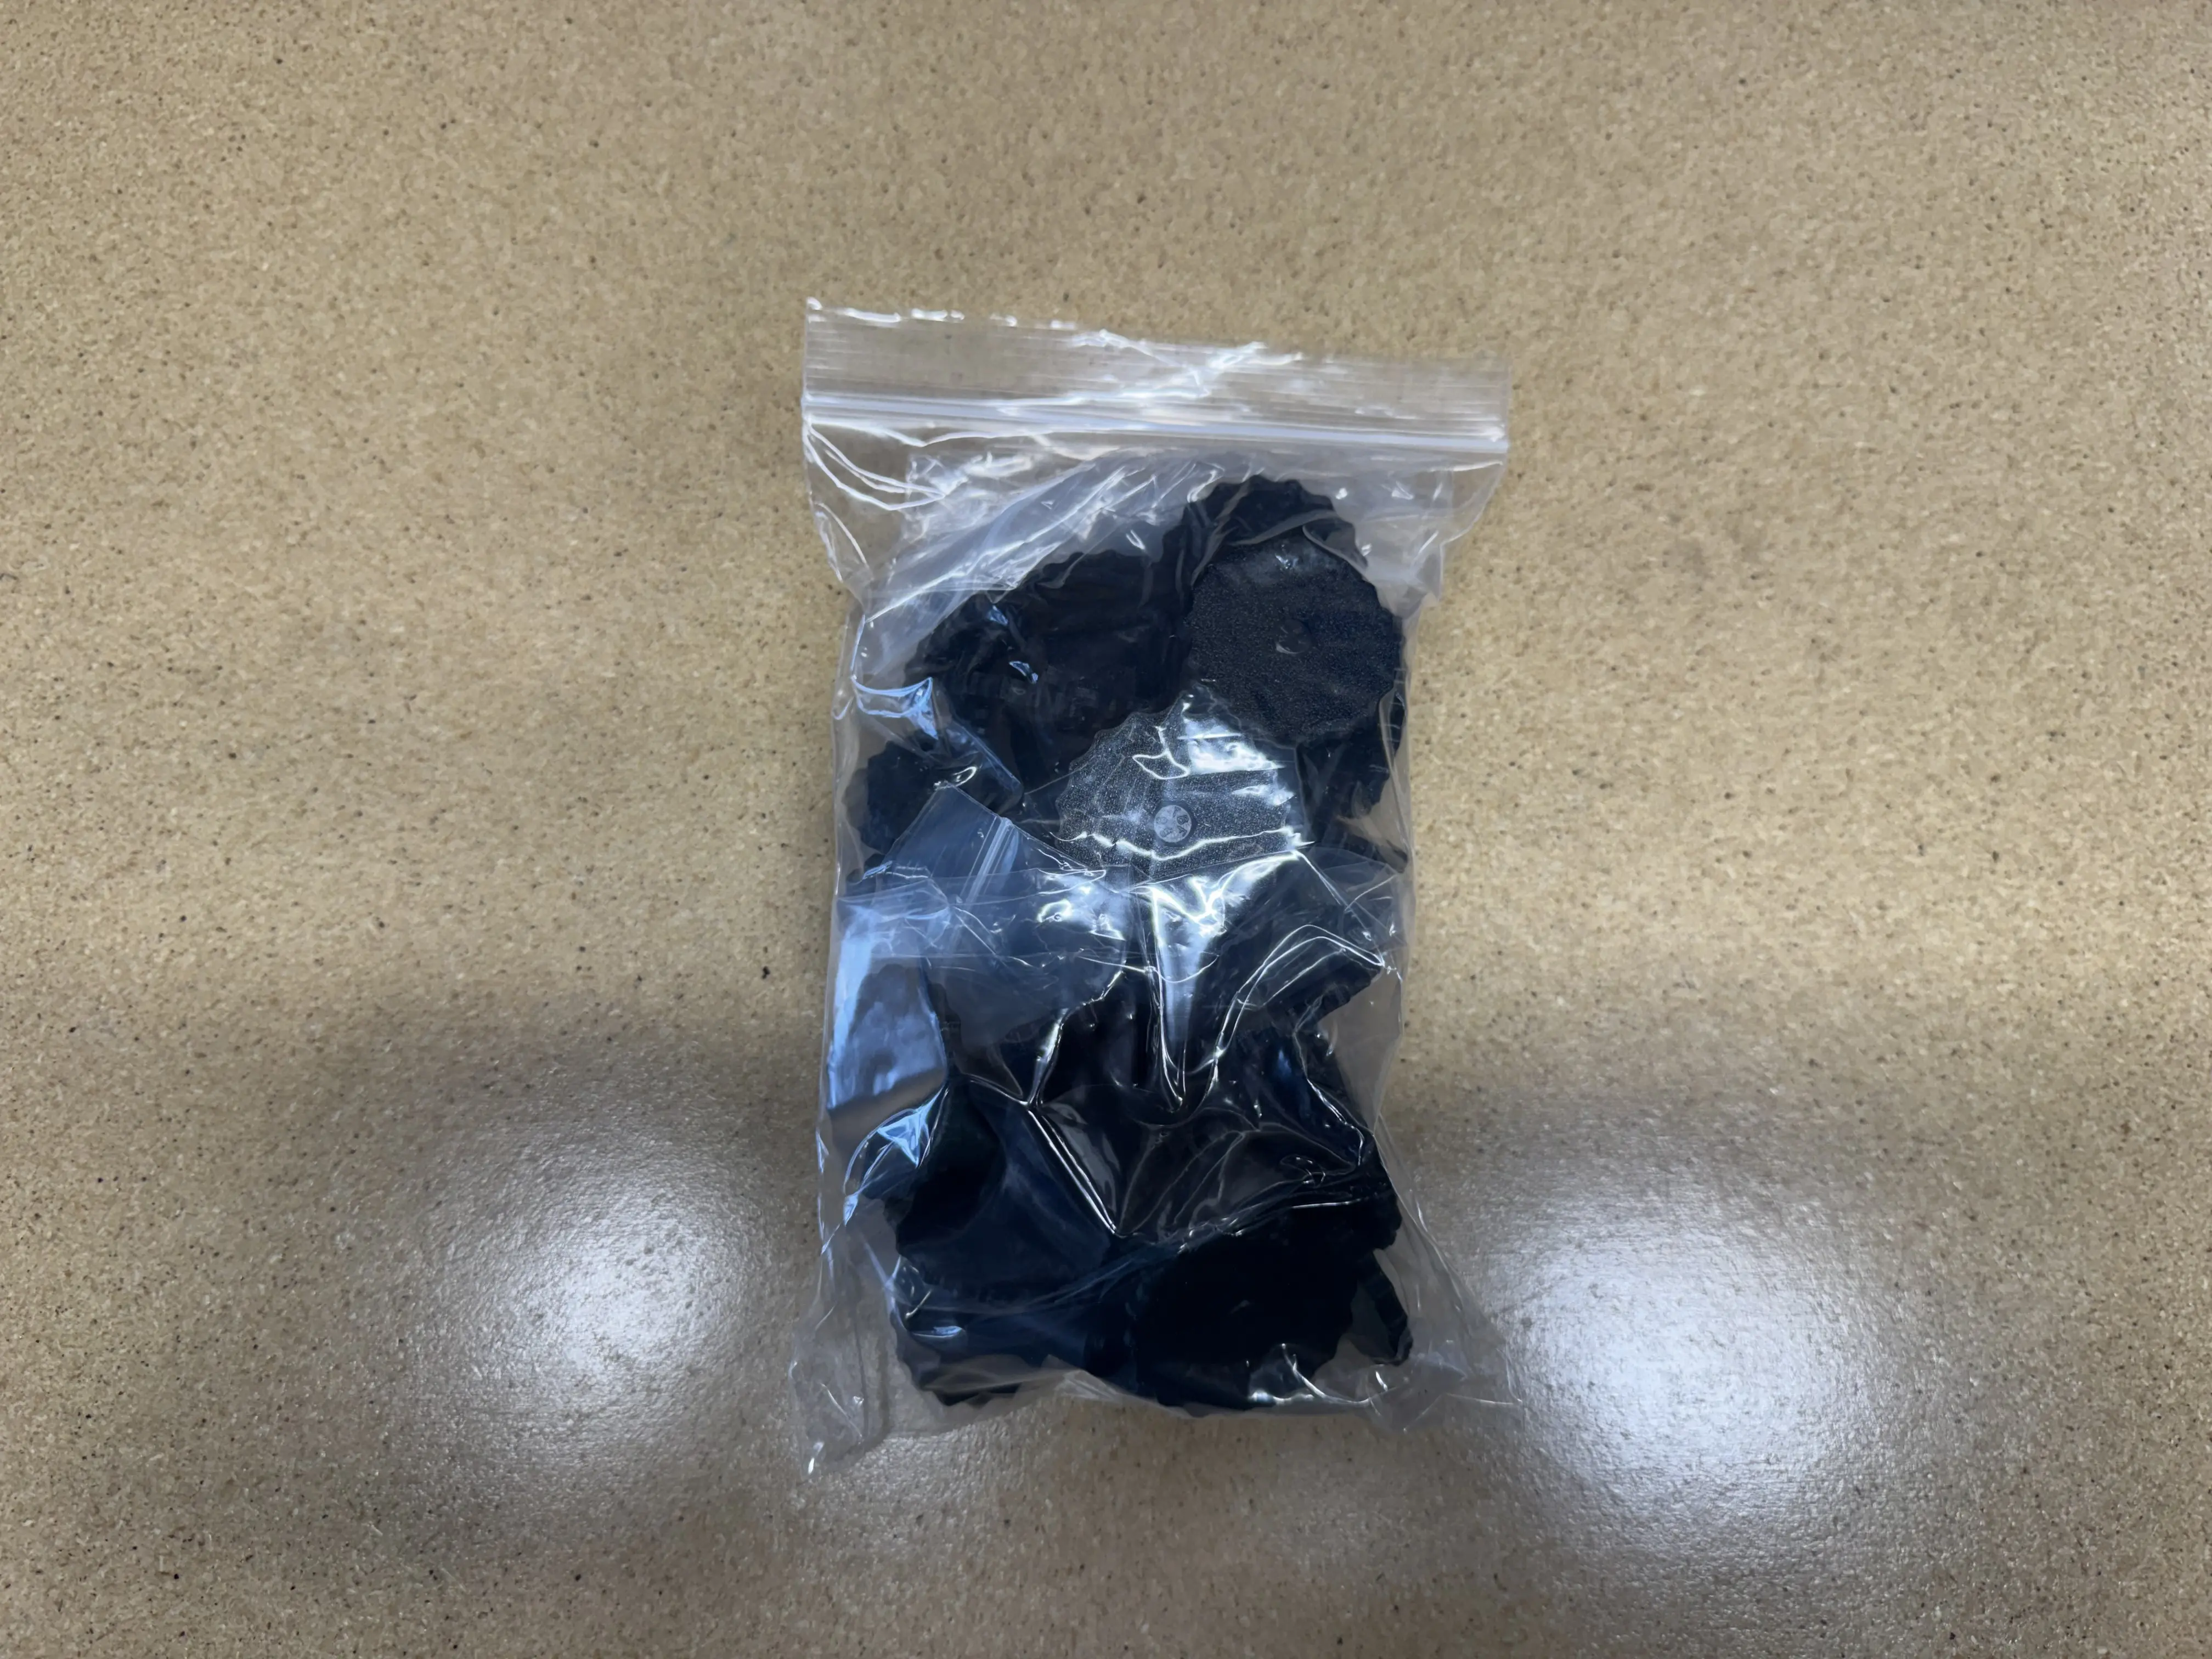
-
Place both the assembled Reel Holder and bag onto a cart to await packout
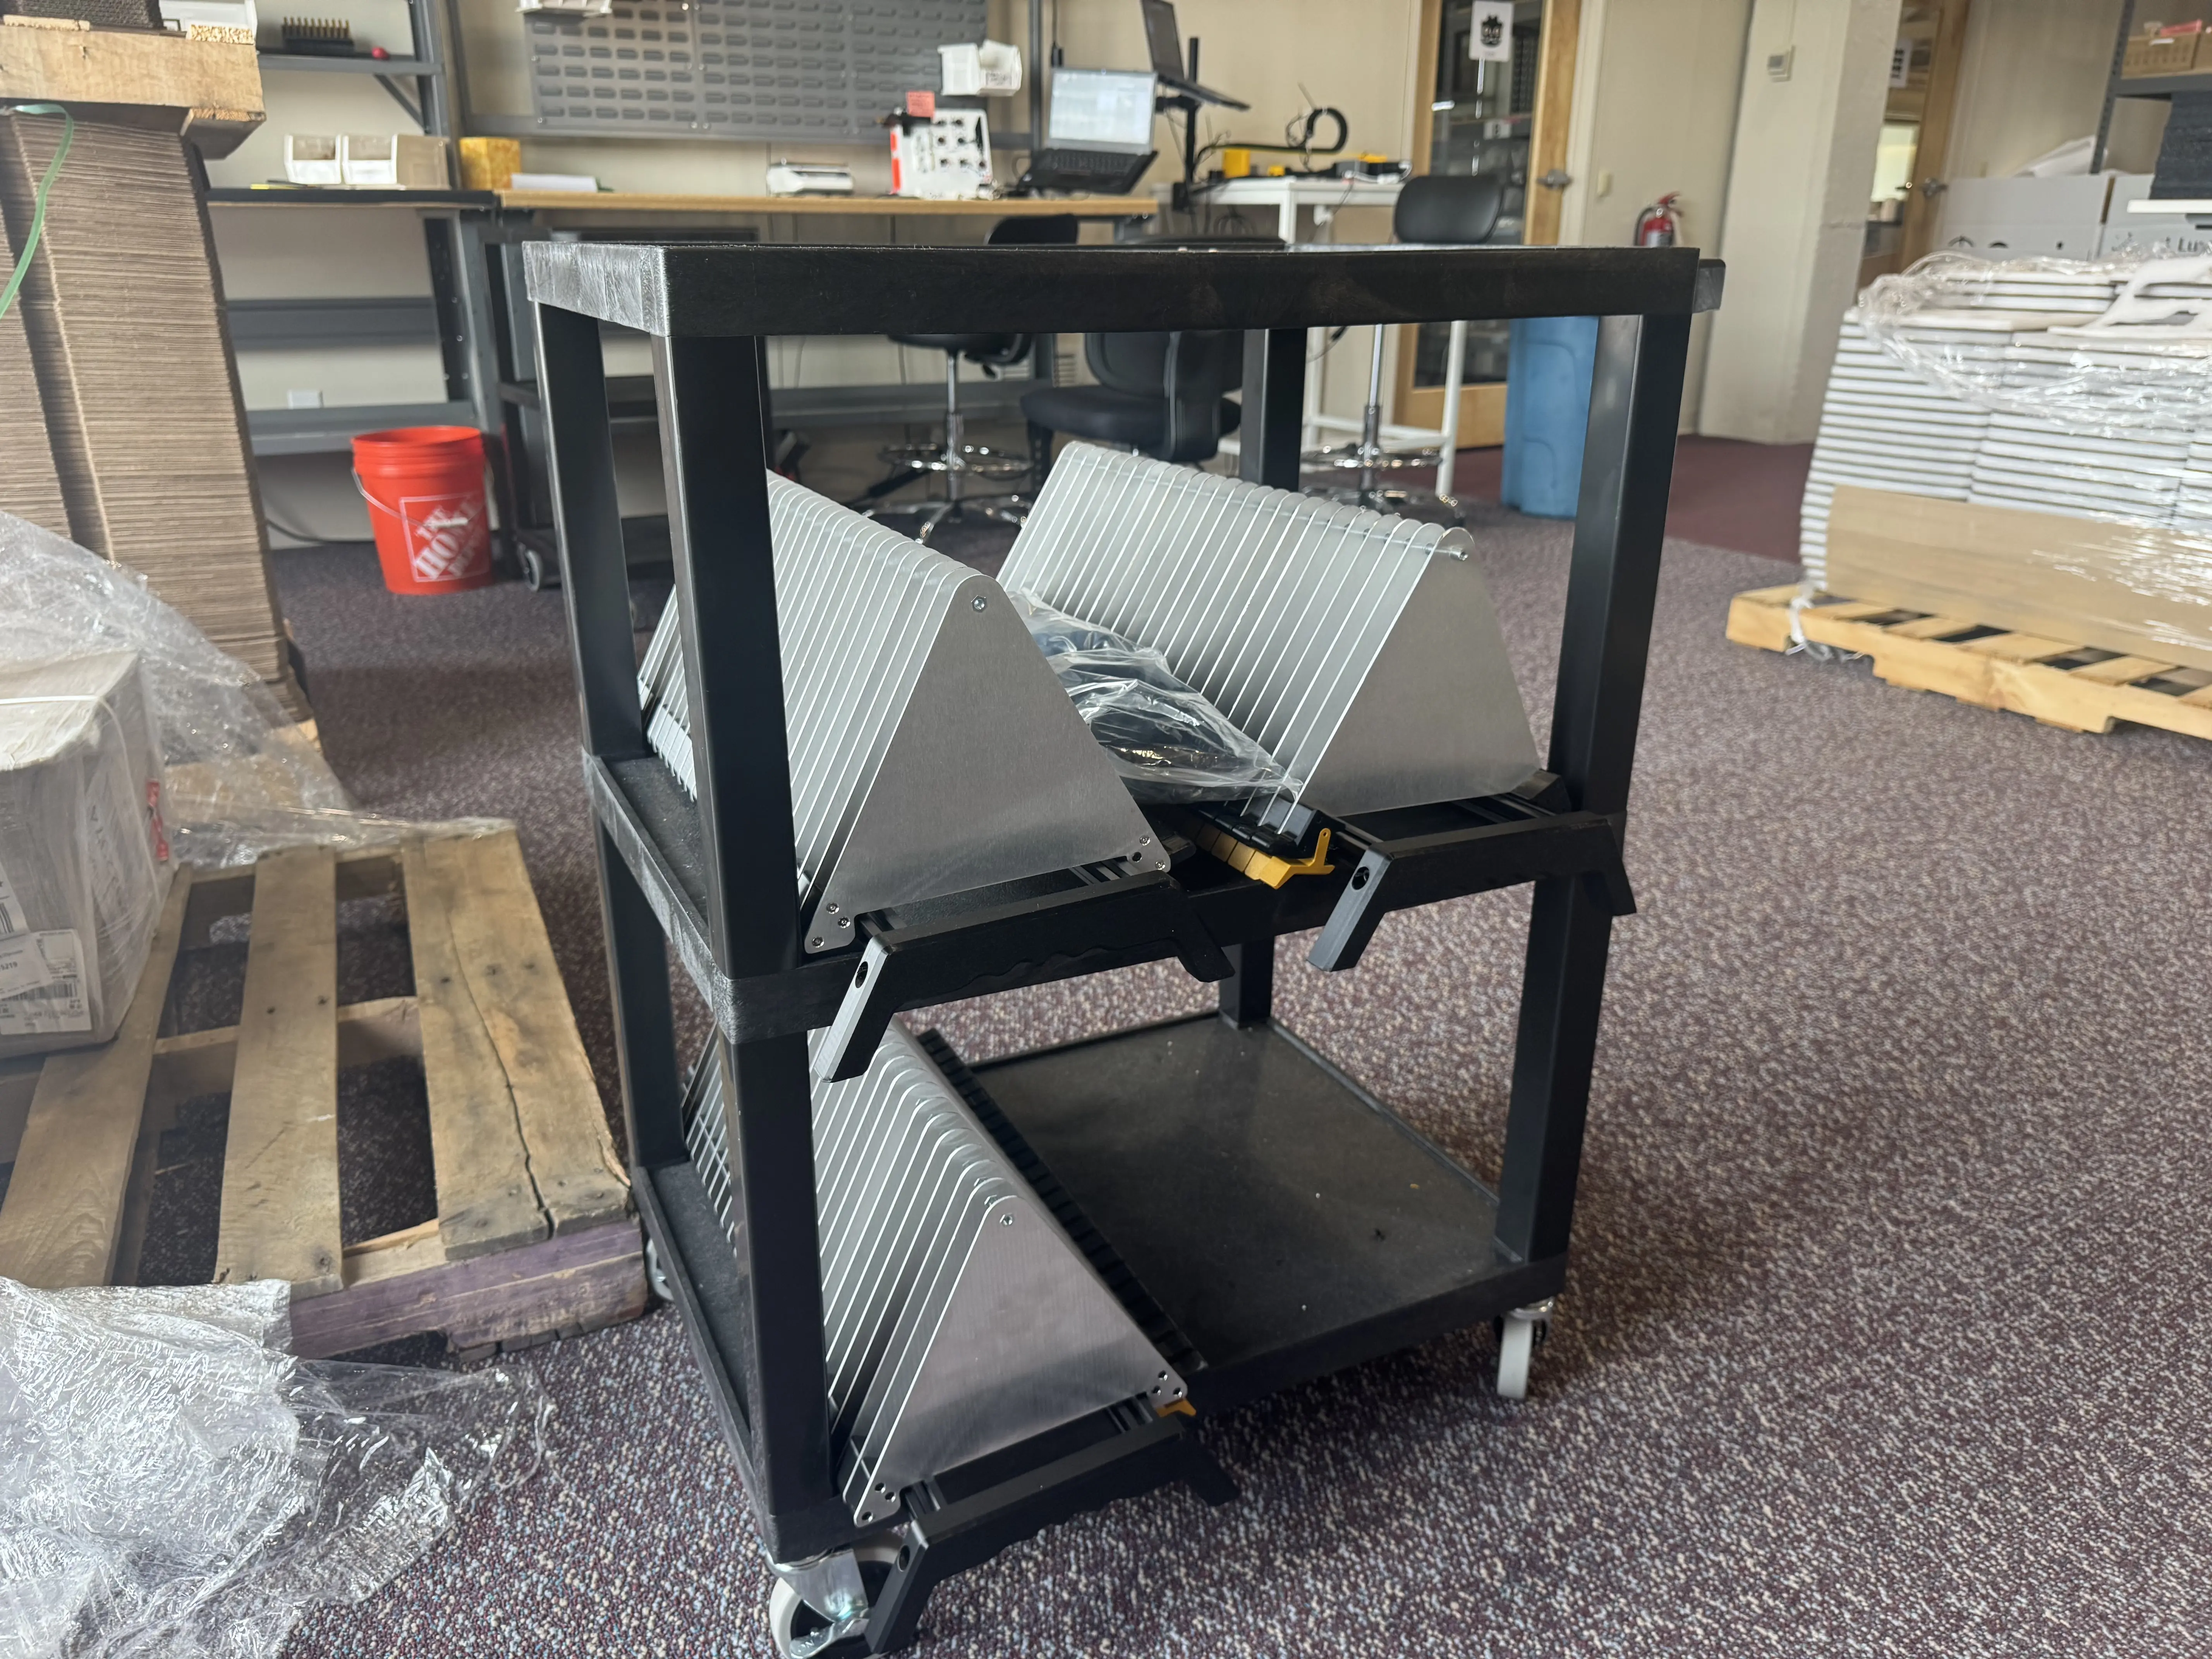
All Done!
The Reel Holder is fully assembled and ready for packout.